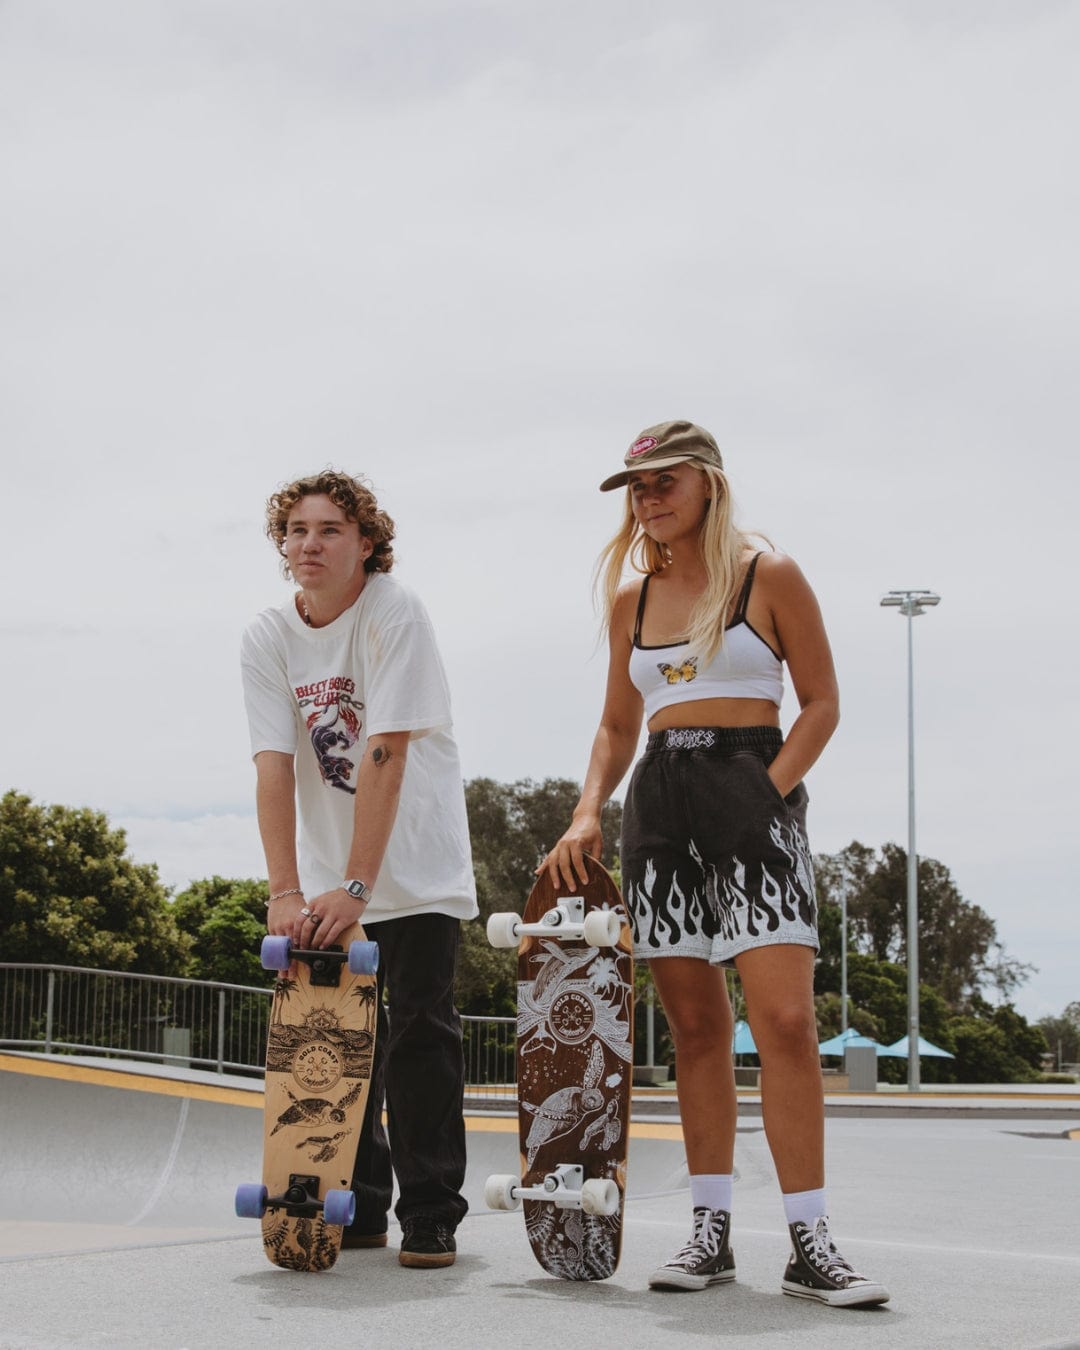




Your first longboard session does not need a hill, a trick or a big lap. It needs a little clear space and a way to stop. Start with a comfortable stance, add one gentle push, then practise bringing the board to a controlled stop before going further.
Before you roll: choose your space and gear
Find a smooth, dry, level area where skating is permitted, with plenty of clear space and no vehicles or passing pedestrians. Check for gravel, sand, cracks and other obstacles. A quiet-looking slope is still a slope; leave hills and busy shared paths out of this session.
Wear a properly fitted skate helmet, knee and elbow pads, wrist guards and closed, flat-soled shoes. Fasten the helmet correctly and follow the equipment maker’s fitting guidance. Skateboard GB recommends a helmet and protective pads when learning.
Check your board against its maker’s instructions before riding. If something is loose, damaged, catching or not working normally, stop and have a skate shop check it. Do not use a first ride to test a doubtful setup. Children need suitable adult supervision.
1. Find a stance you can return to
Regular means left foot towards the front. Goofy means right foot towards the front. Neither is better. Try both while stationary and choose the one that feels more comfortable.
Practise stationary footwork on carpet, checking the board cannot roll before stepping on. Stand sideways with knees softly bent and feet comfortably apart on the usable standing platform, not perched on the ends. Do not stretch your stance simply to reach both sets of bolts on a long wheelbase.
Rehearse the change between two positions: front foot pointing along the deck for pushing, then feet turned more across the deck for coasting. The Canada Skateboard learning resource breaks this footwork into separate push and riding positions. Make the movements familiar before adding rolling.

2. Balance first, then take one small push
Your front leg supports you while the other foot pushes or brakes. With the board still prevented from rolling, put your front foot on the forward part of the standing platform, pointing towards the nose. Bend that knee slightly and briefly lift your other foot. Set it down and repeat without rushing.
When that feels manageable, move to your clear, flat practice area:
- Keep your front foot on the deck and your back foot on the ground beside it.
- Make one small, gentle push with the back foot. Keep the movement close to the board.
- Return that foot to the standing platform, then pivot the front foot into your coasting stance.
- Keep your knees relaxed and look along your clear route, not continuously down at your shoes.
The front-foot support, back-foot push and pivot into riding position follow Skateboard GB’s beginner sequence. One push is enough for now. More speed does not solve uncertain balance.
3. Learn a gentle footbrake before adding distance
A footbrake uses your pushing foot against the ground to slow the board. Practise at walking pace or slower, with clear space ahead—not as an emergency experiment once you are going too fast.
- Turn your front foot towards the nose again, as you would for pushing.
- Keep your weight supported by that leg and bend the knee so the other foot can reach the ground.
- Lower the pushing foot beside the board, clear of the wheels. Gently brush the sole along the surface rather than stamping it down.
- Build pressure gradually until stopped. Put both feet on the ground and reset.
If the foot catches or bounces, stop the exercise and return to stationary balance practice; an instructor can help you find the movement. Hopkin Skate’s longboard tutorial also starts footbraking with a gentle ground-brushing action and keeping the foot clear of the wheel.
Do not rely on dragging the tail, jumping off or turning into a hill to stop. This first-session footbrake practice is not preparation for downhill riding.
4. Add wide, gentle turns
Once you can push and stop deliberately, try a shallow turn with both feet on the deck. Keep your knees bent and shift a little pressure towards your toes. Return to centre, then try a little heel-side pressure. The deck tilts and the trucks steer; you do not need to lift the front wheels.
Keep the arc wide, the speed low and the route empty. Stop, reset and try the other direction. Decathlon’s longboarding guide explains this toe-and-heel steering action. Turning is a separate skill from braking, so keep practising both.
When it feels awkward, make the task smaller
“I rush to get both feet on.”
Go back to the stationary footwork. Separate lifting the back foot, placing it and turning the front foot. You do not have to do the whole sequence quickly.
“I can roll, but stopping feels messy.”
Keep the next attempt shorter and slower. Work on the stop rather than extending the ride. If you cannot repeat it comfortably, get hands-on help from a qualified skate instructor.
“The board feels wrong.”
Pause and ask a skate shop to check the setup. Do not start tightening or loosening hardware at random to compensate for an unfamiliar feeling.
What counts as a good first session?
Choose a simple checkpoint: can you start, make a short roll and stop where you intended, several times without rushing? Can you repeat a gentle turn in each direction while staying in your clear space?
If not, that is your next session sorted. If yes, link those same skills together on flat ground. There is no need to graduate to a hill. A qualified lesson is useful whenever you want feedback on balance, stopping or safe progression.
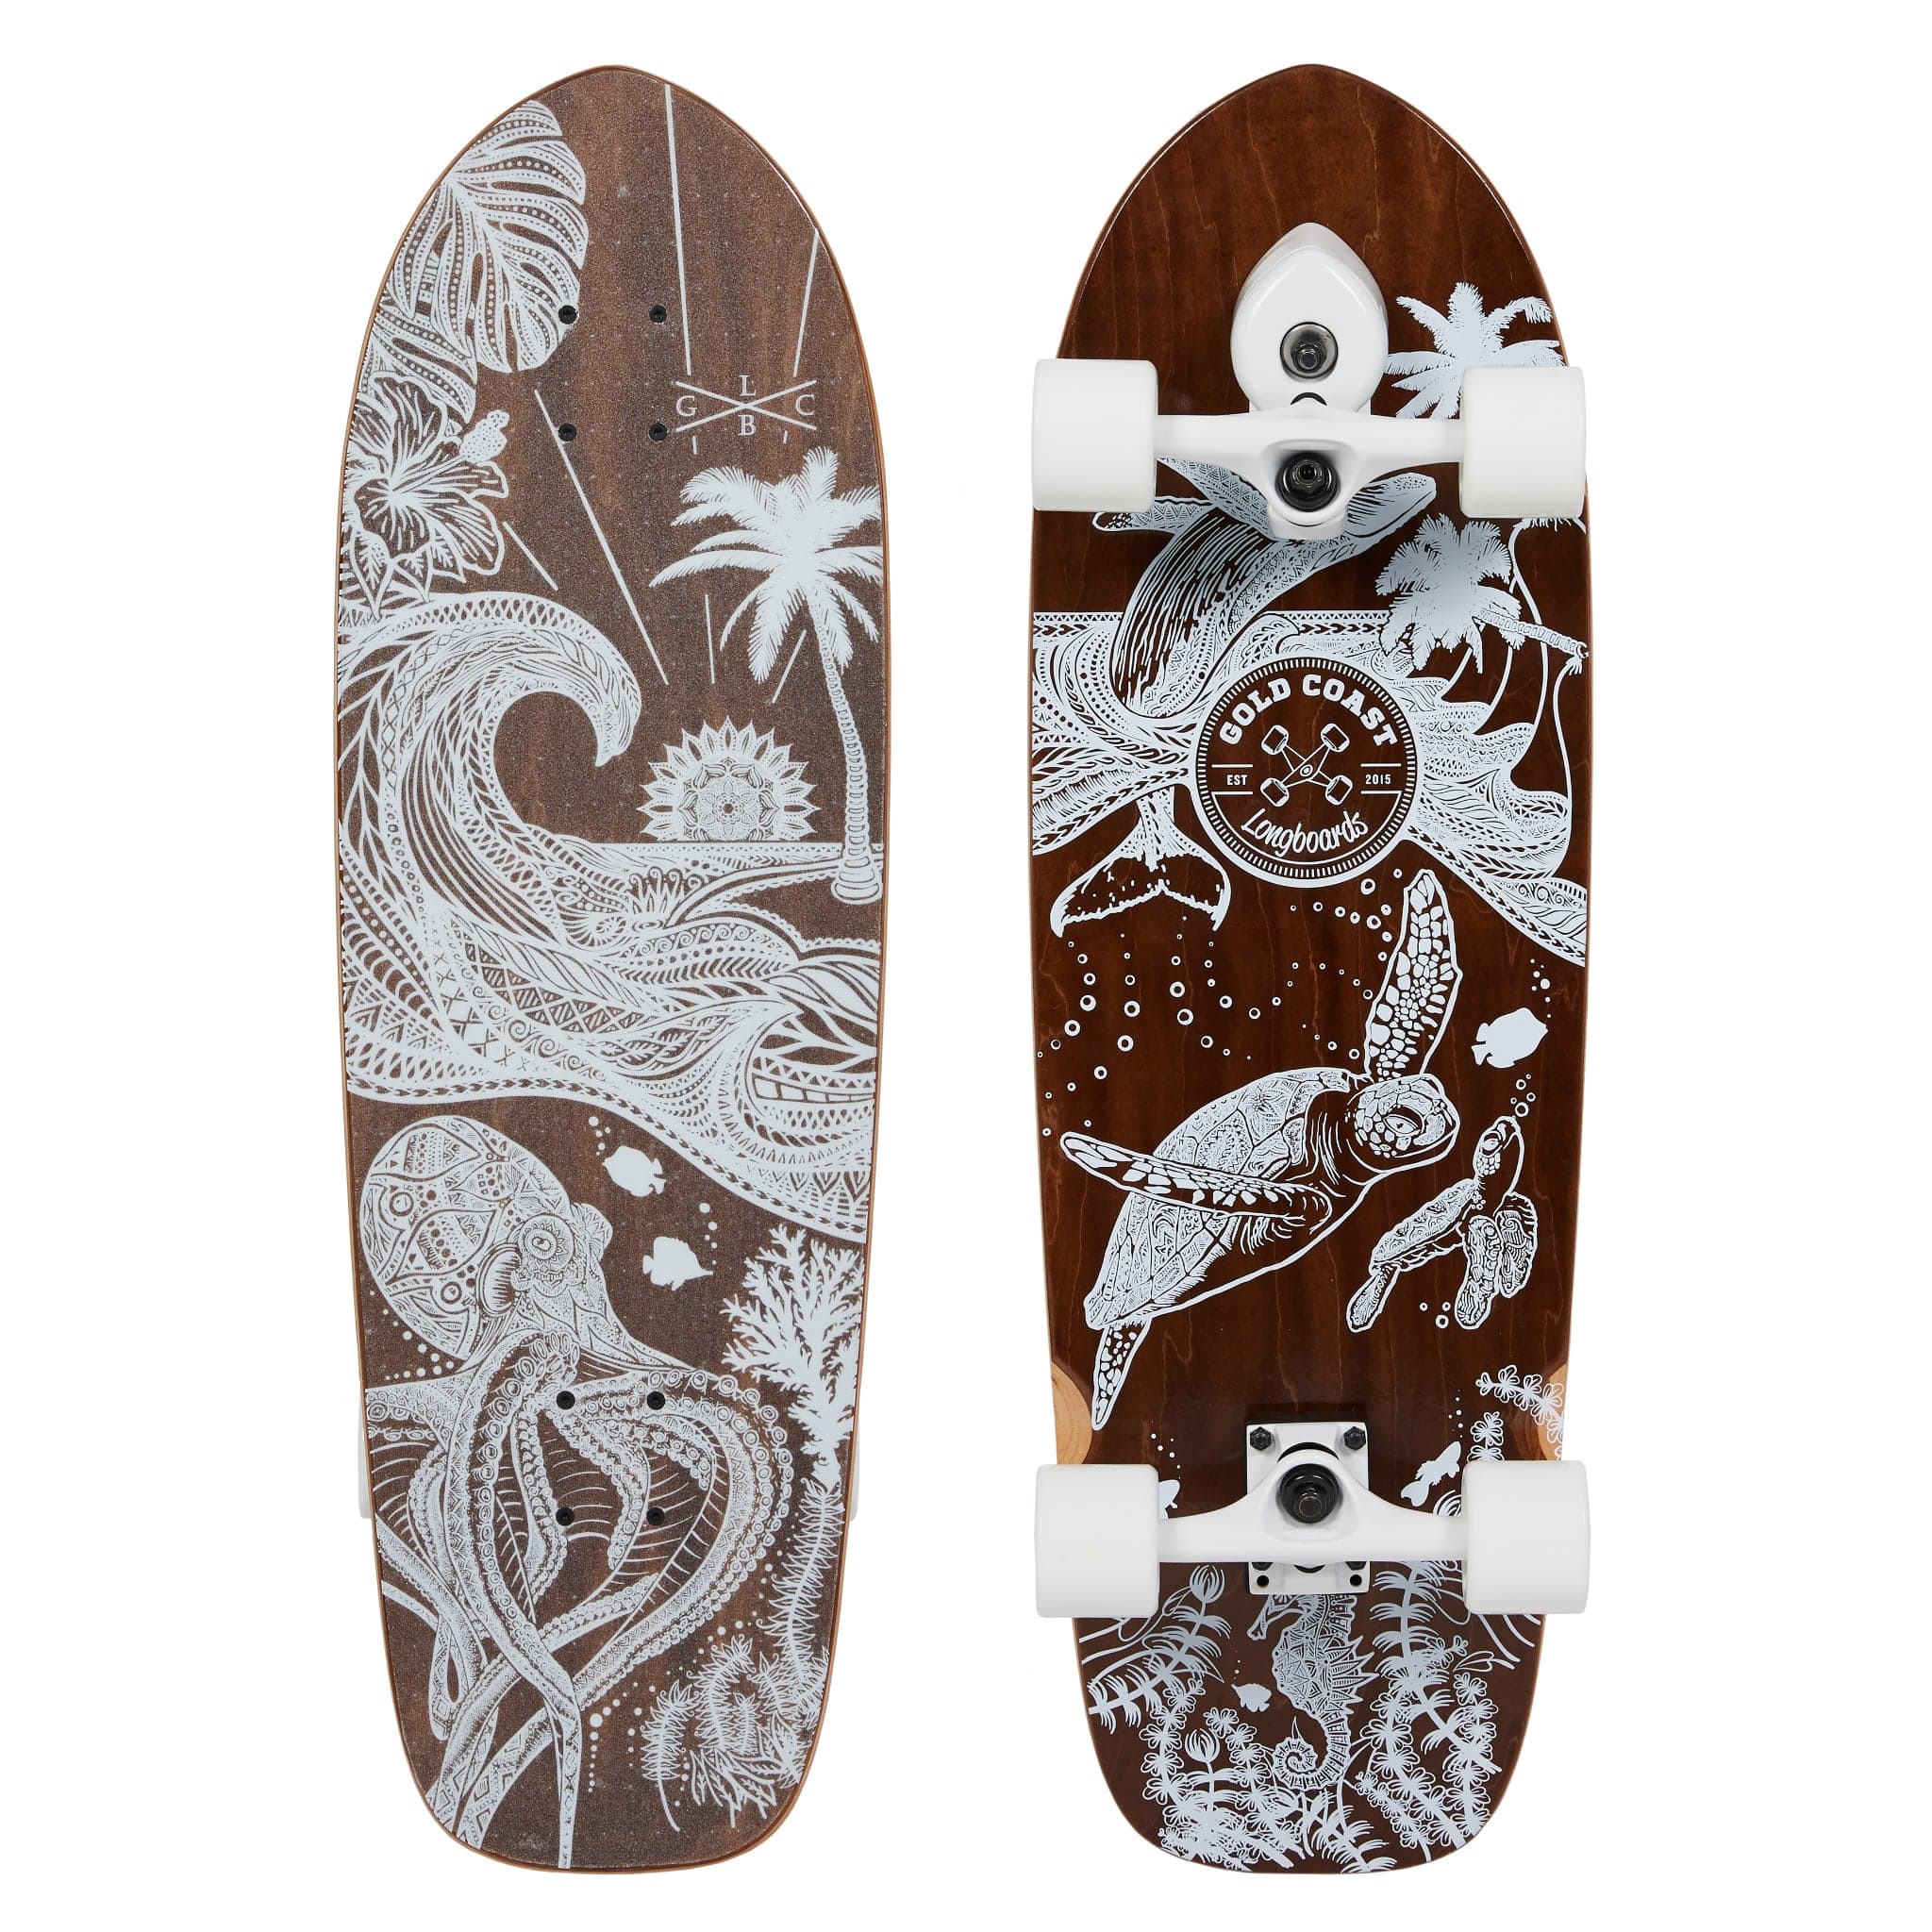
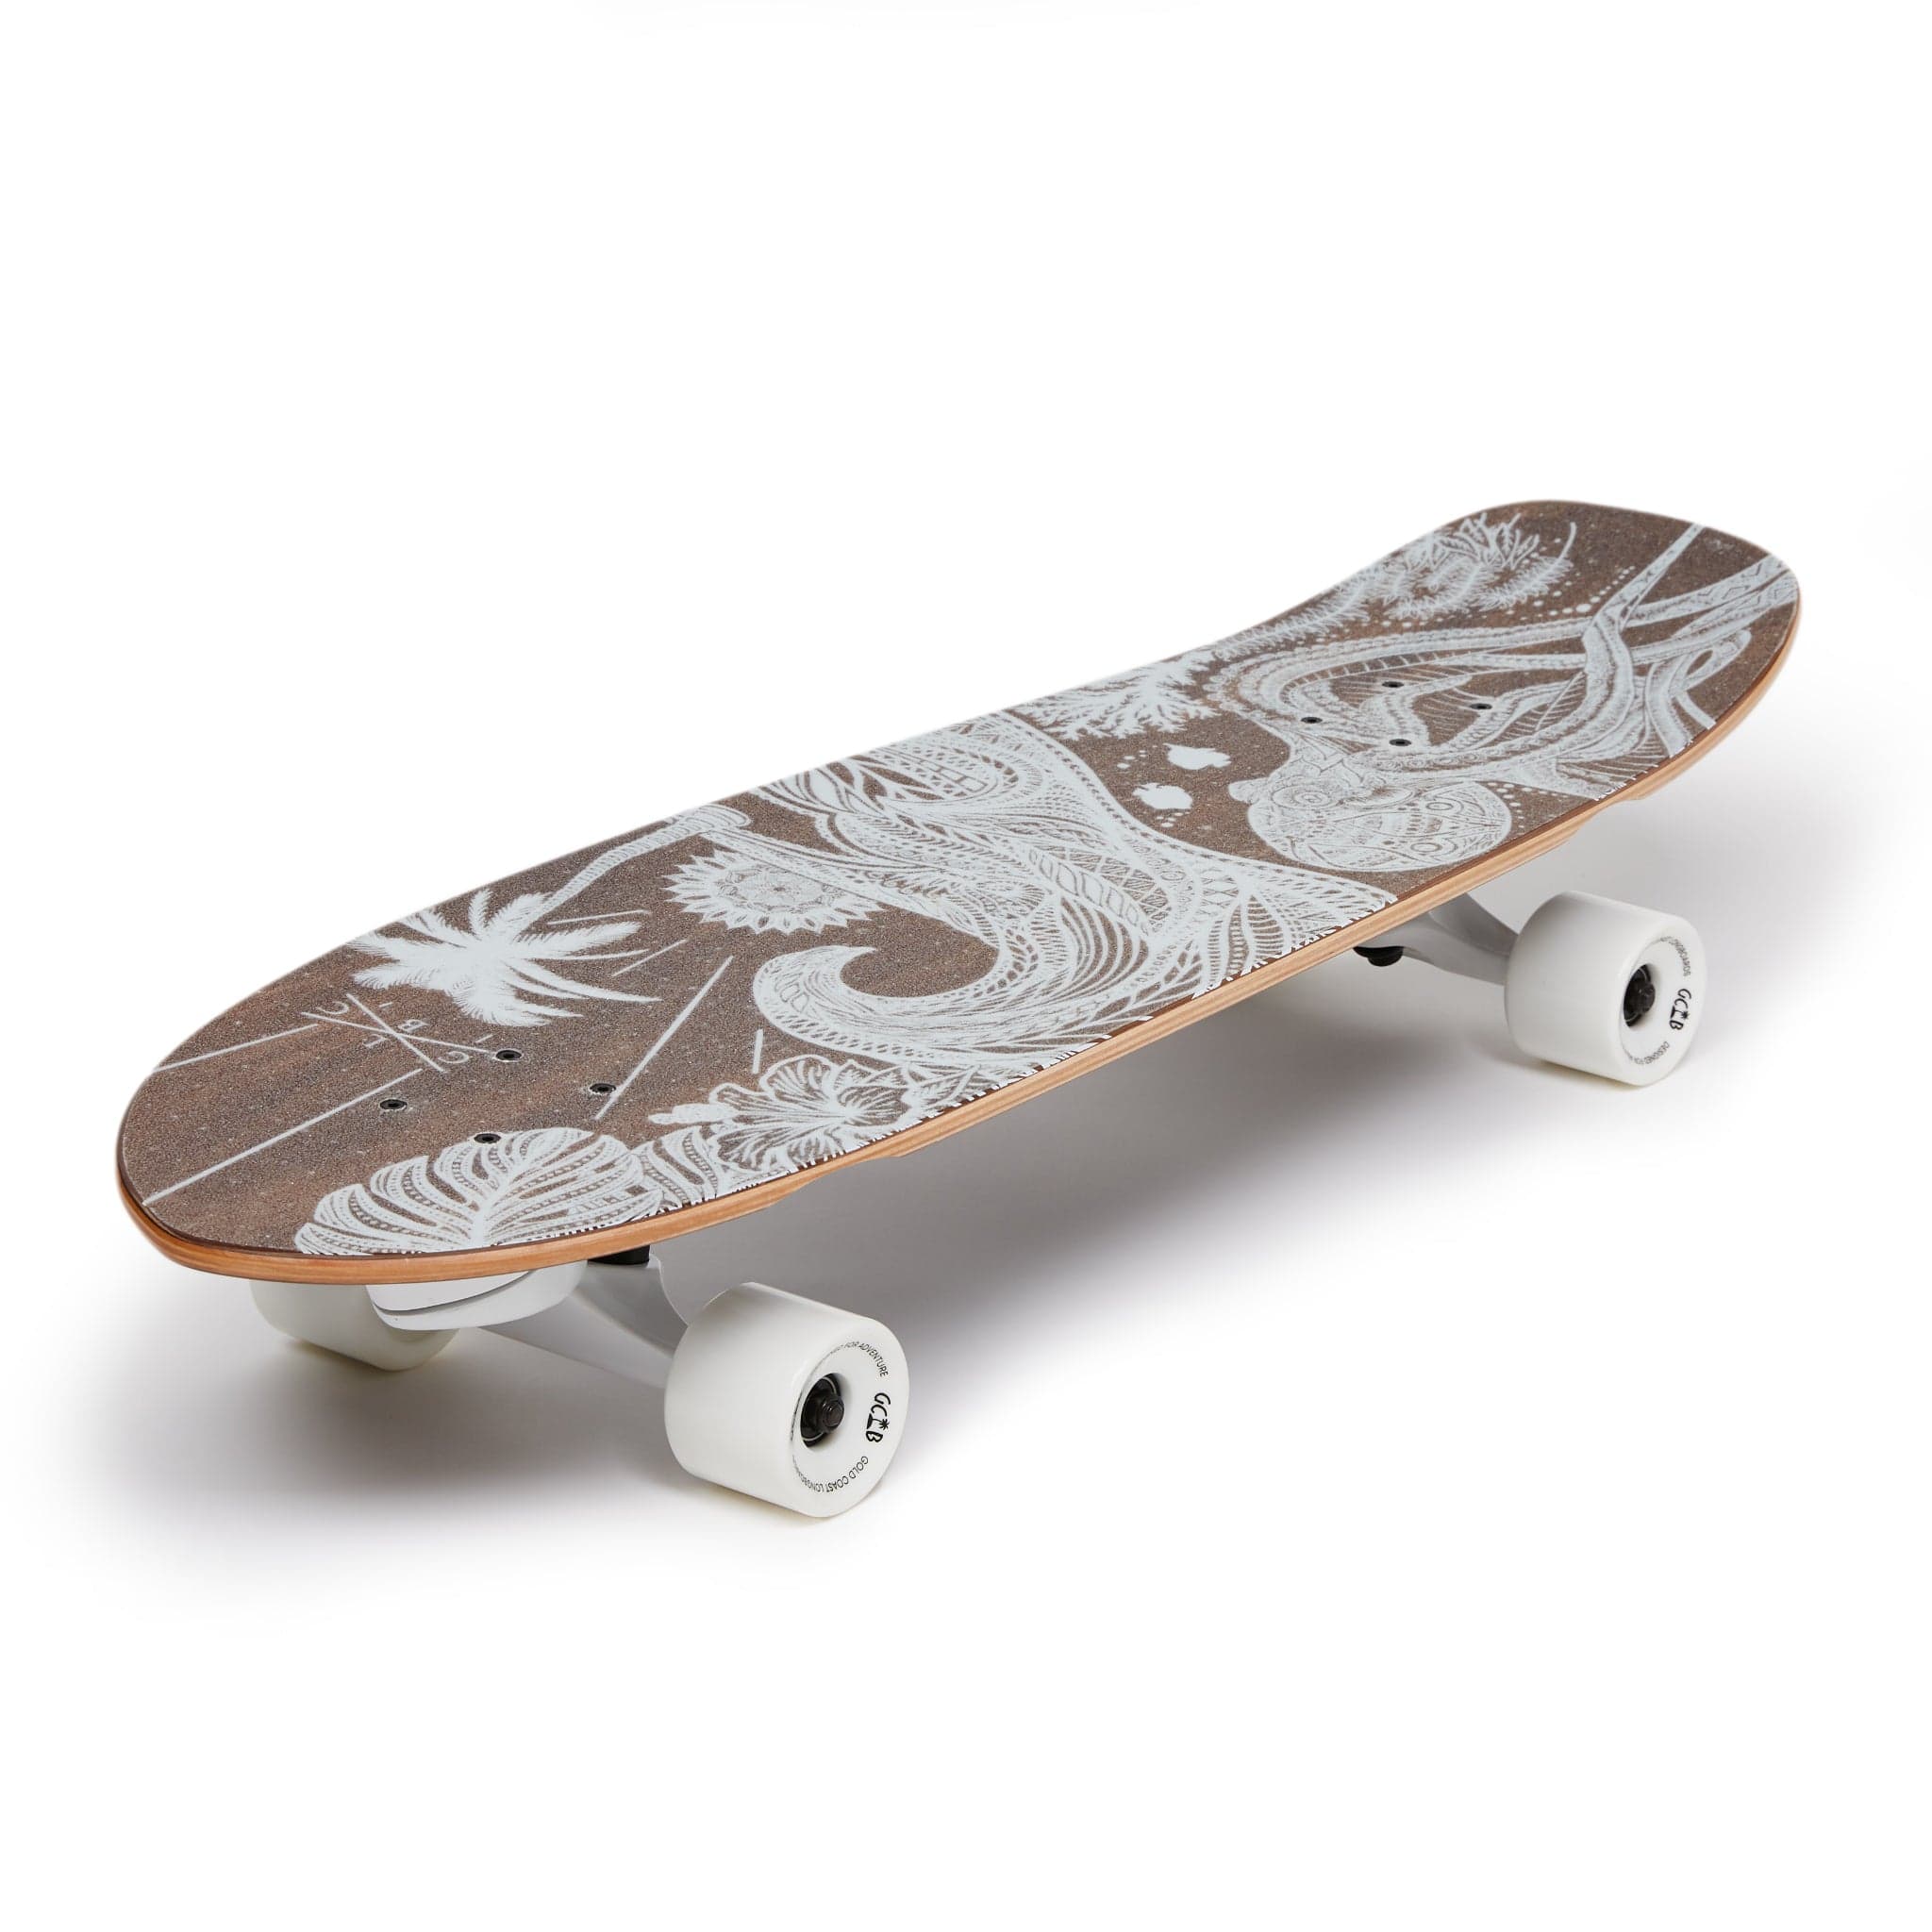
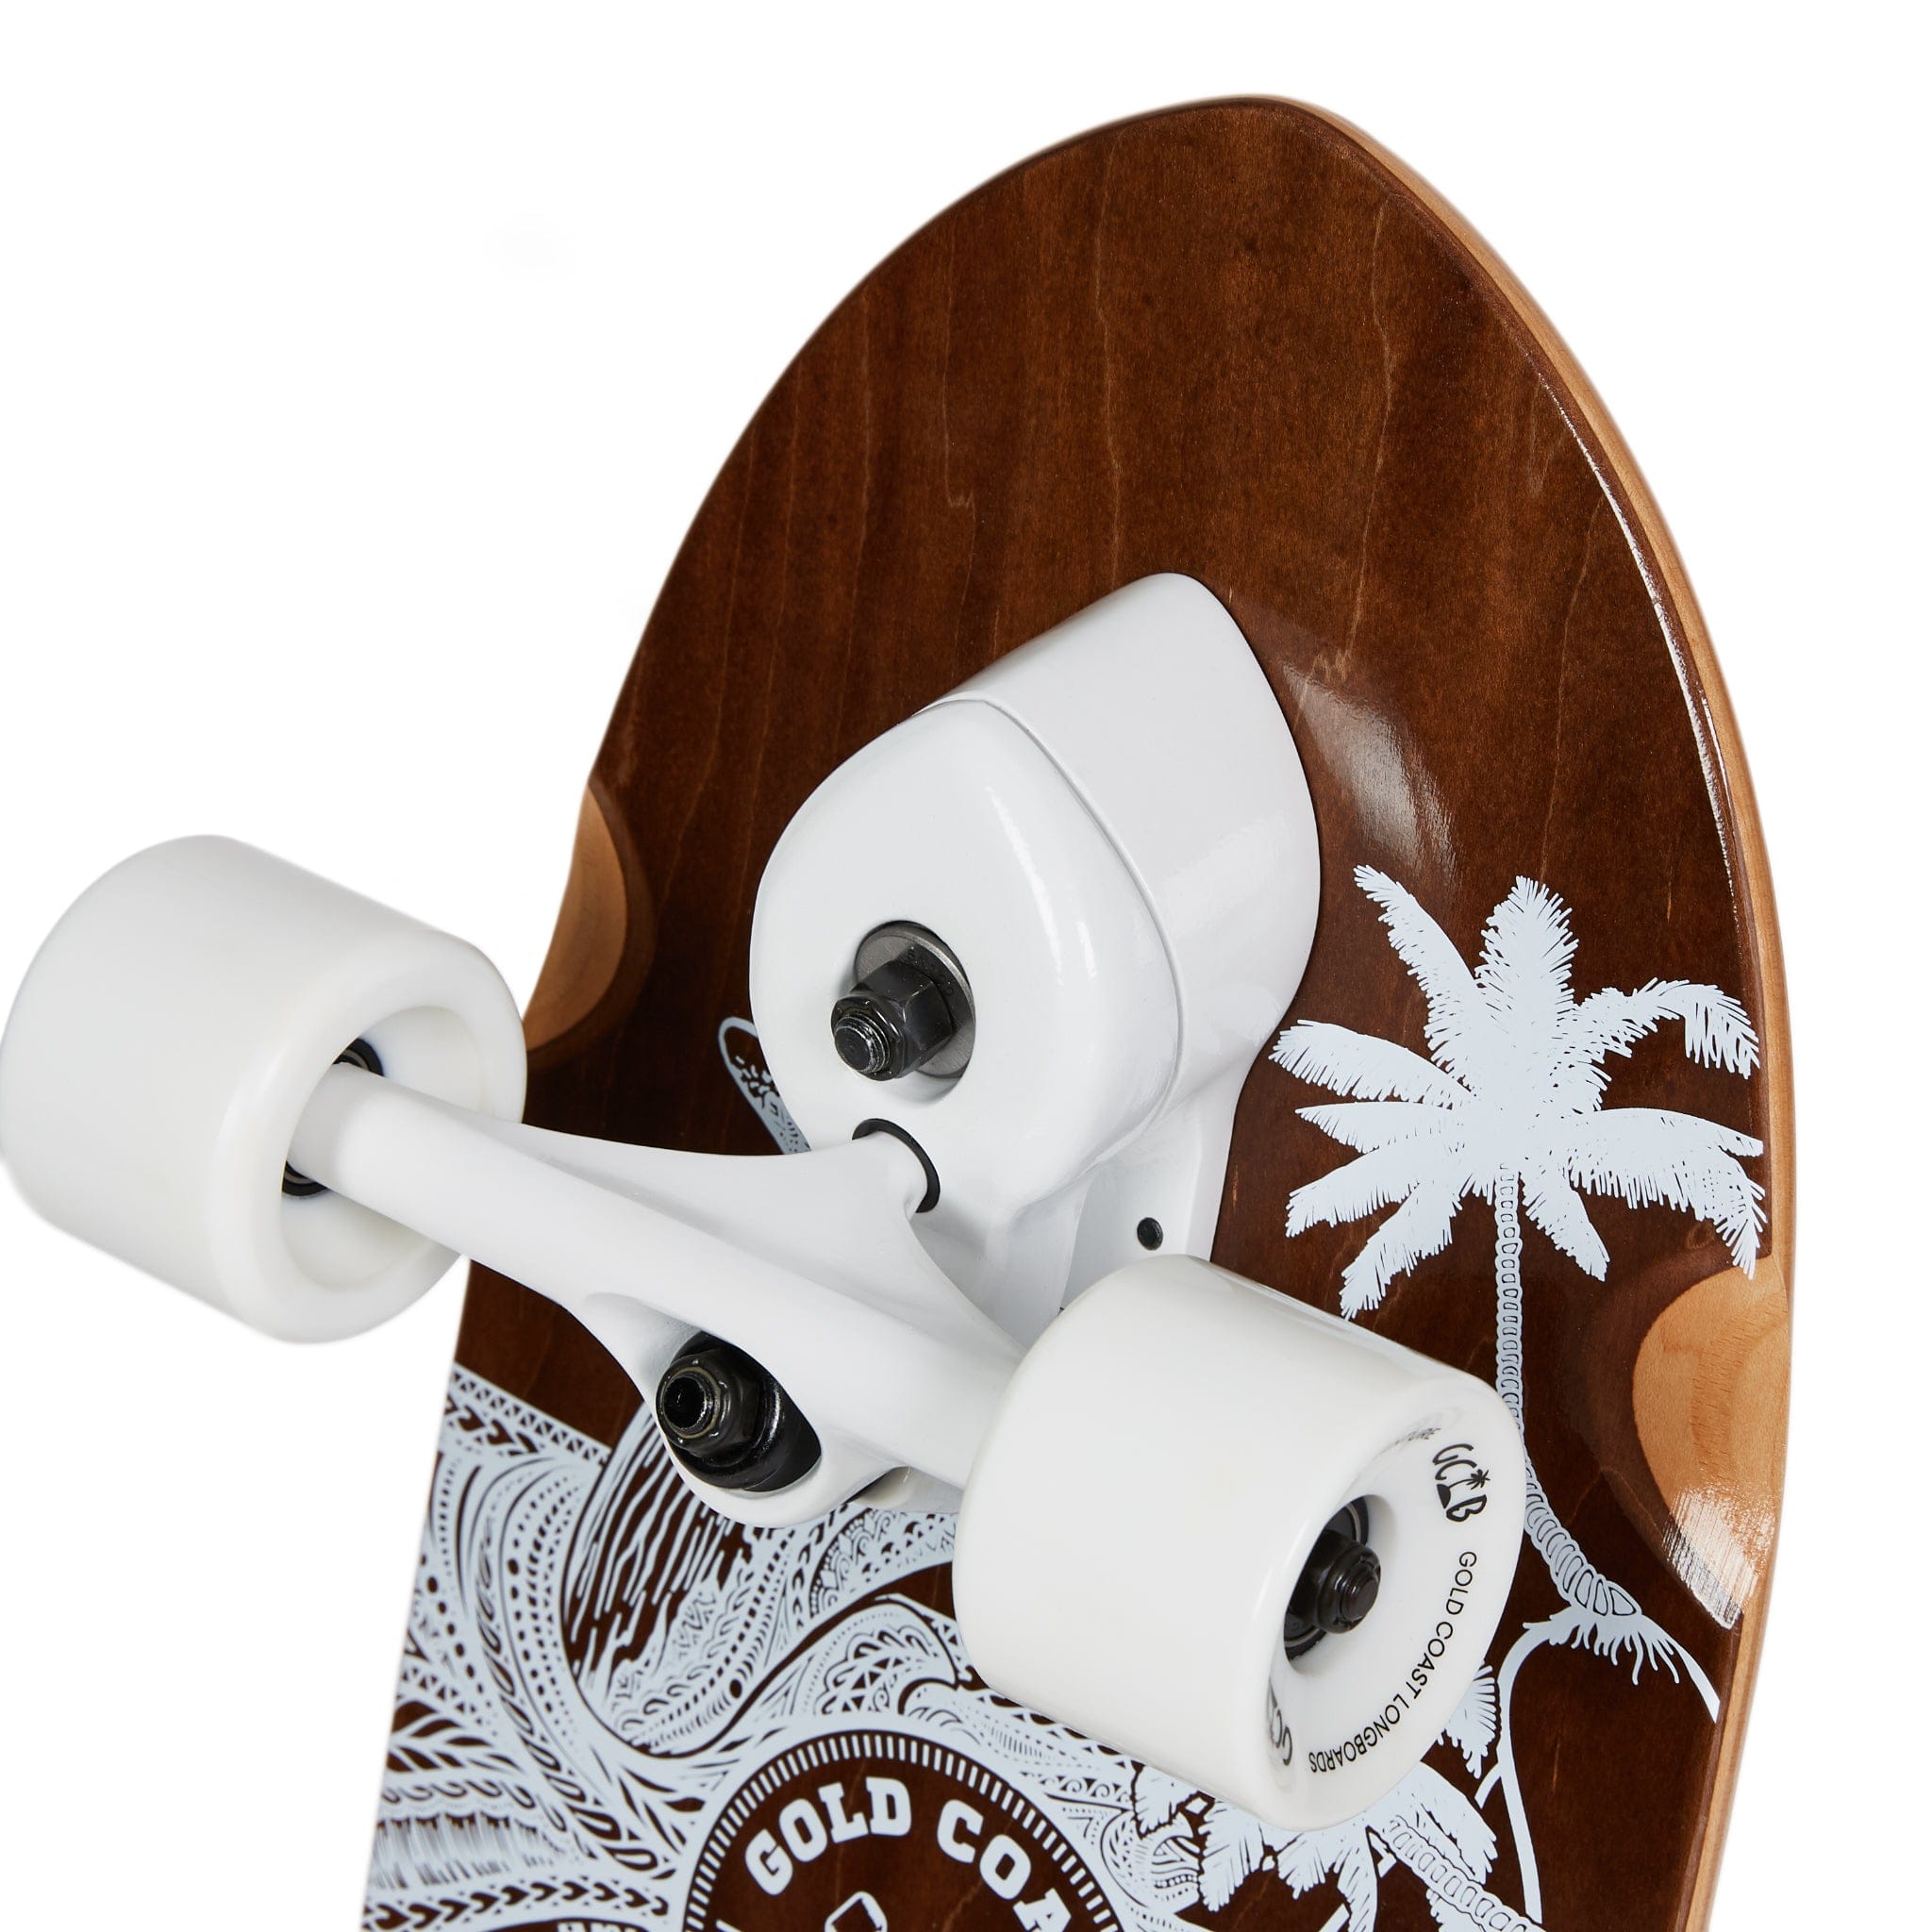
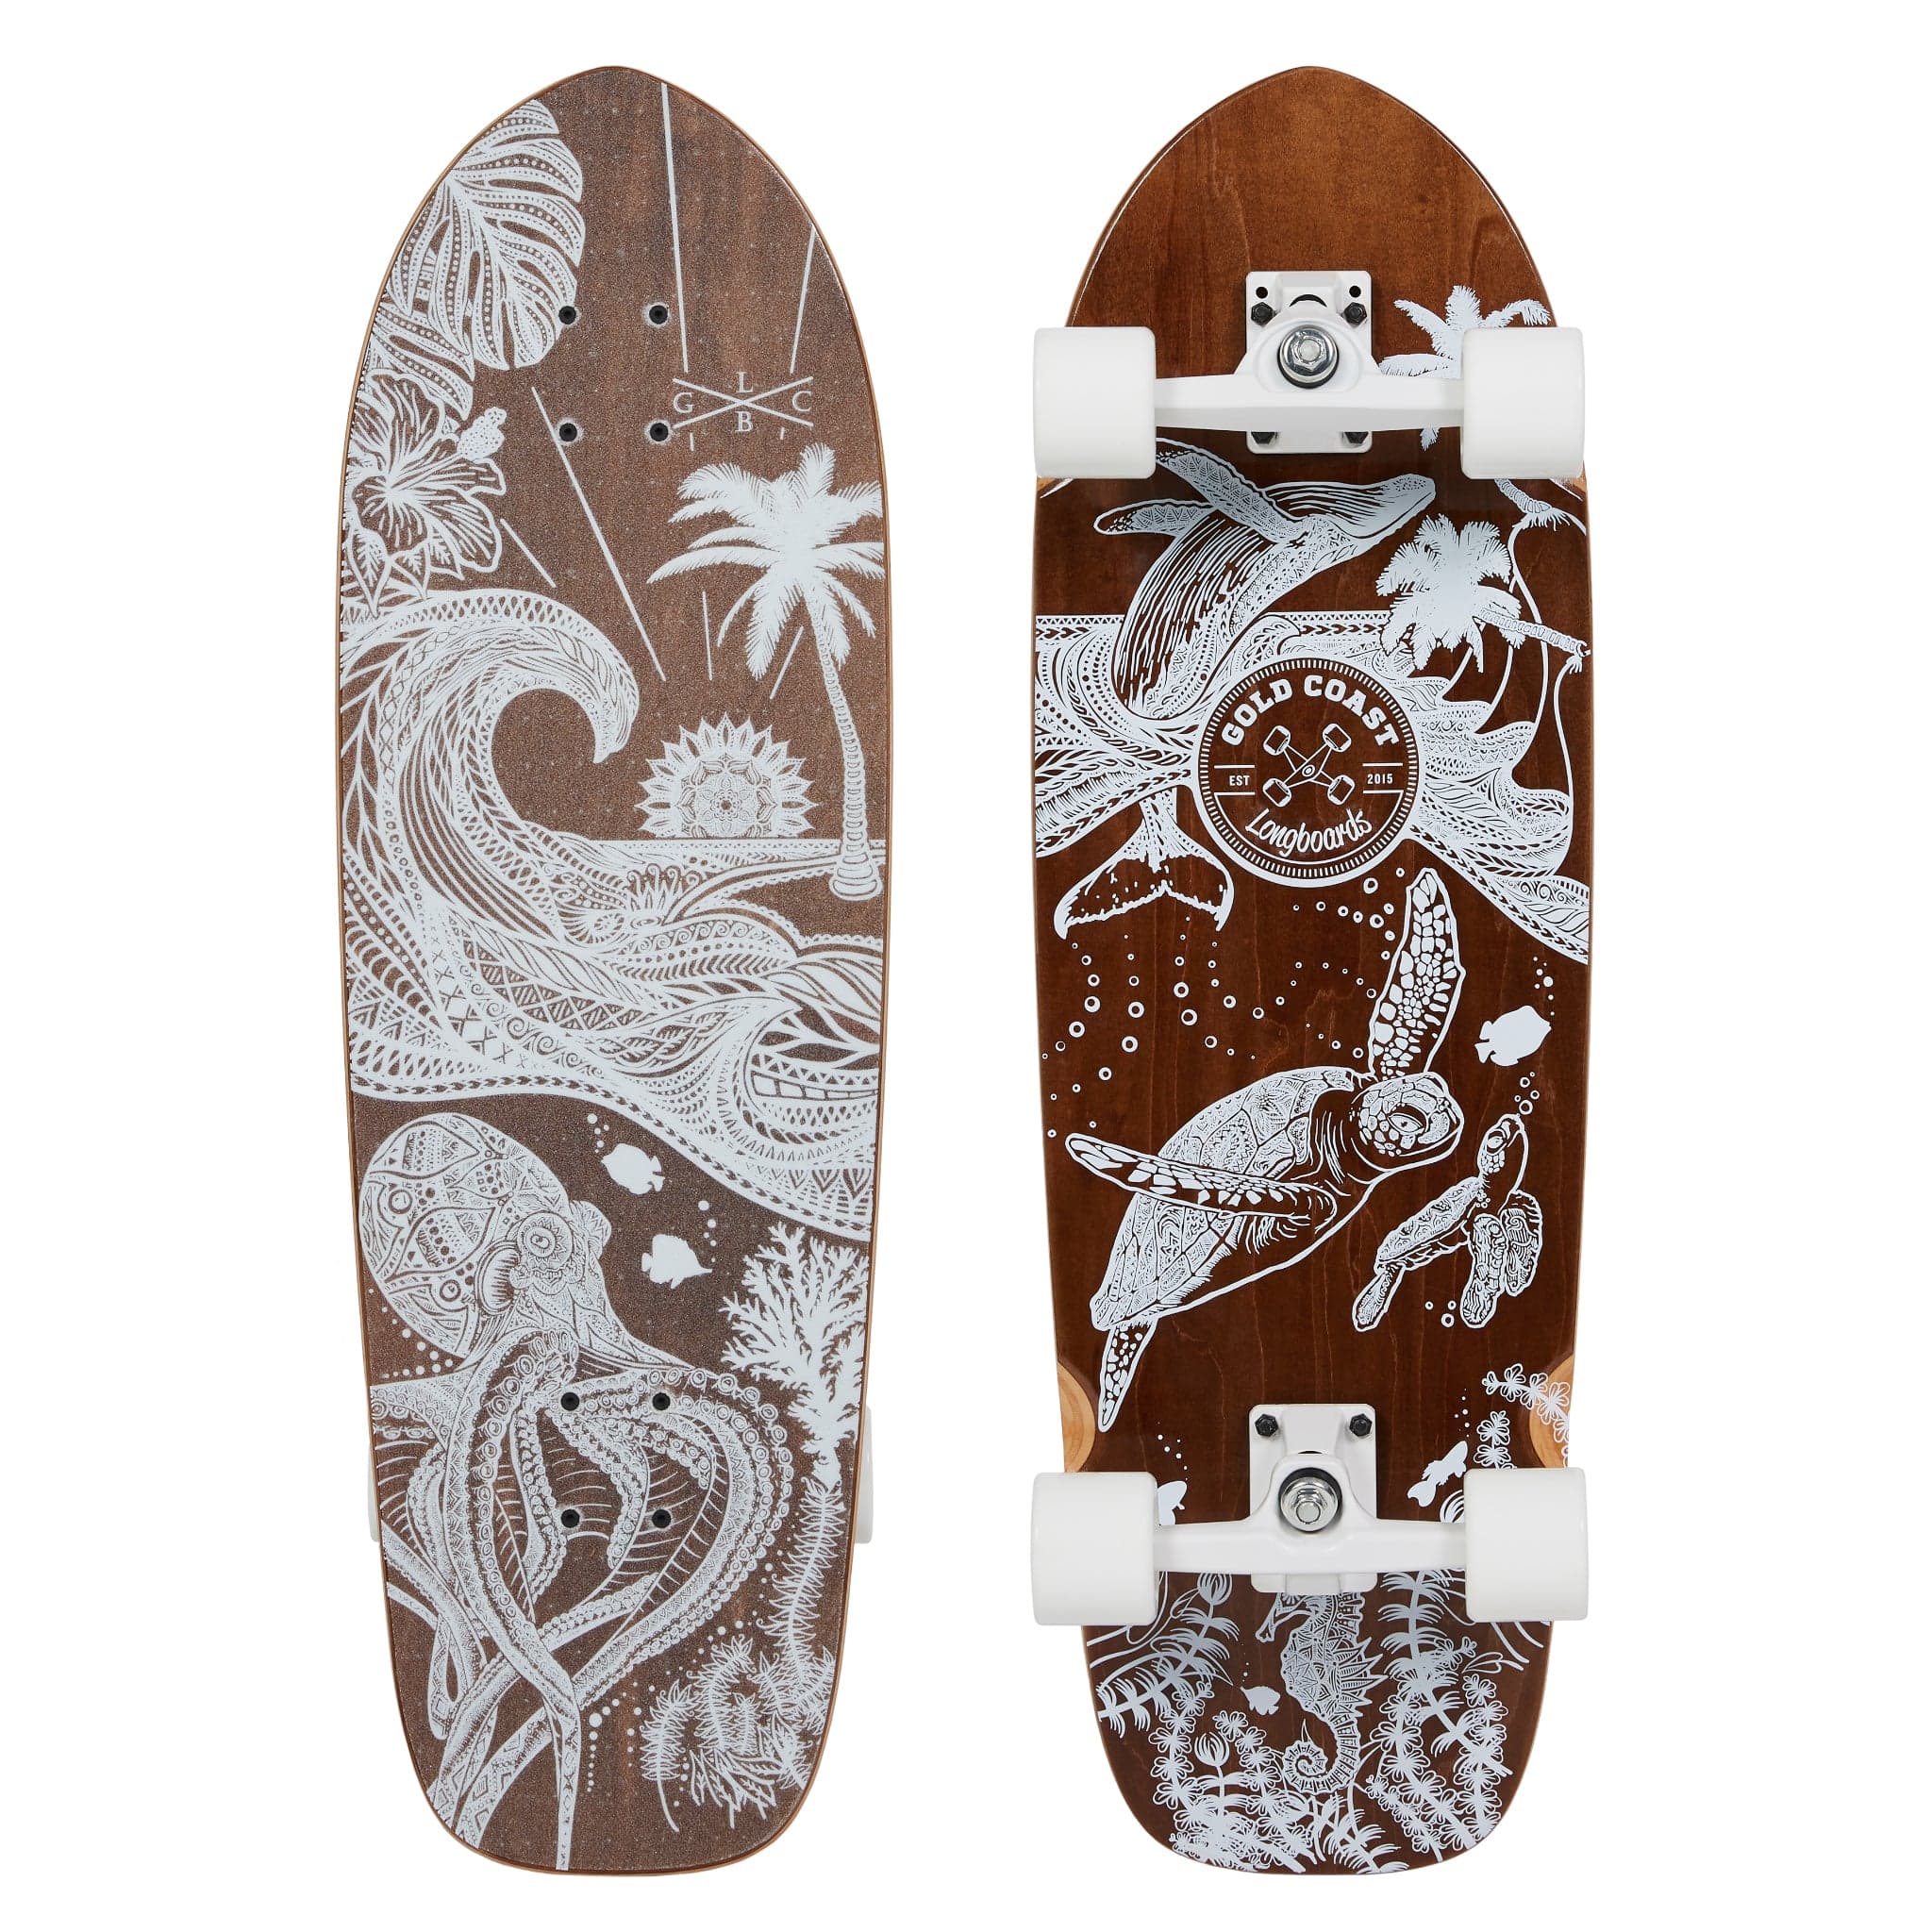
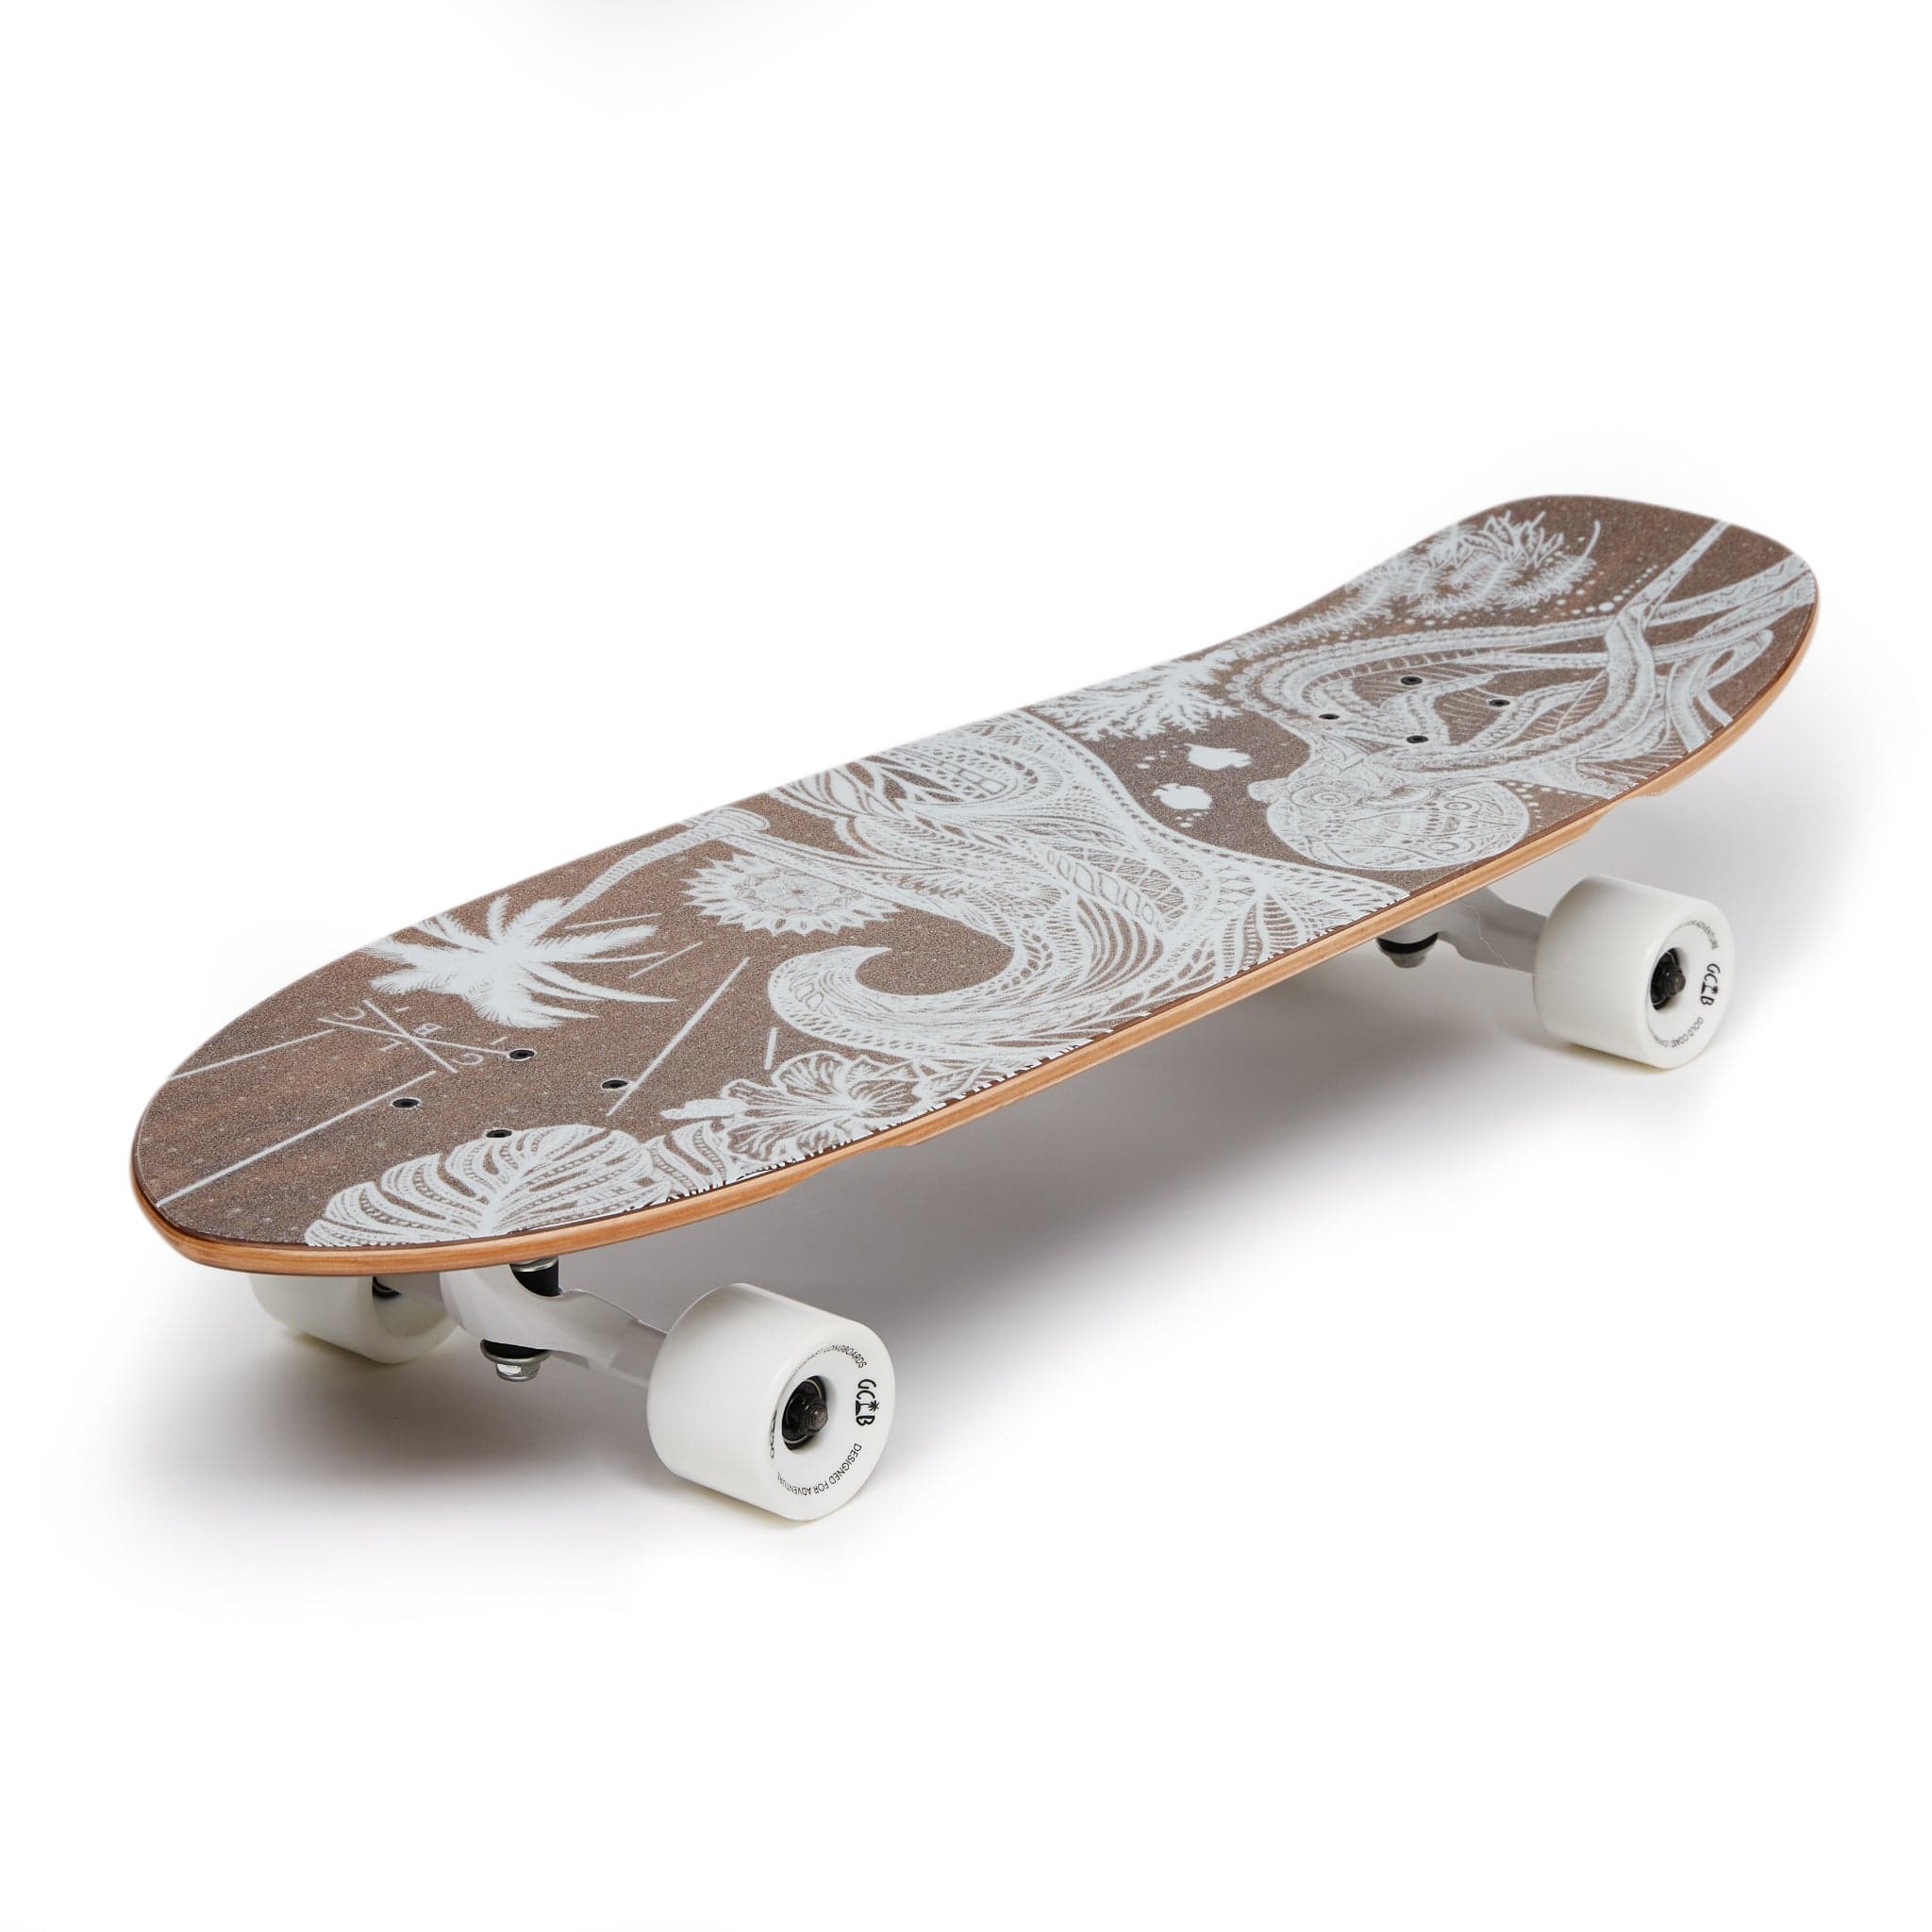
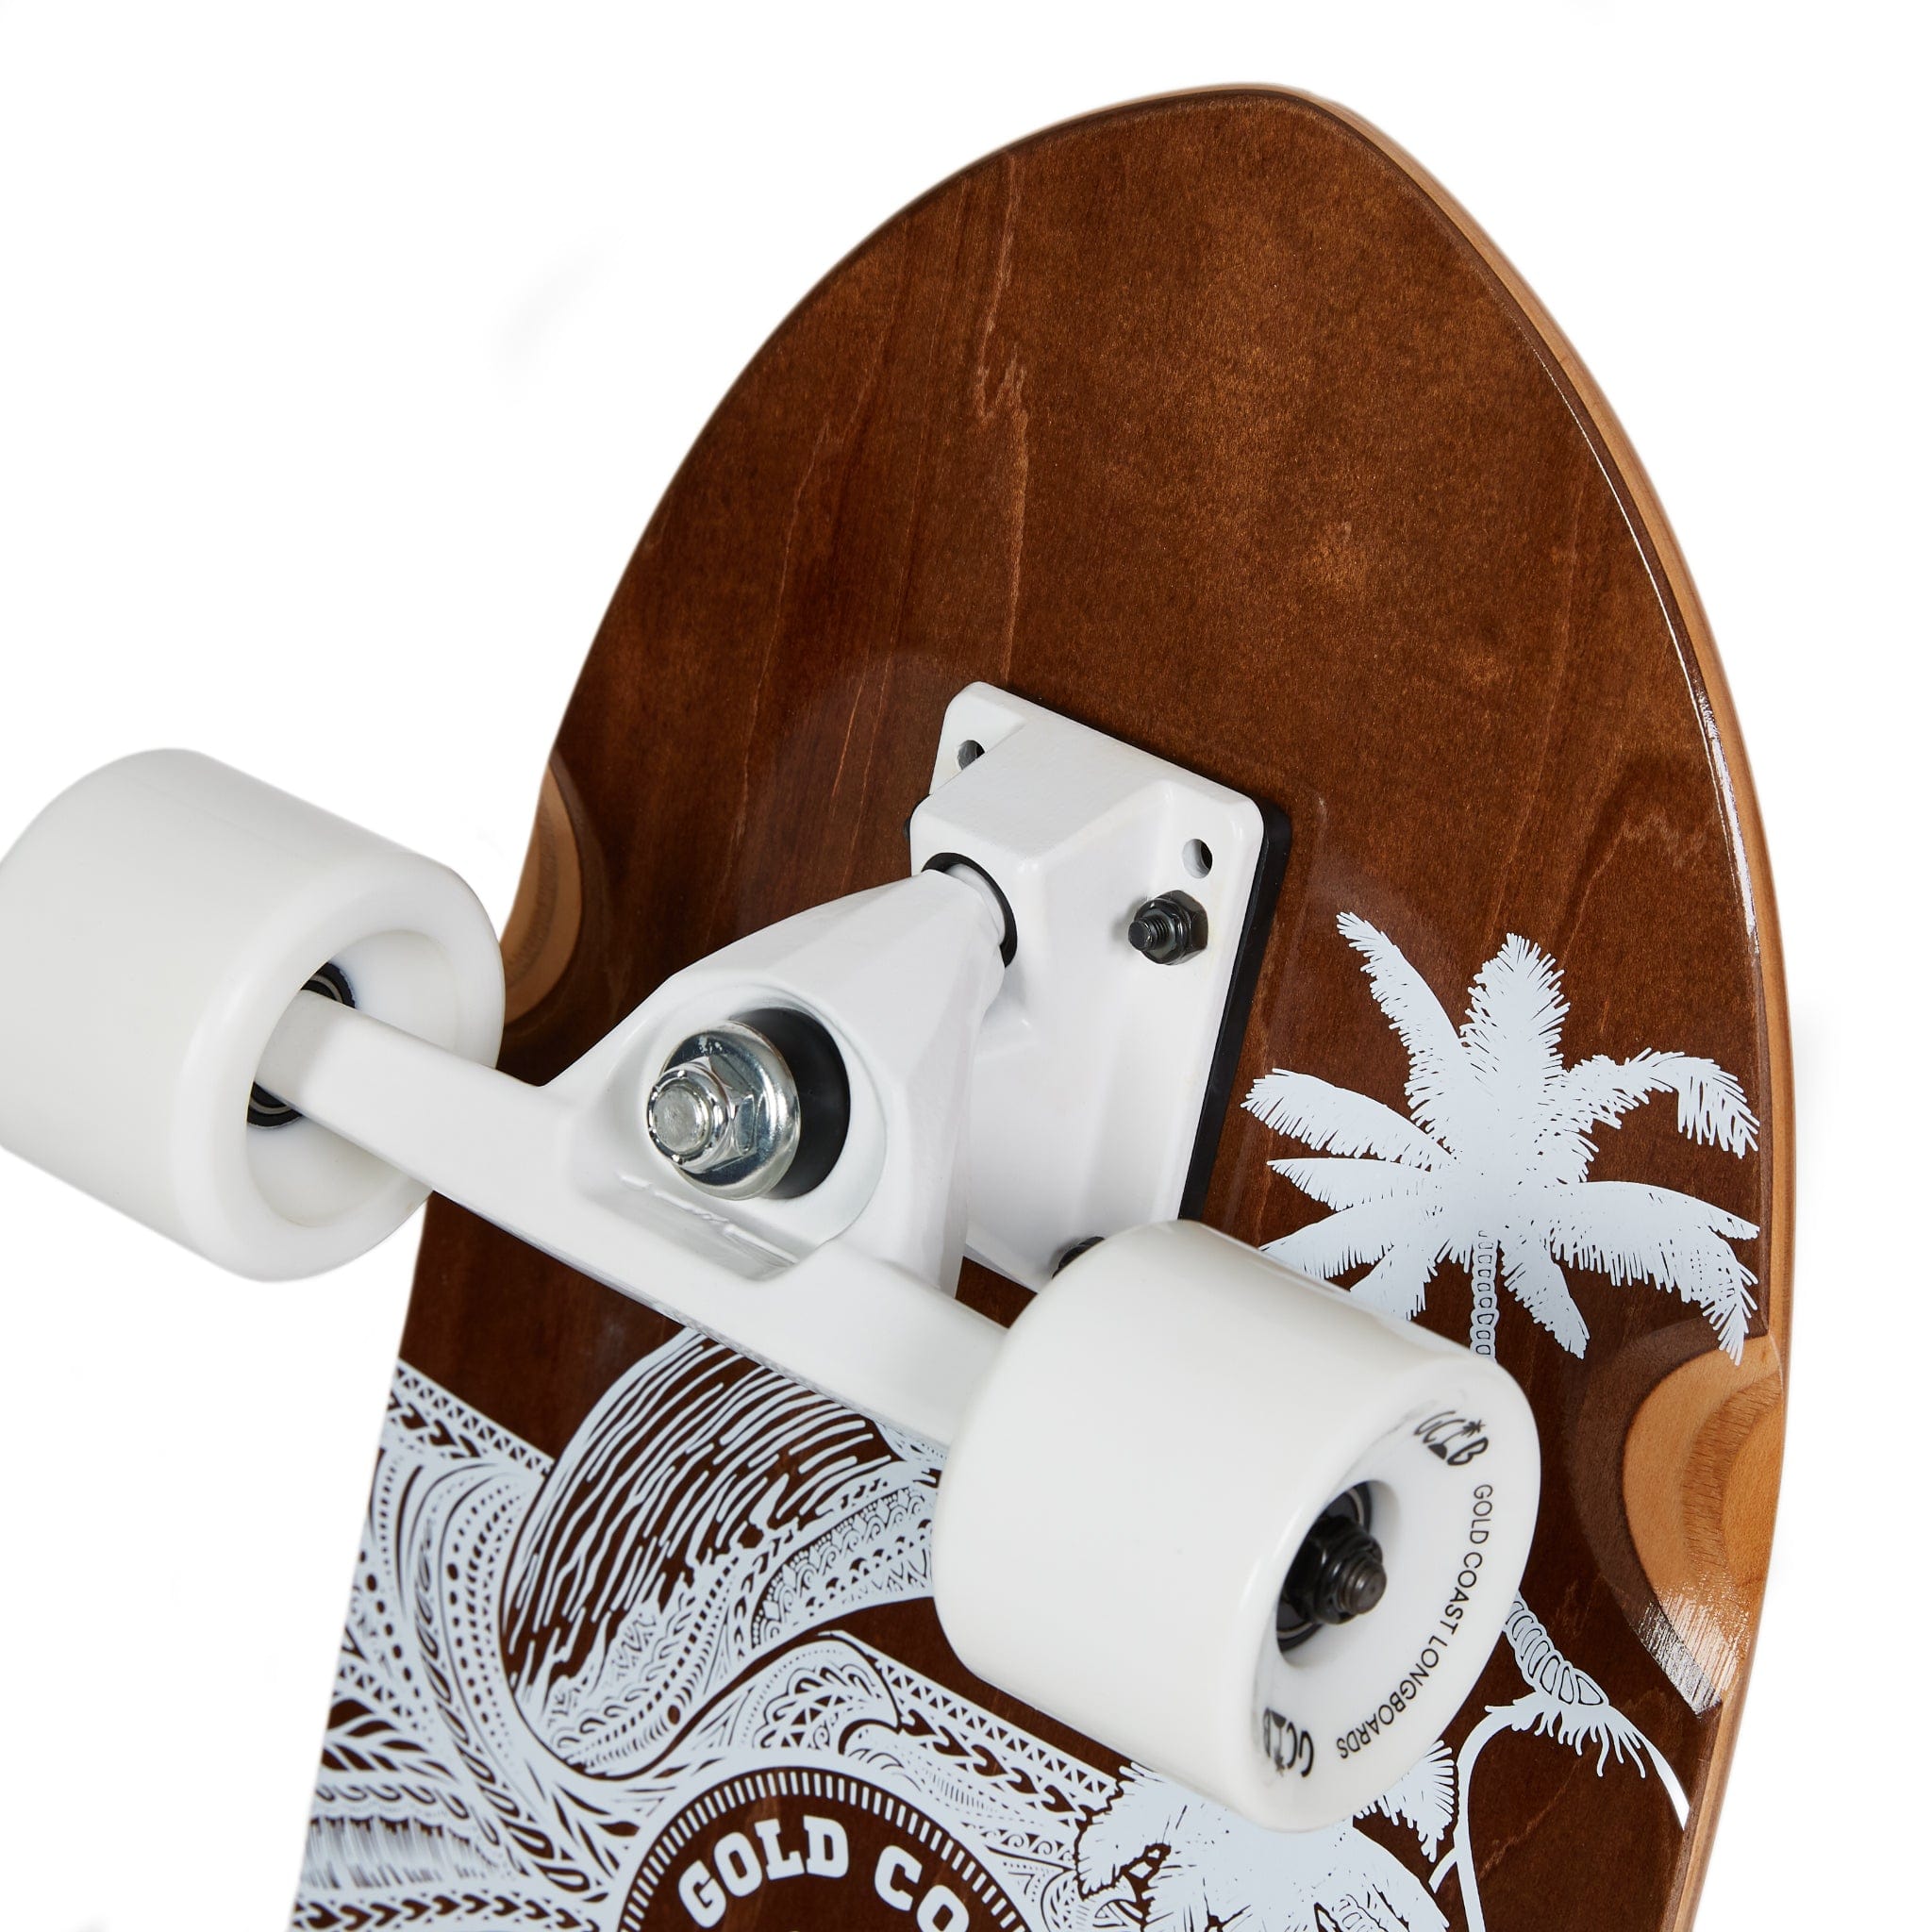
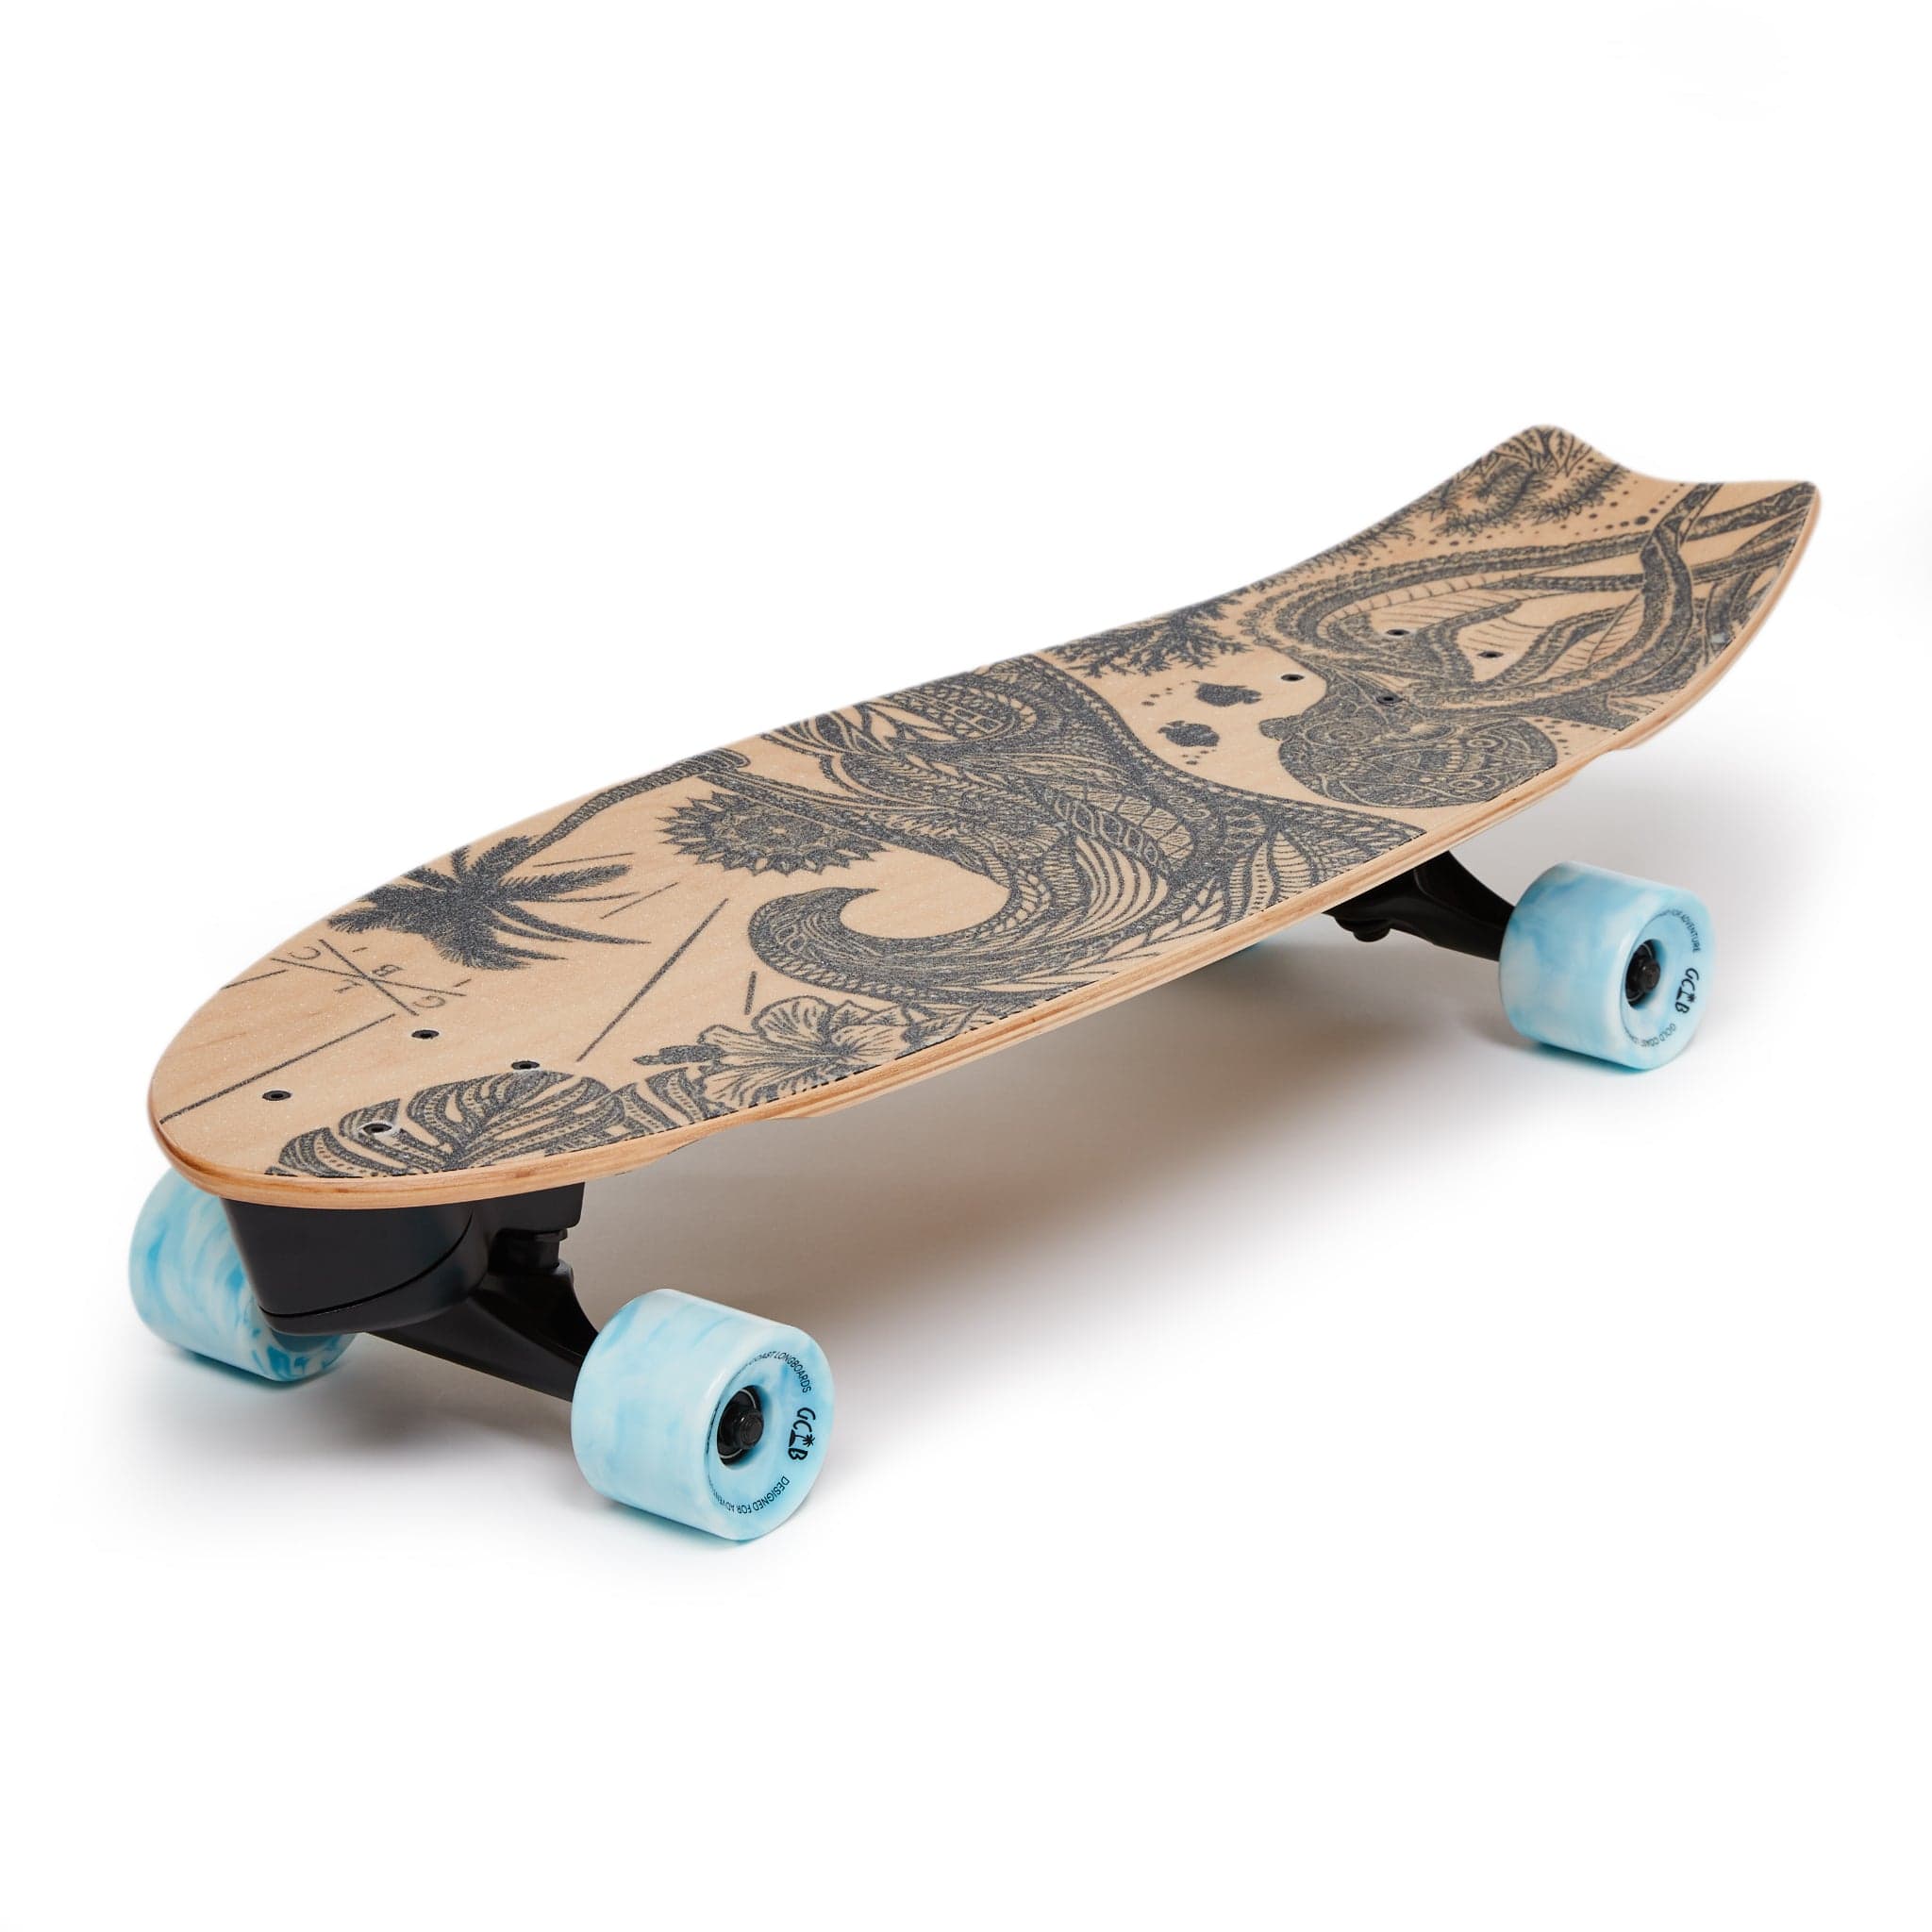
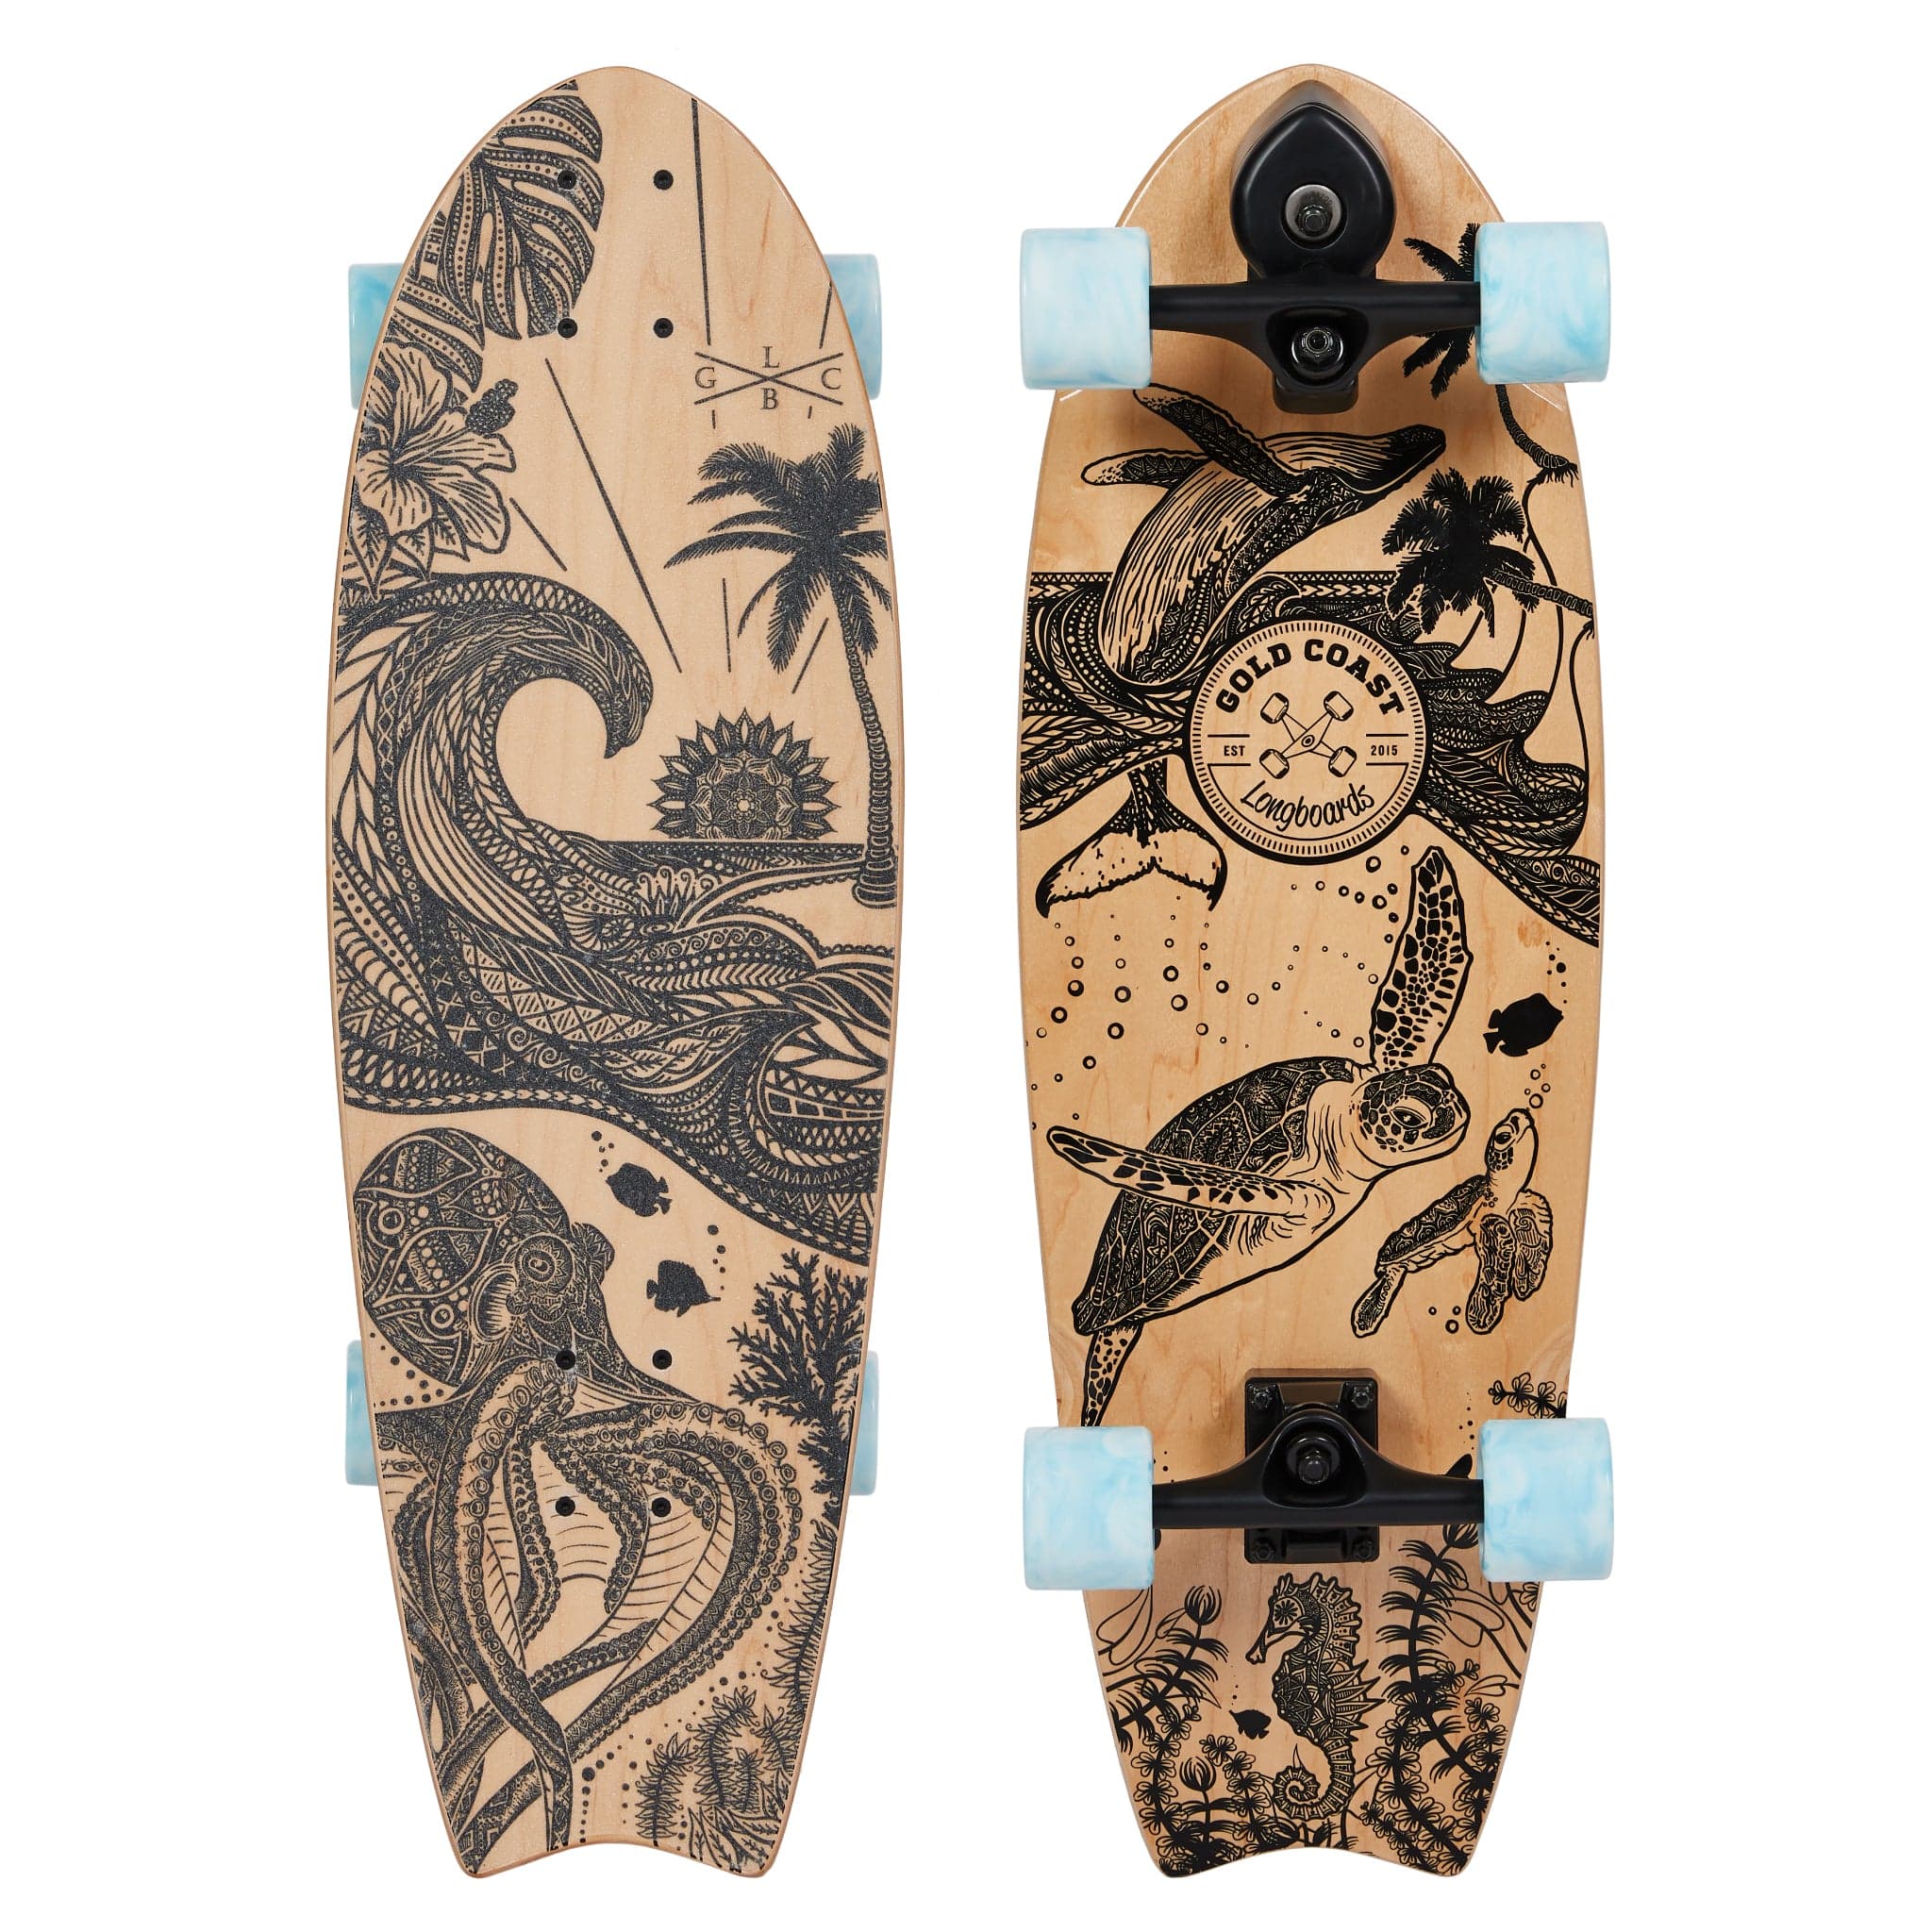
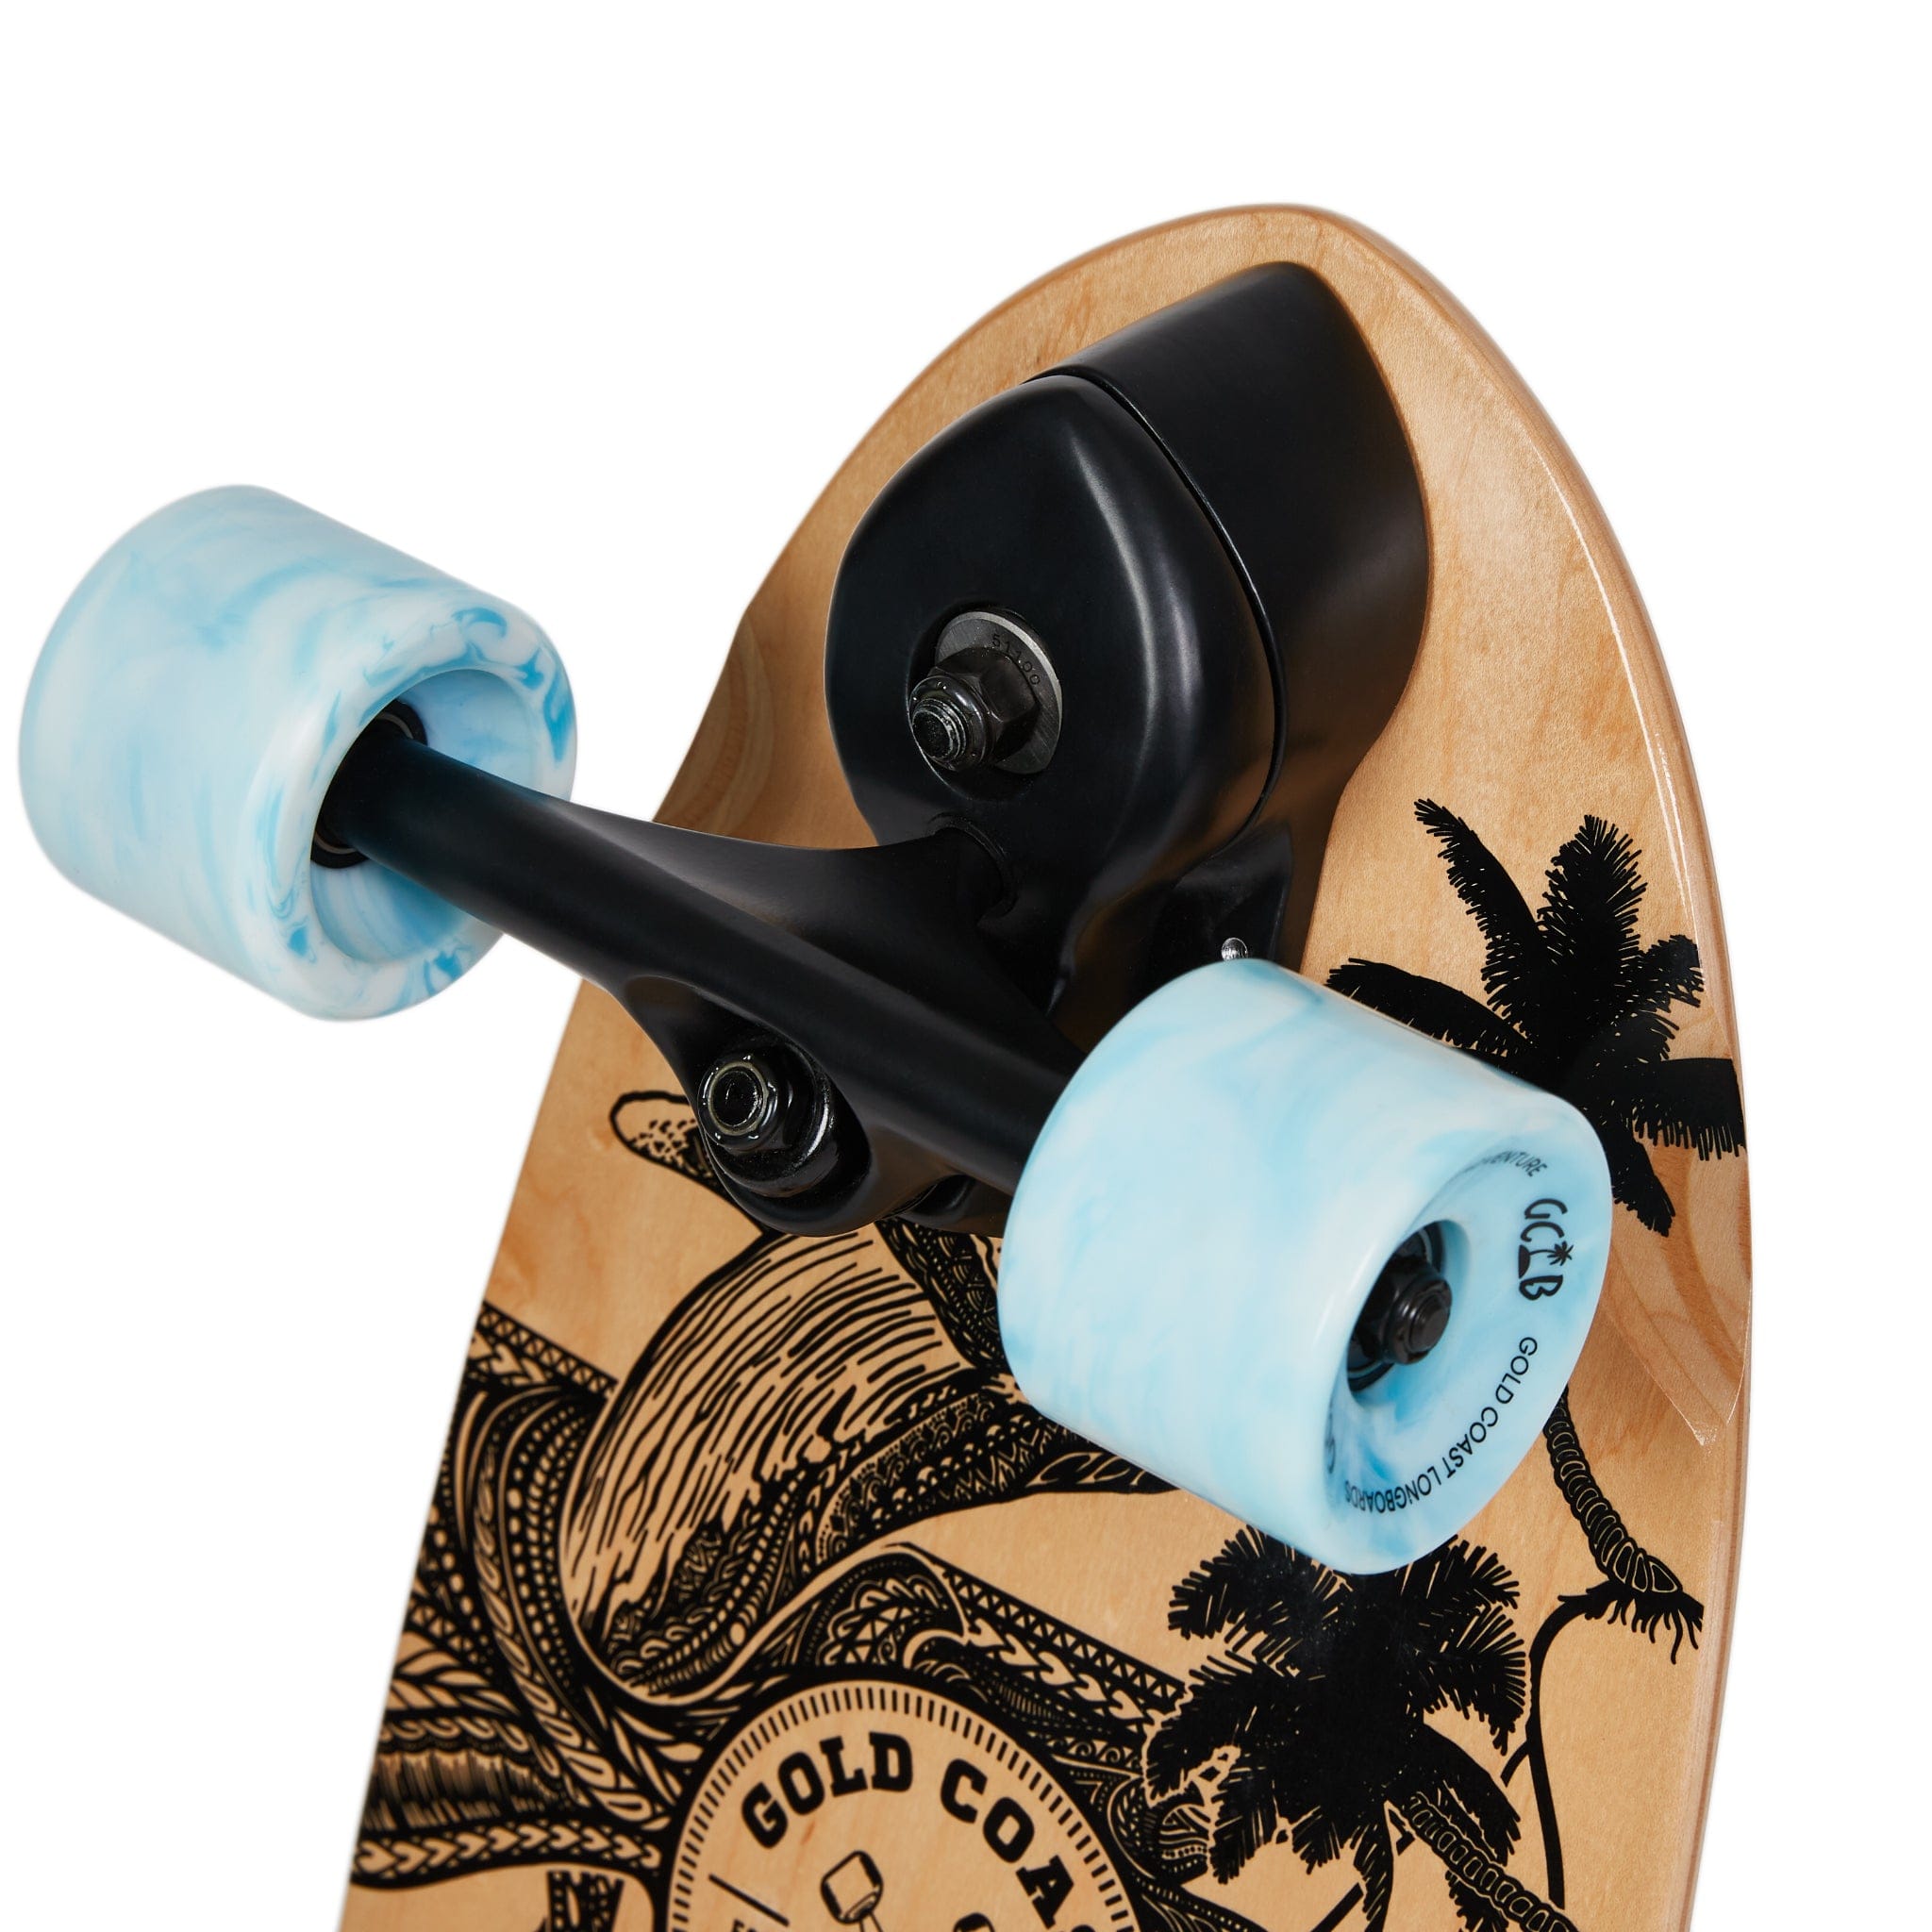
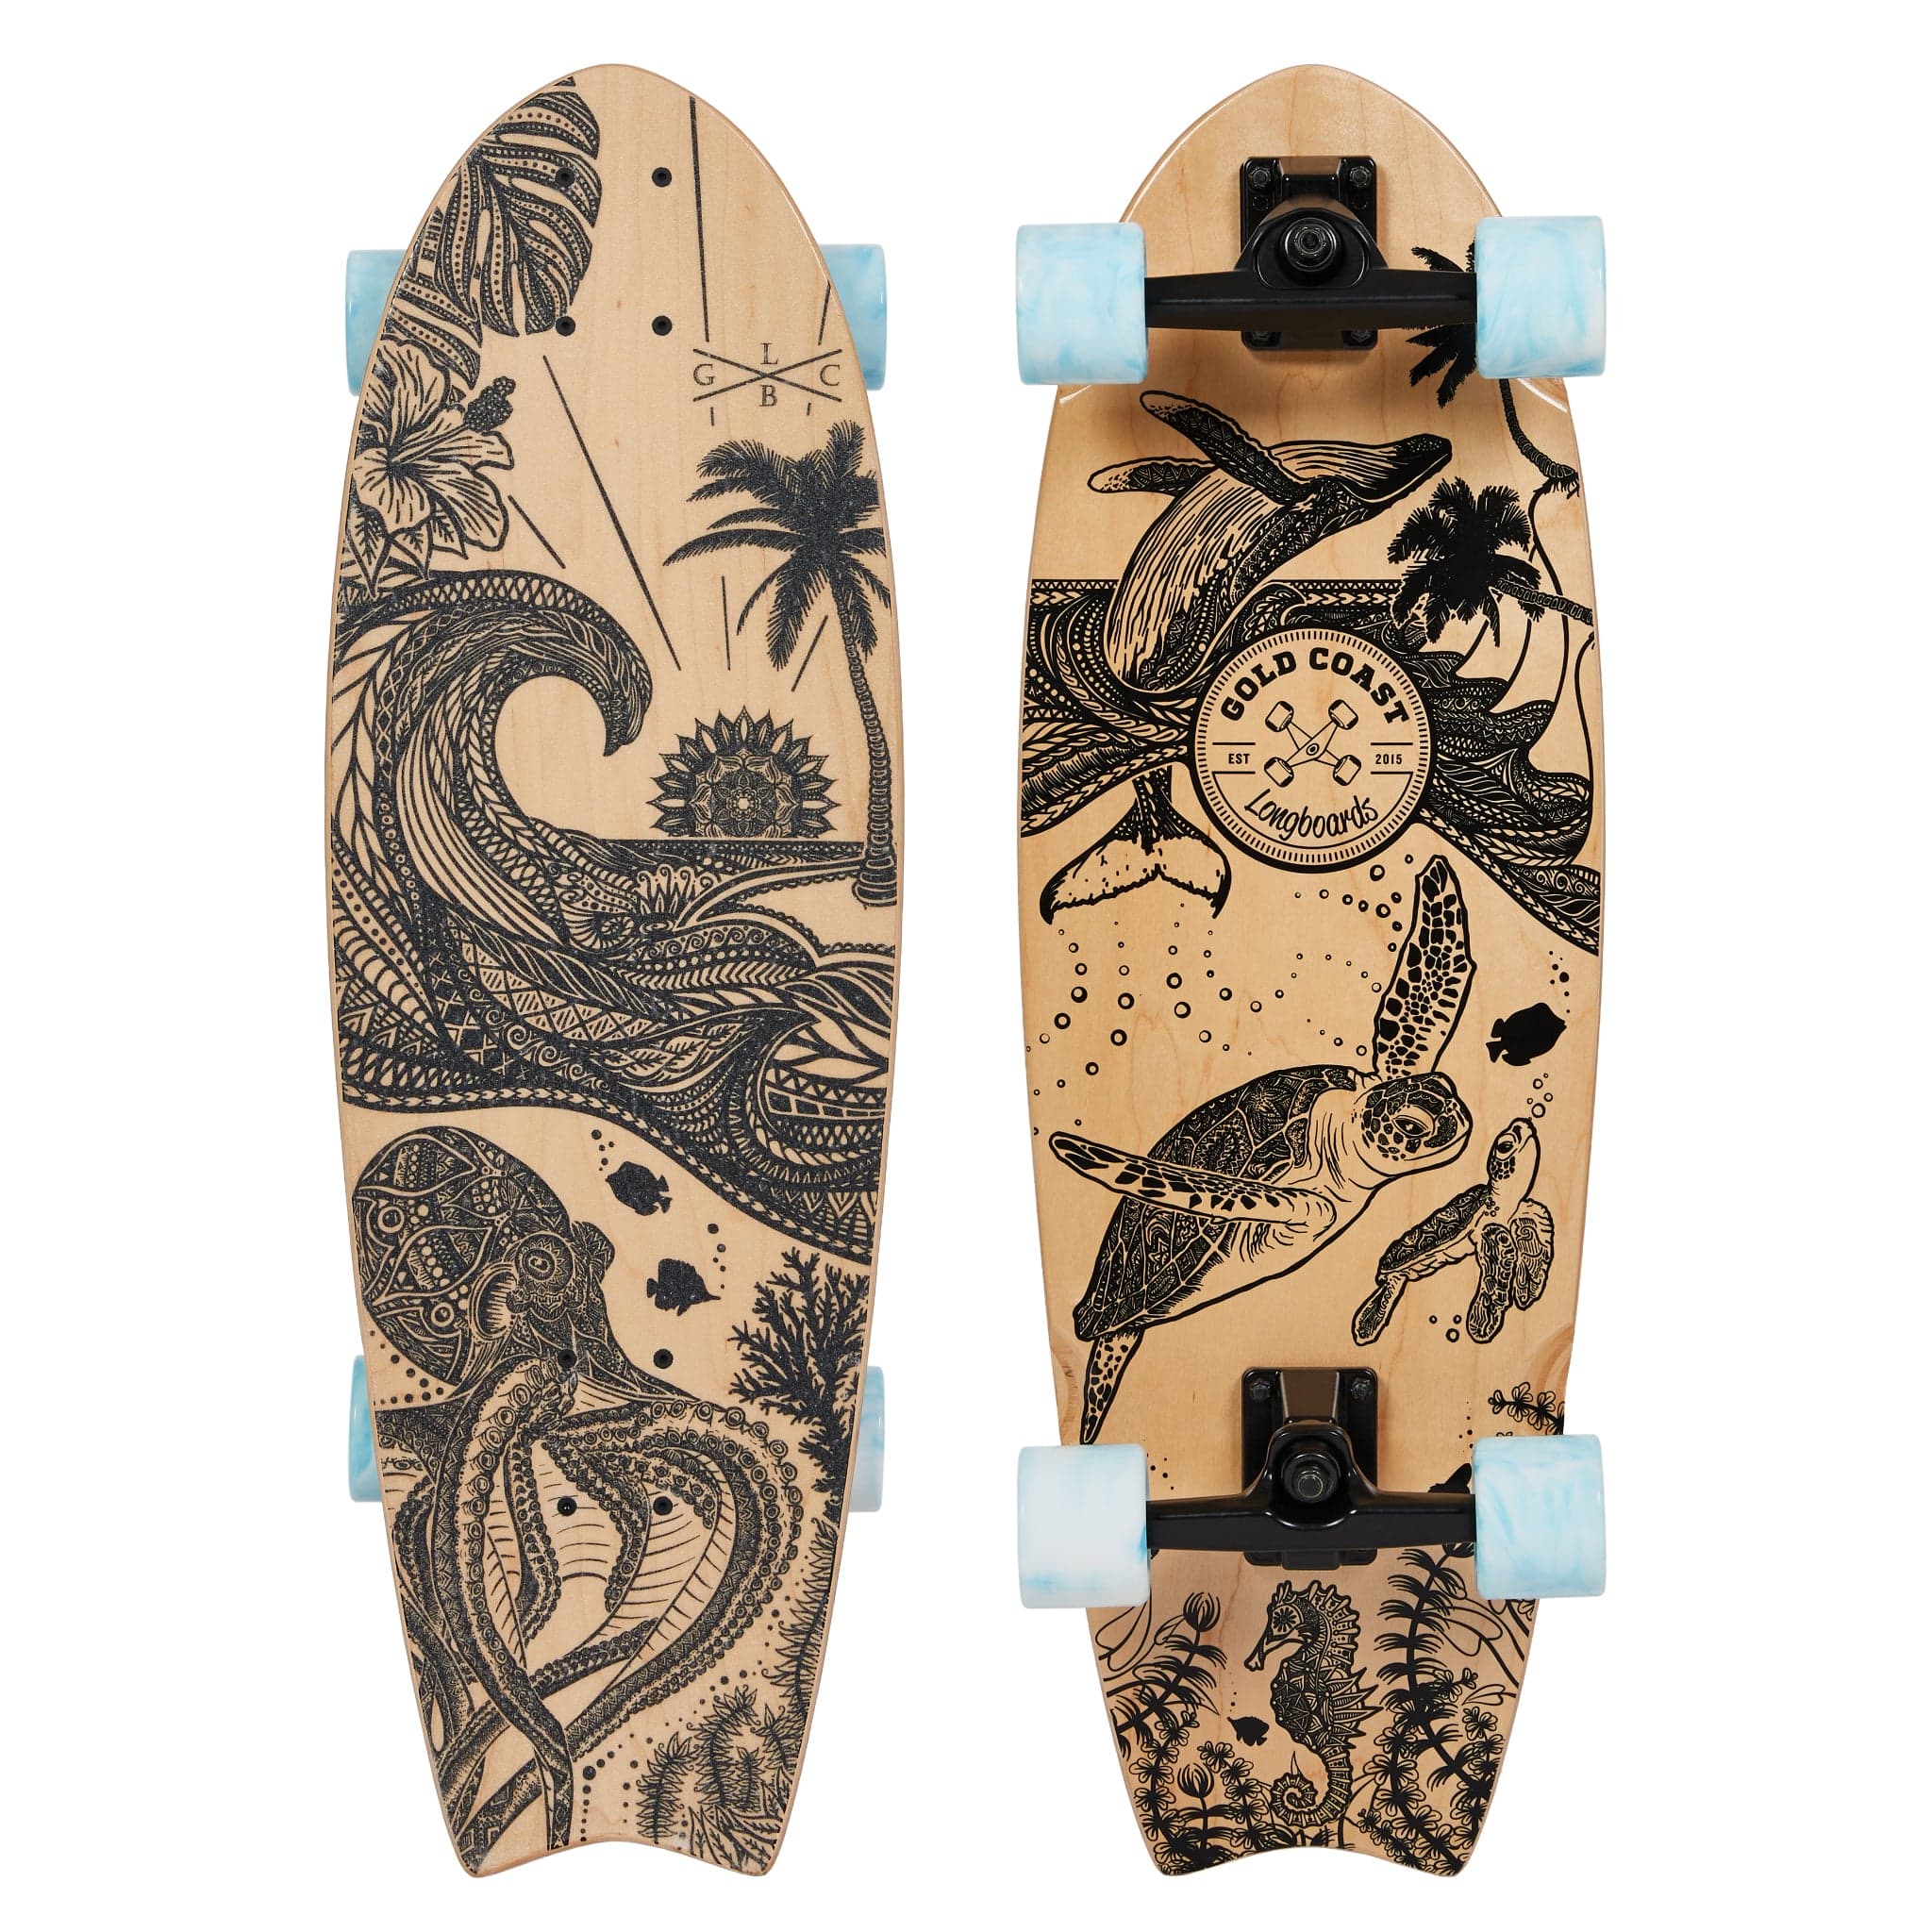
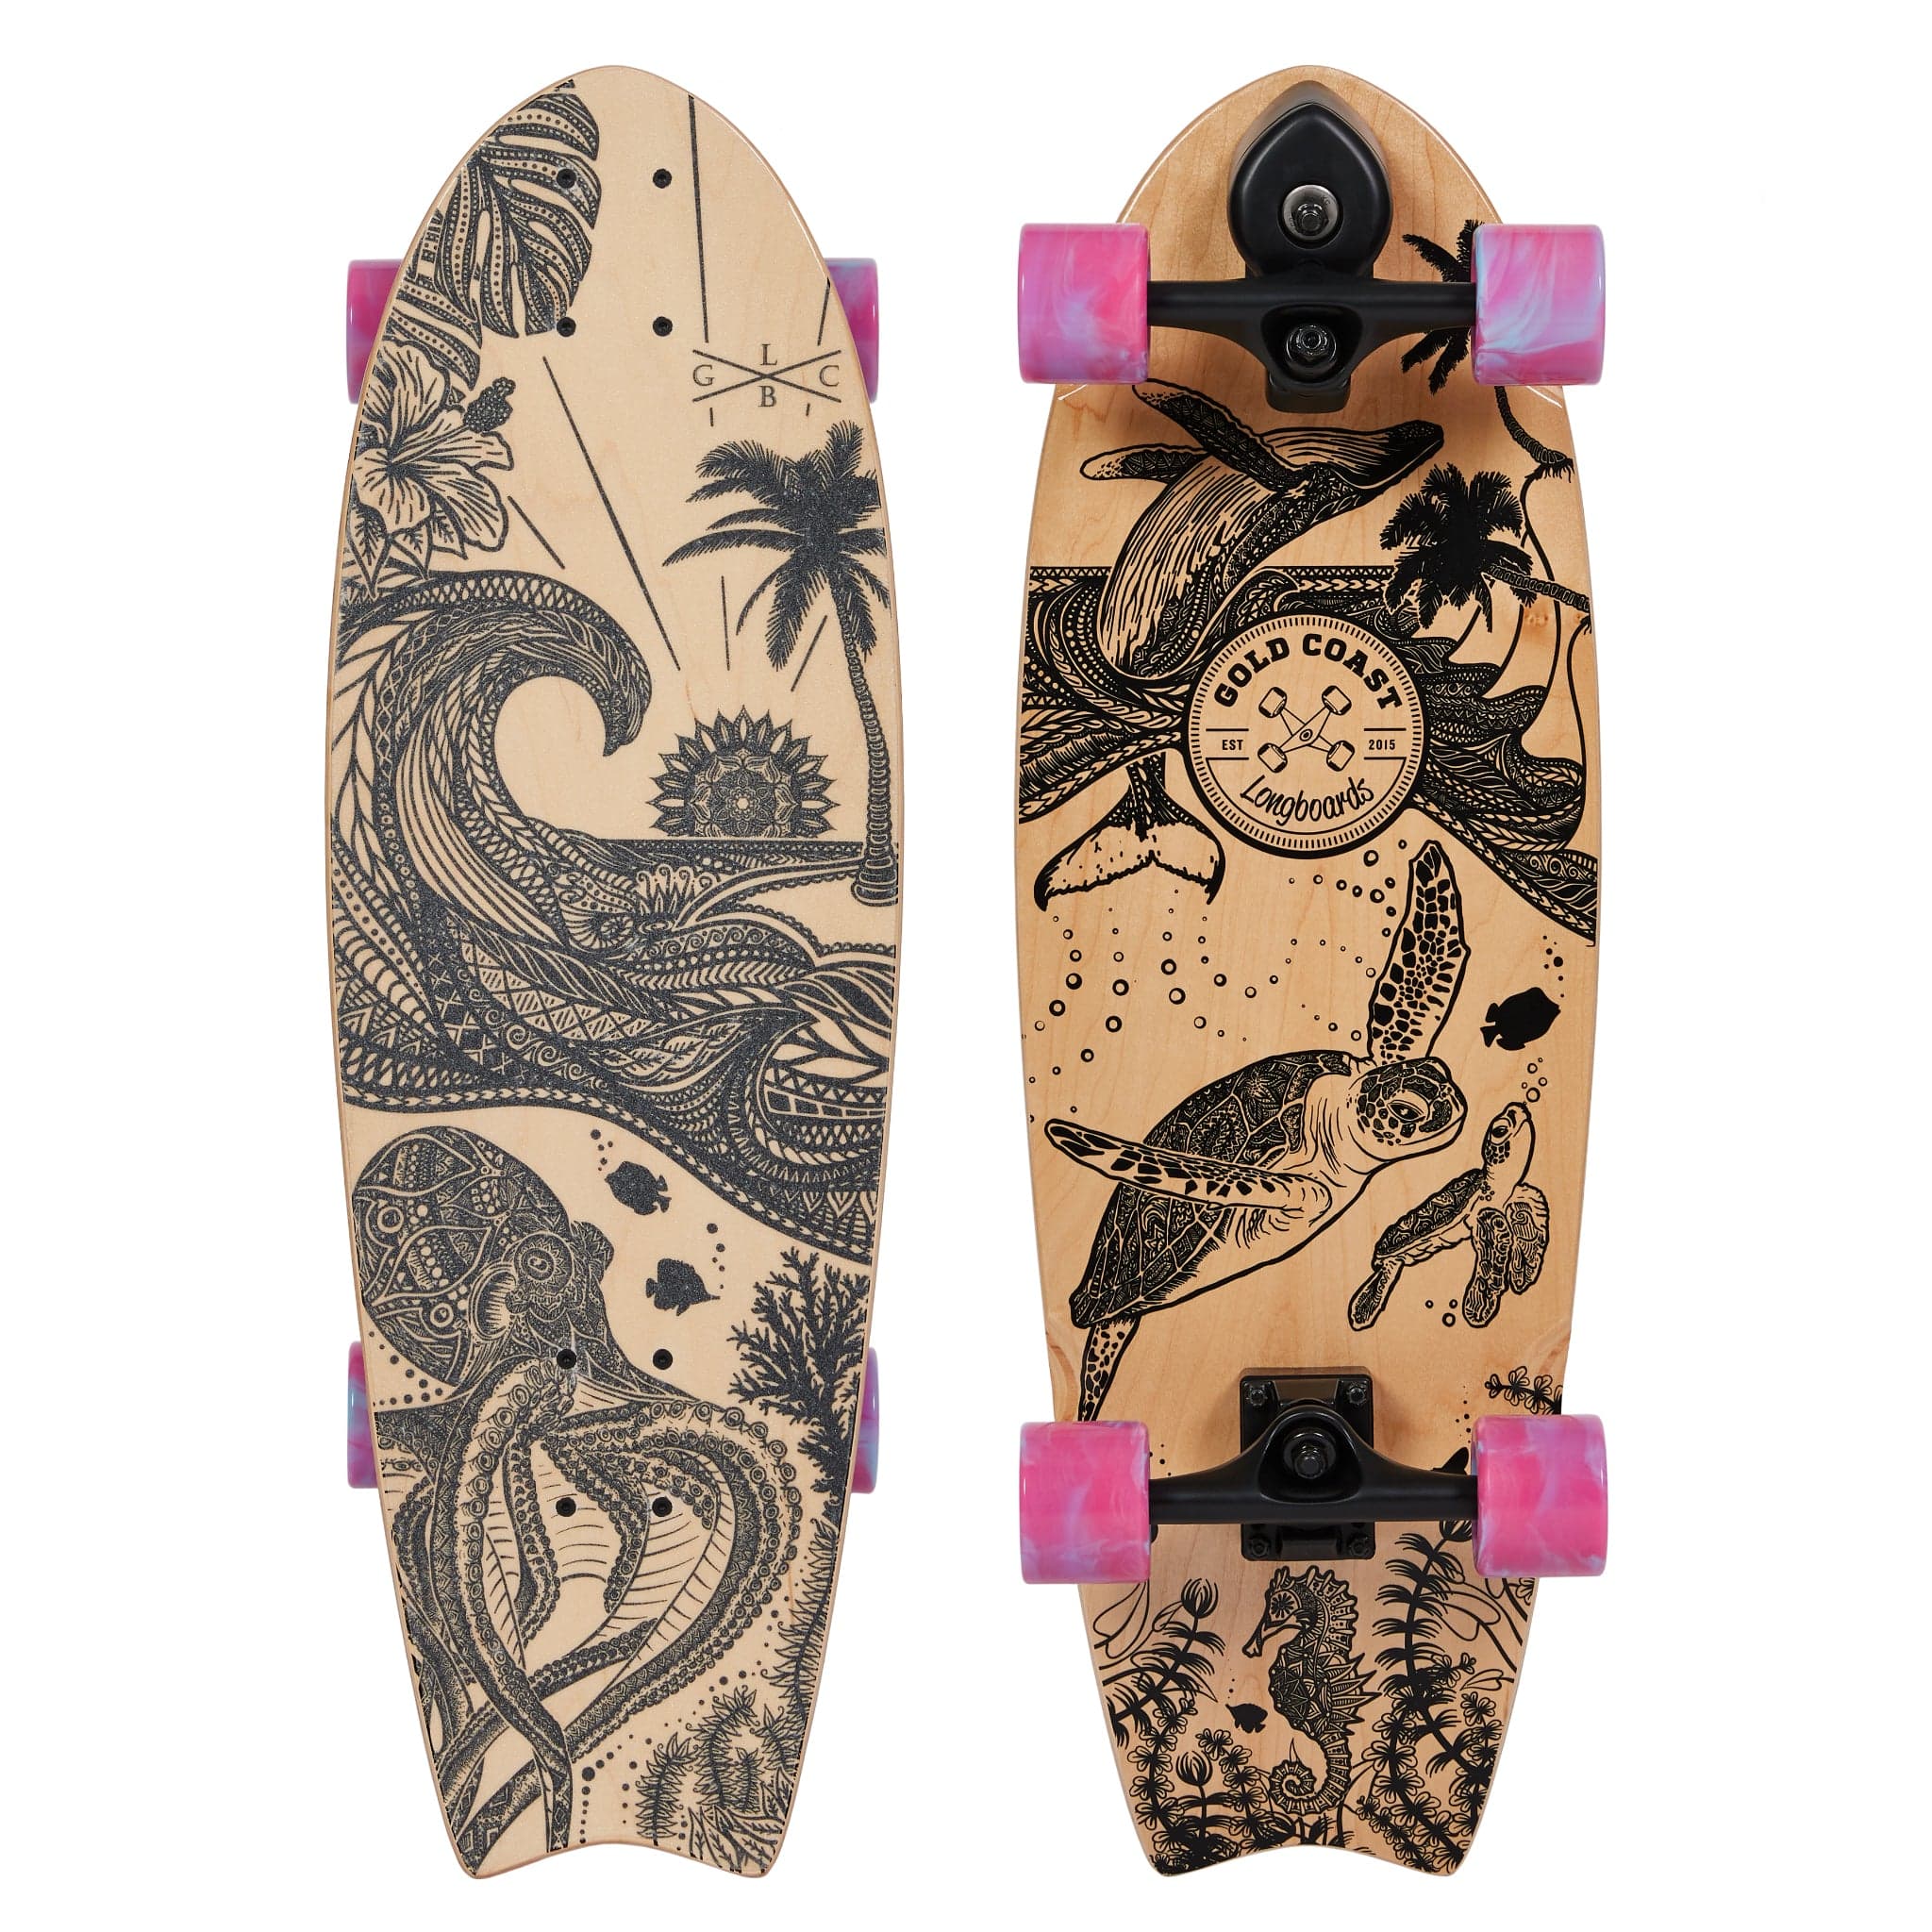
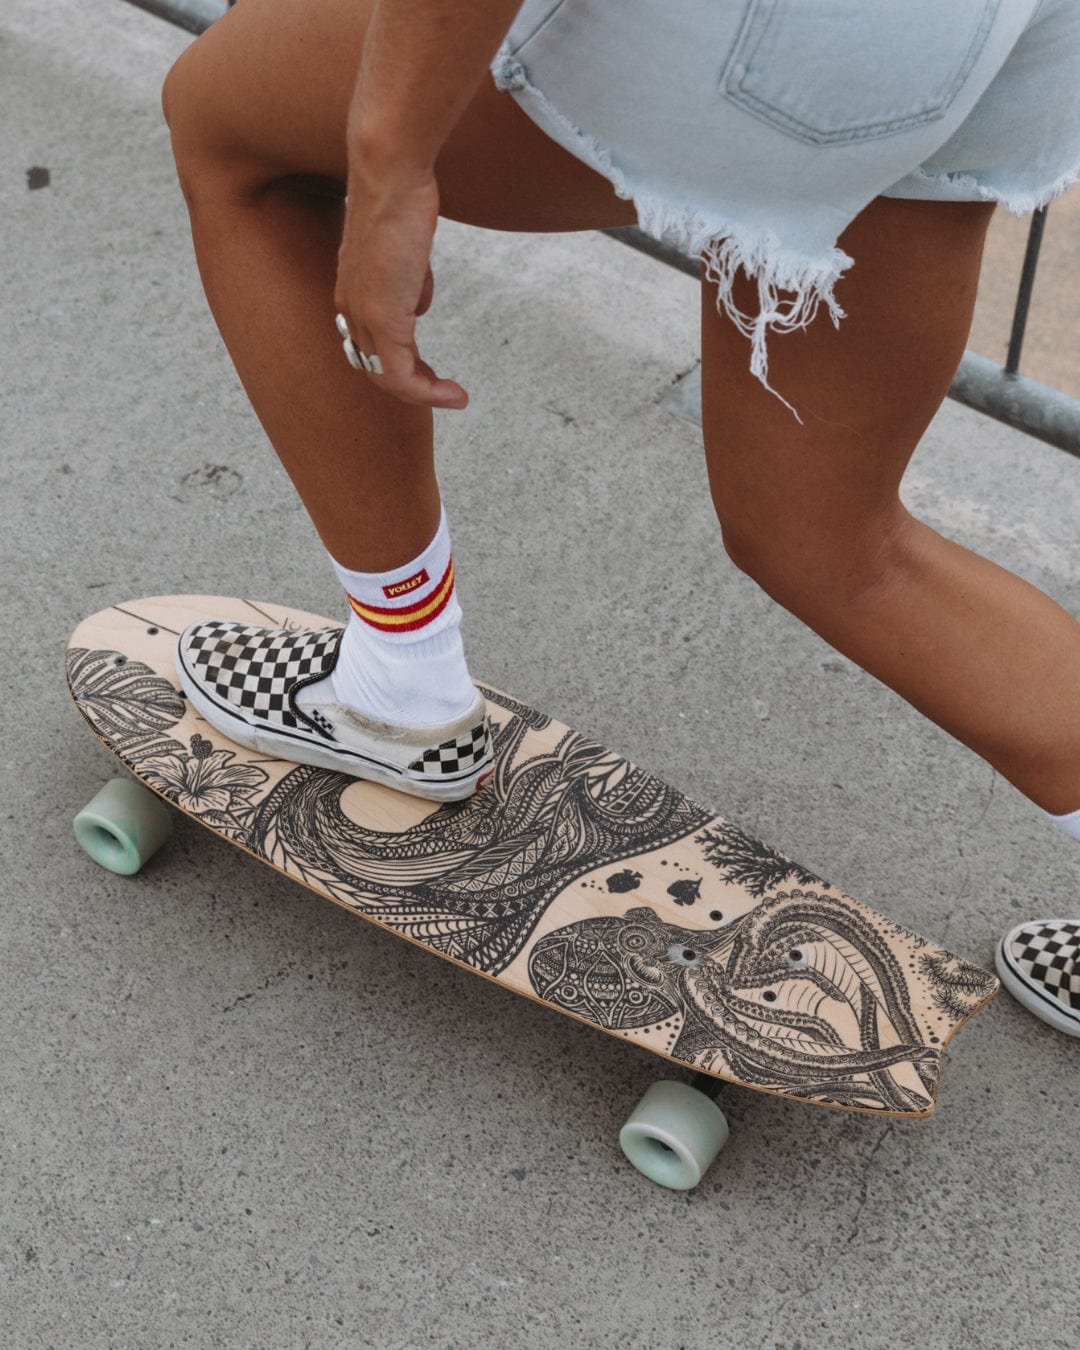
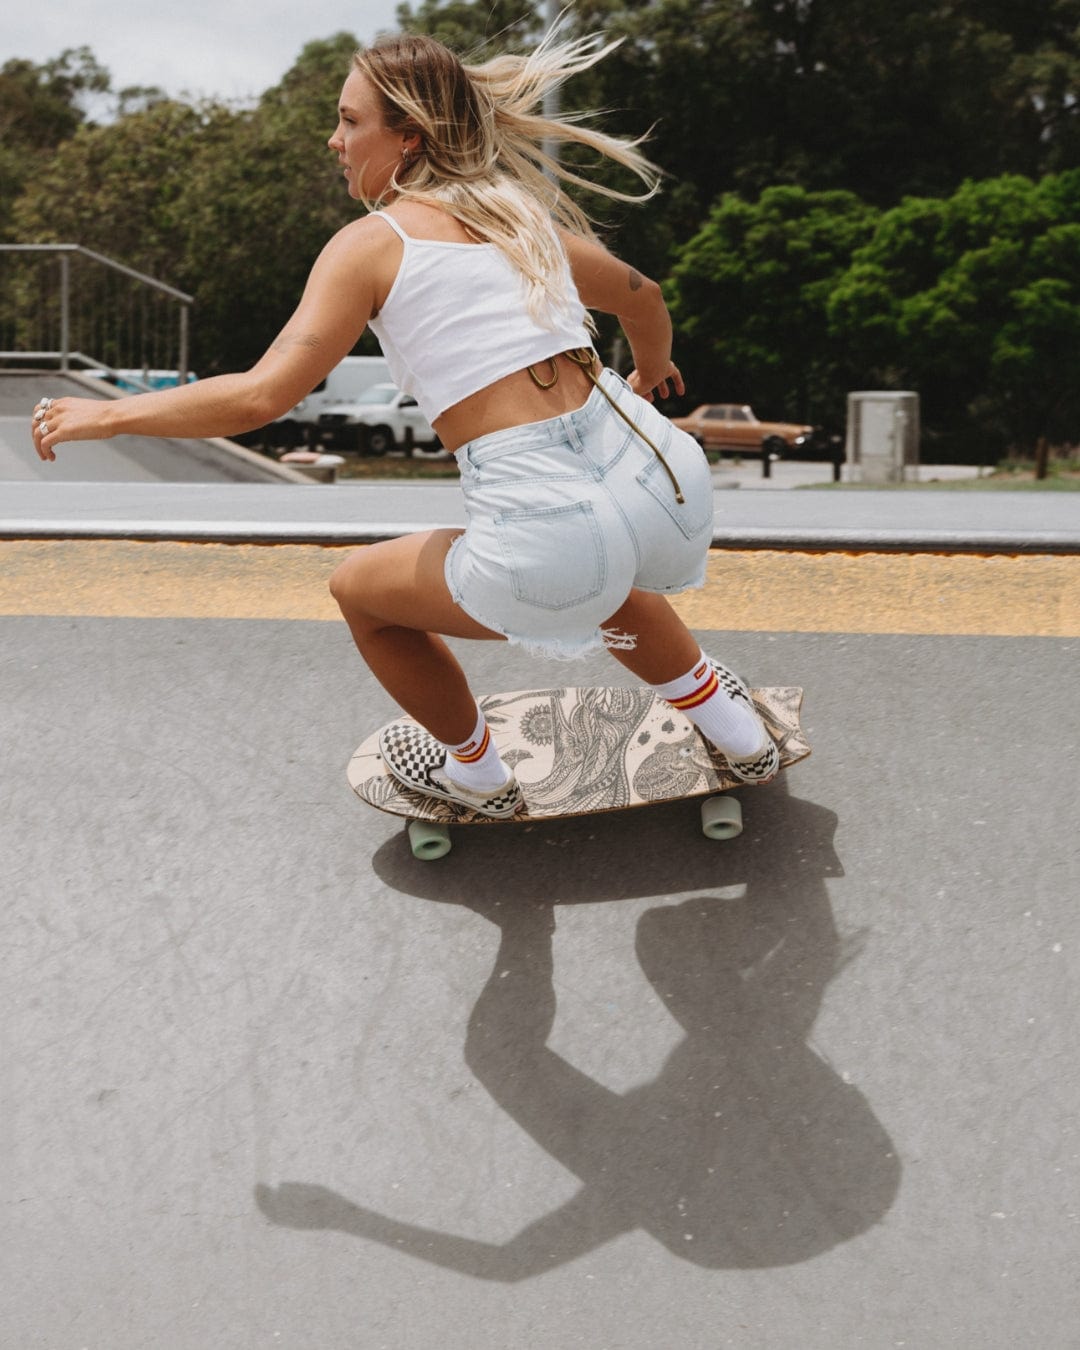
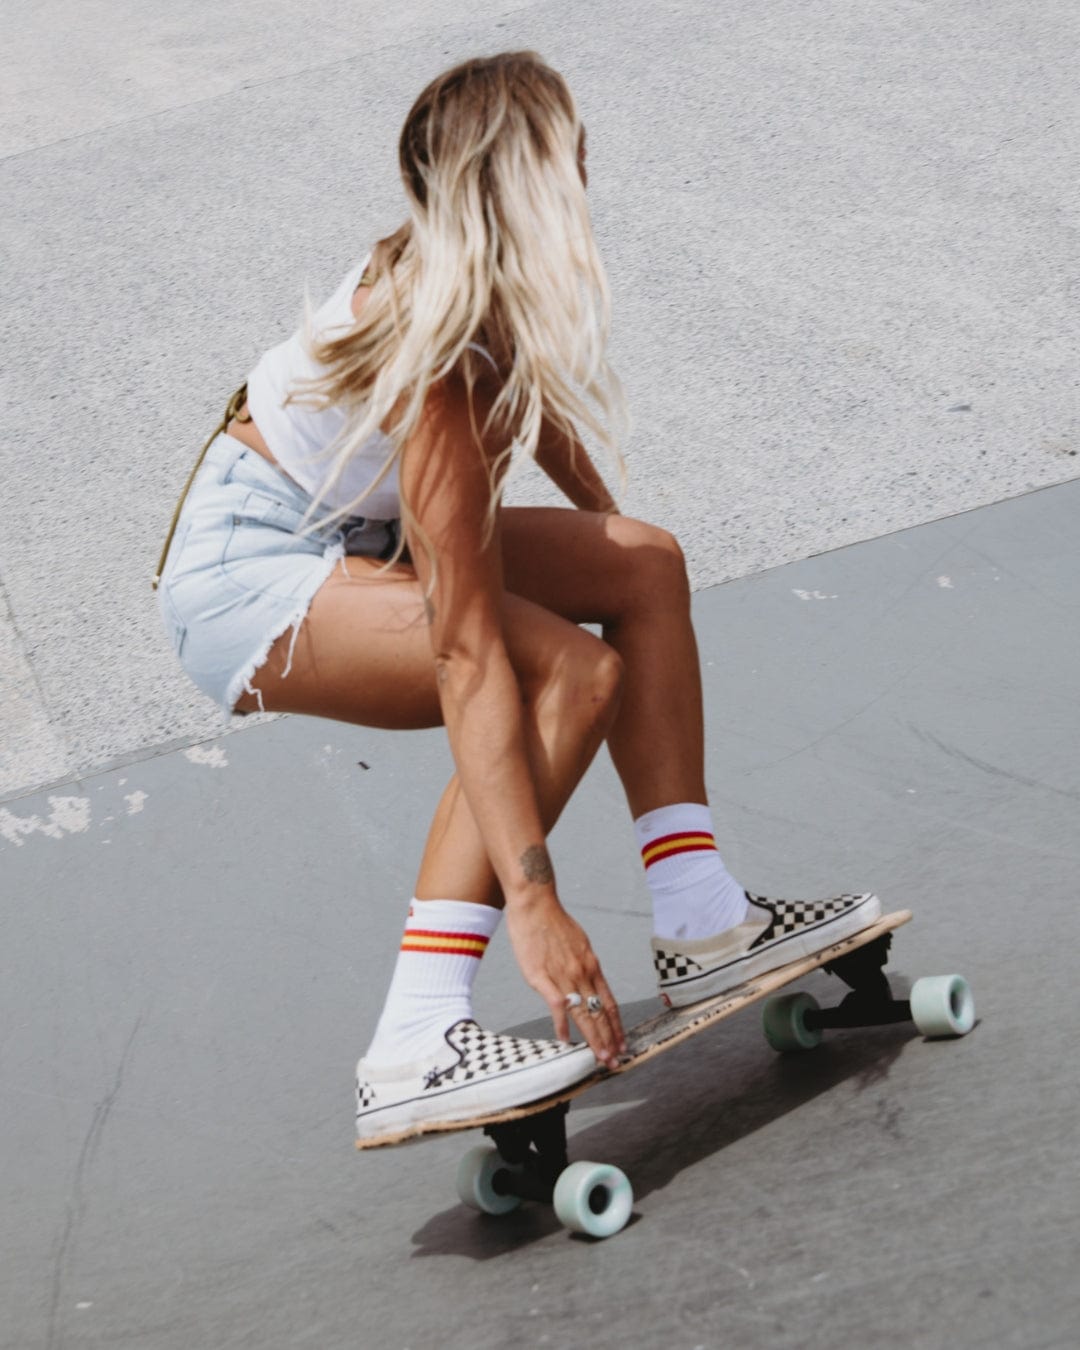
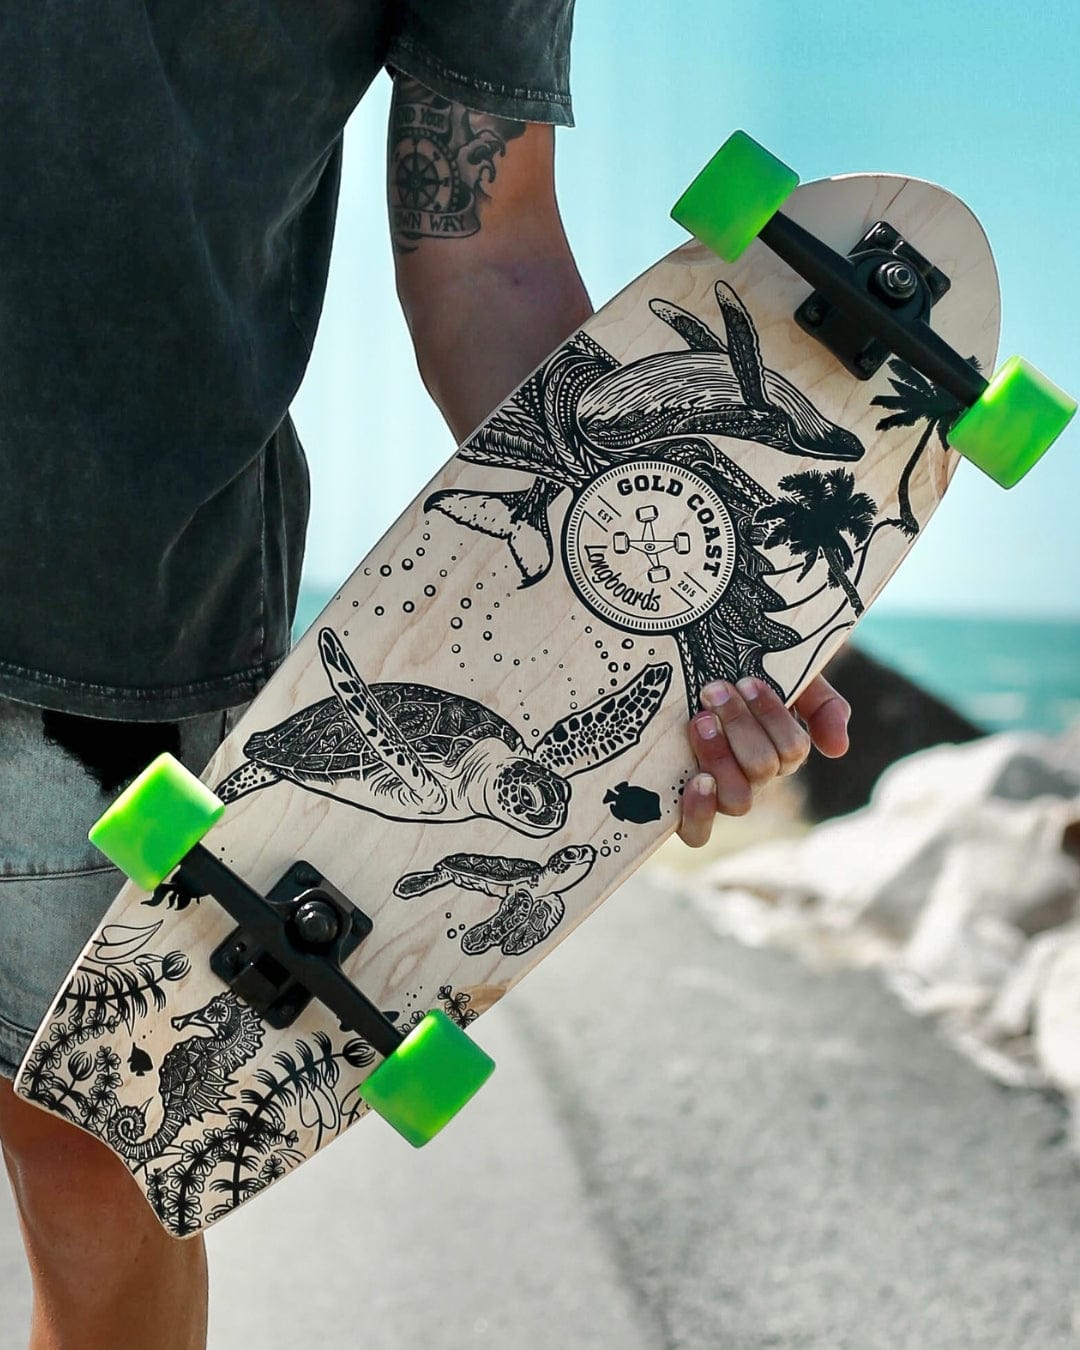
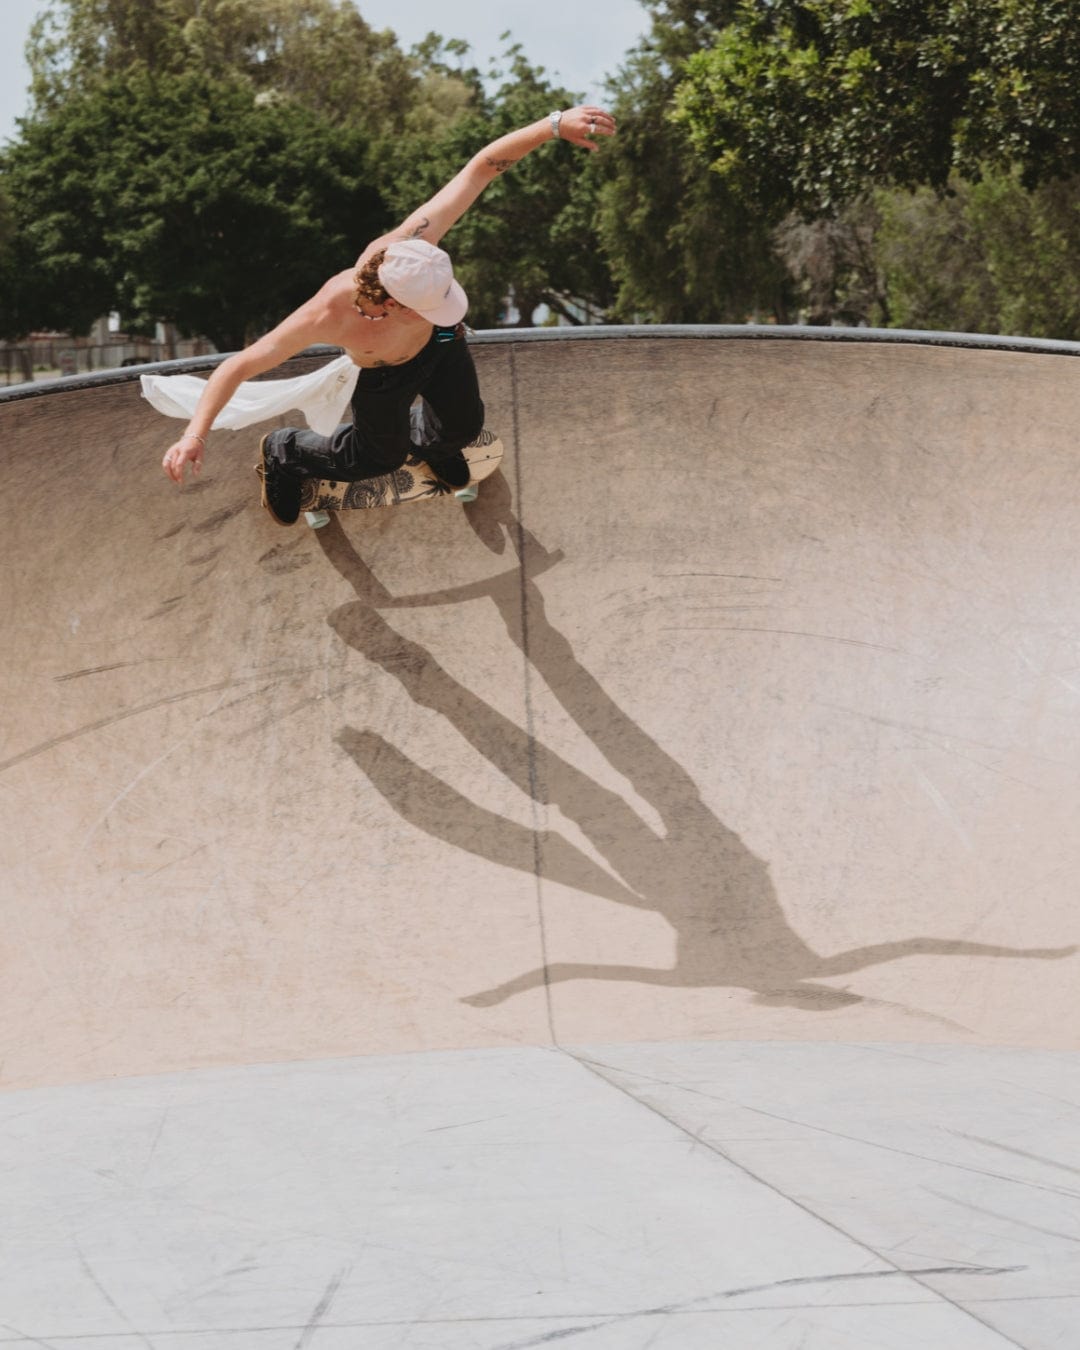
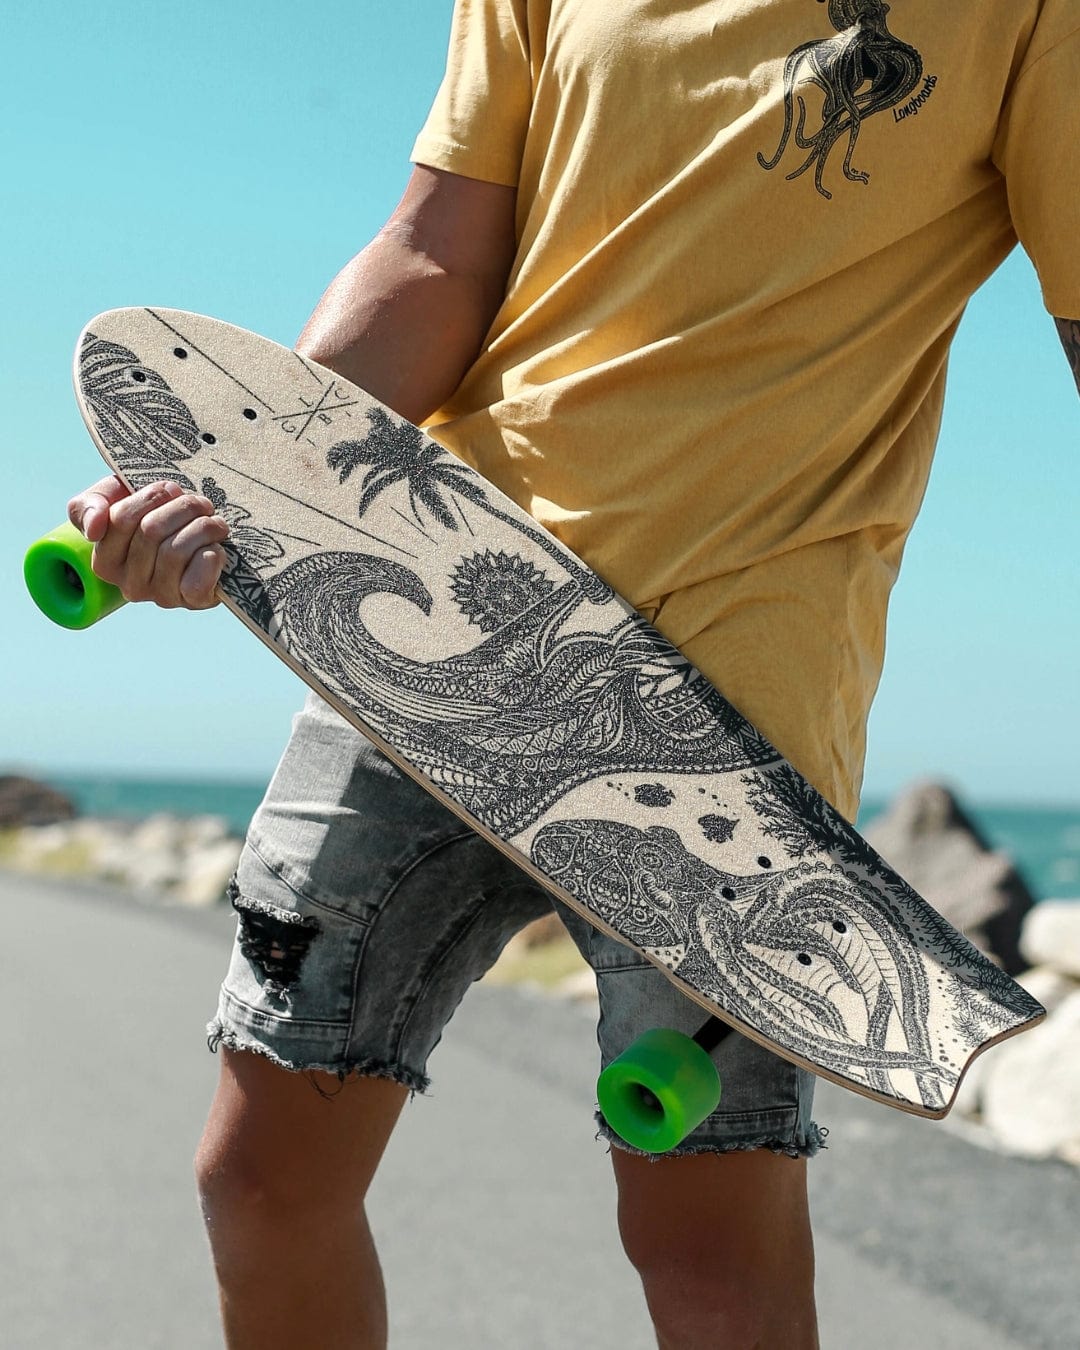
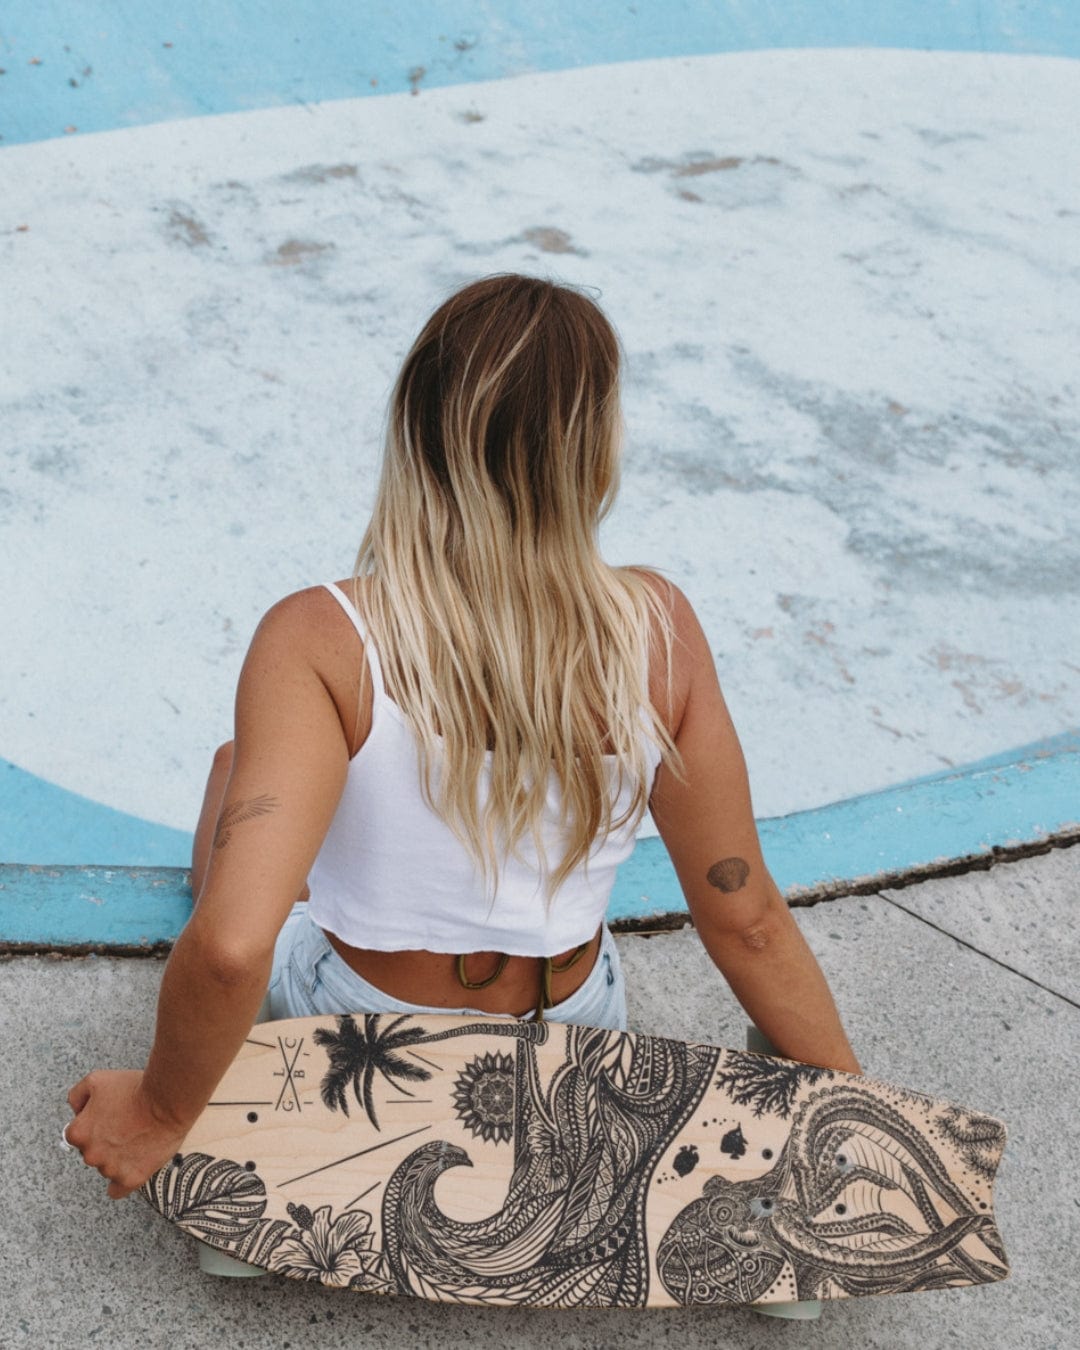
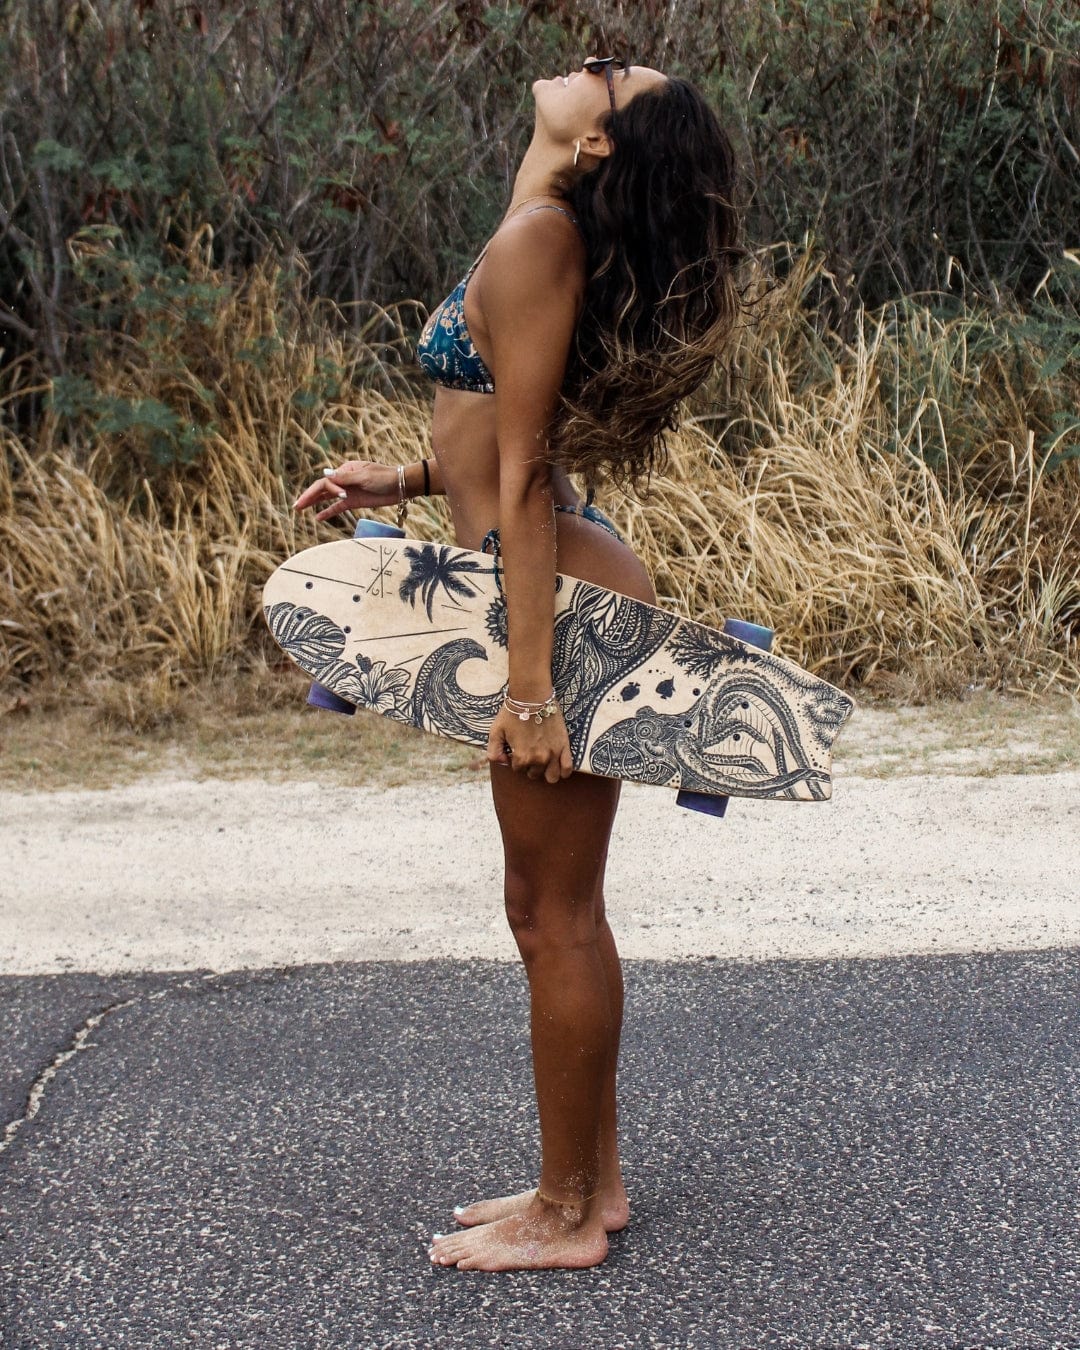
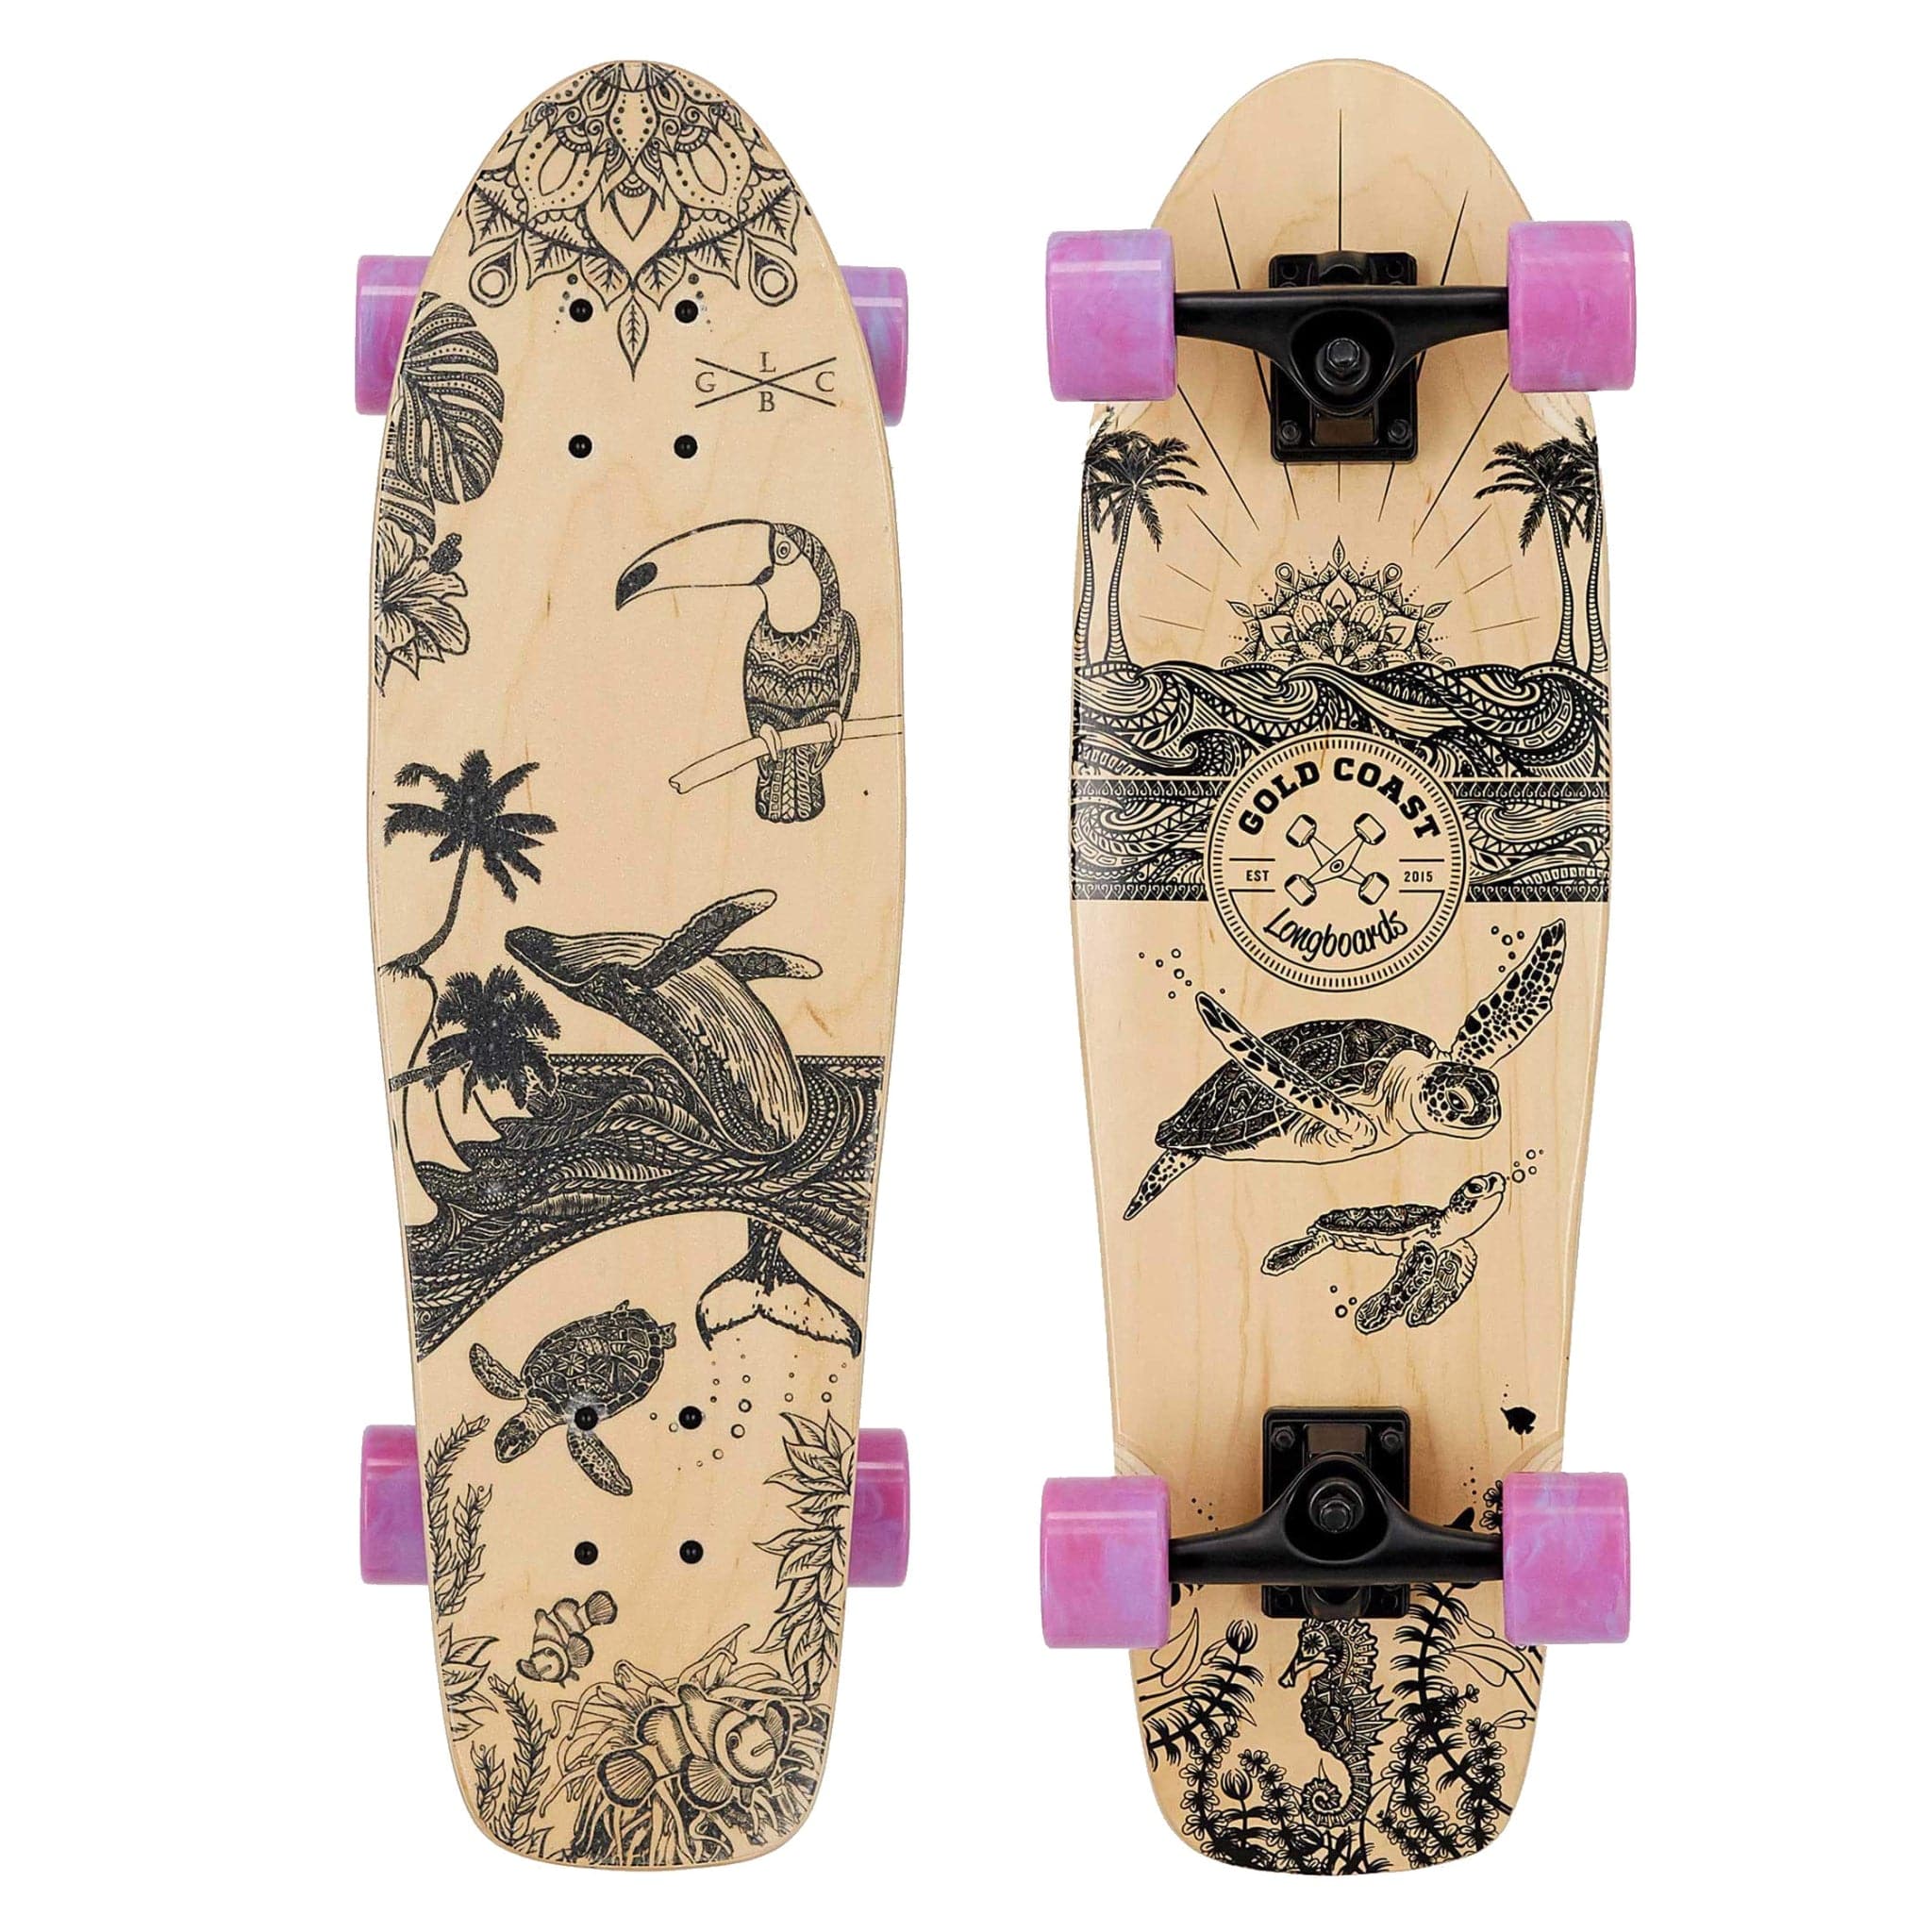
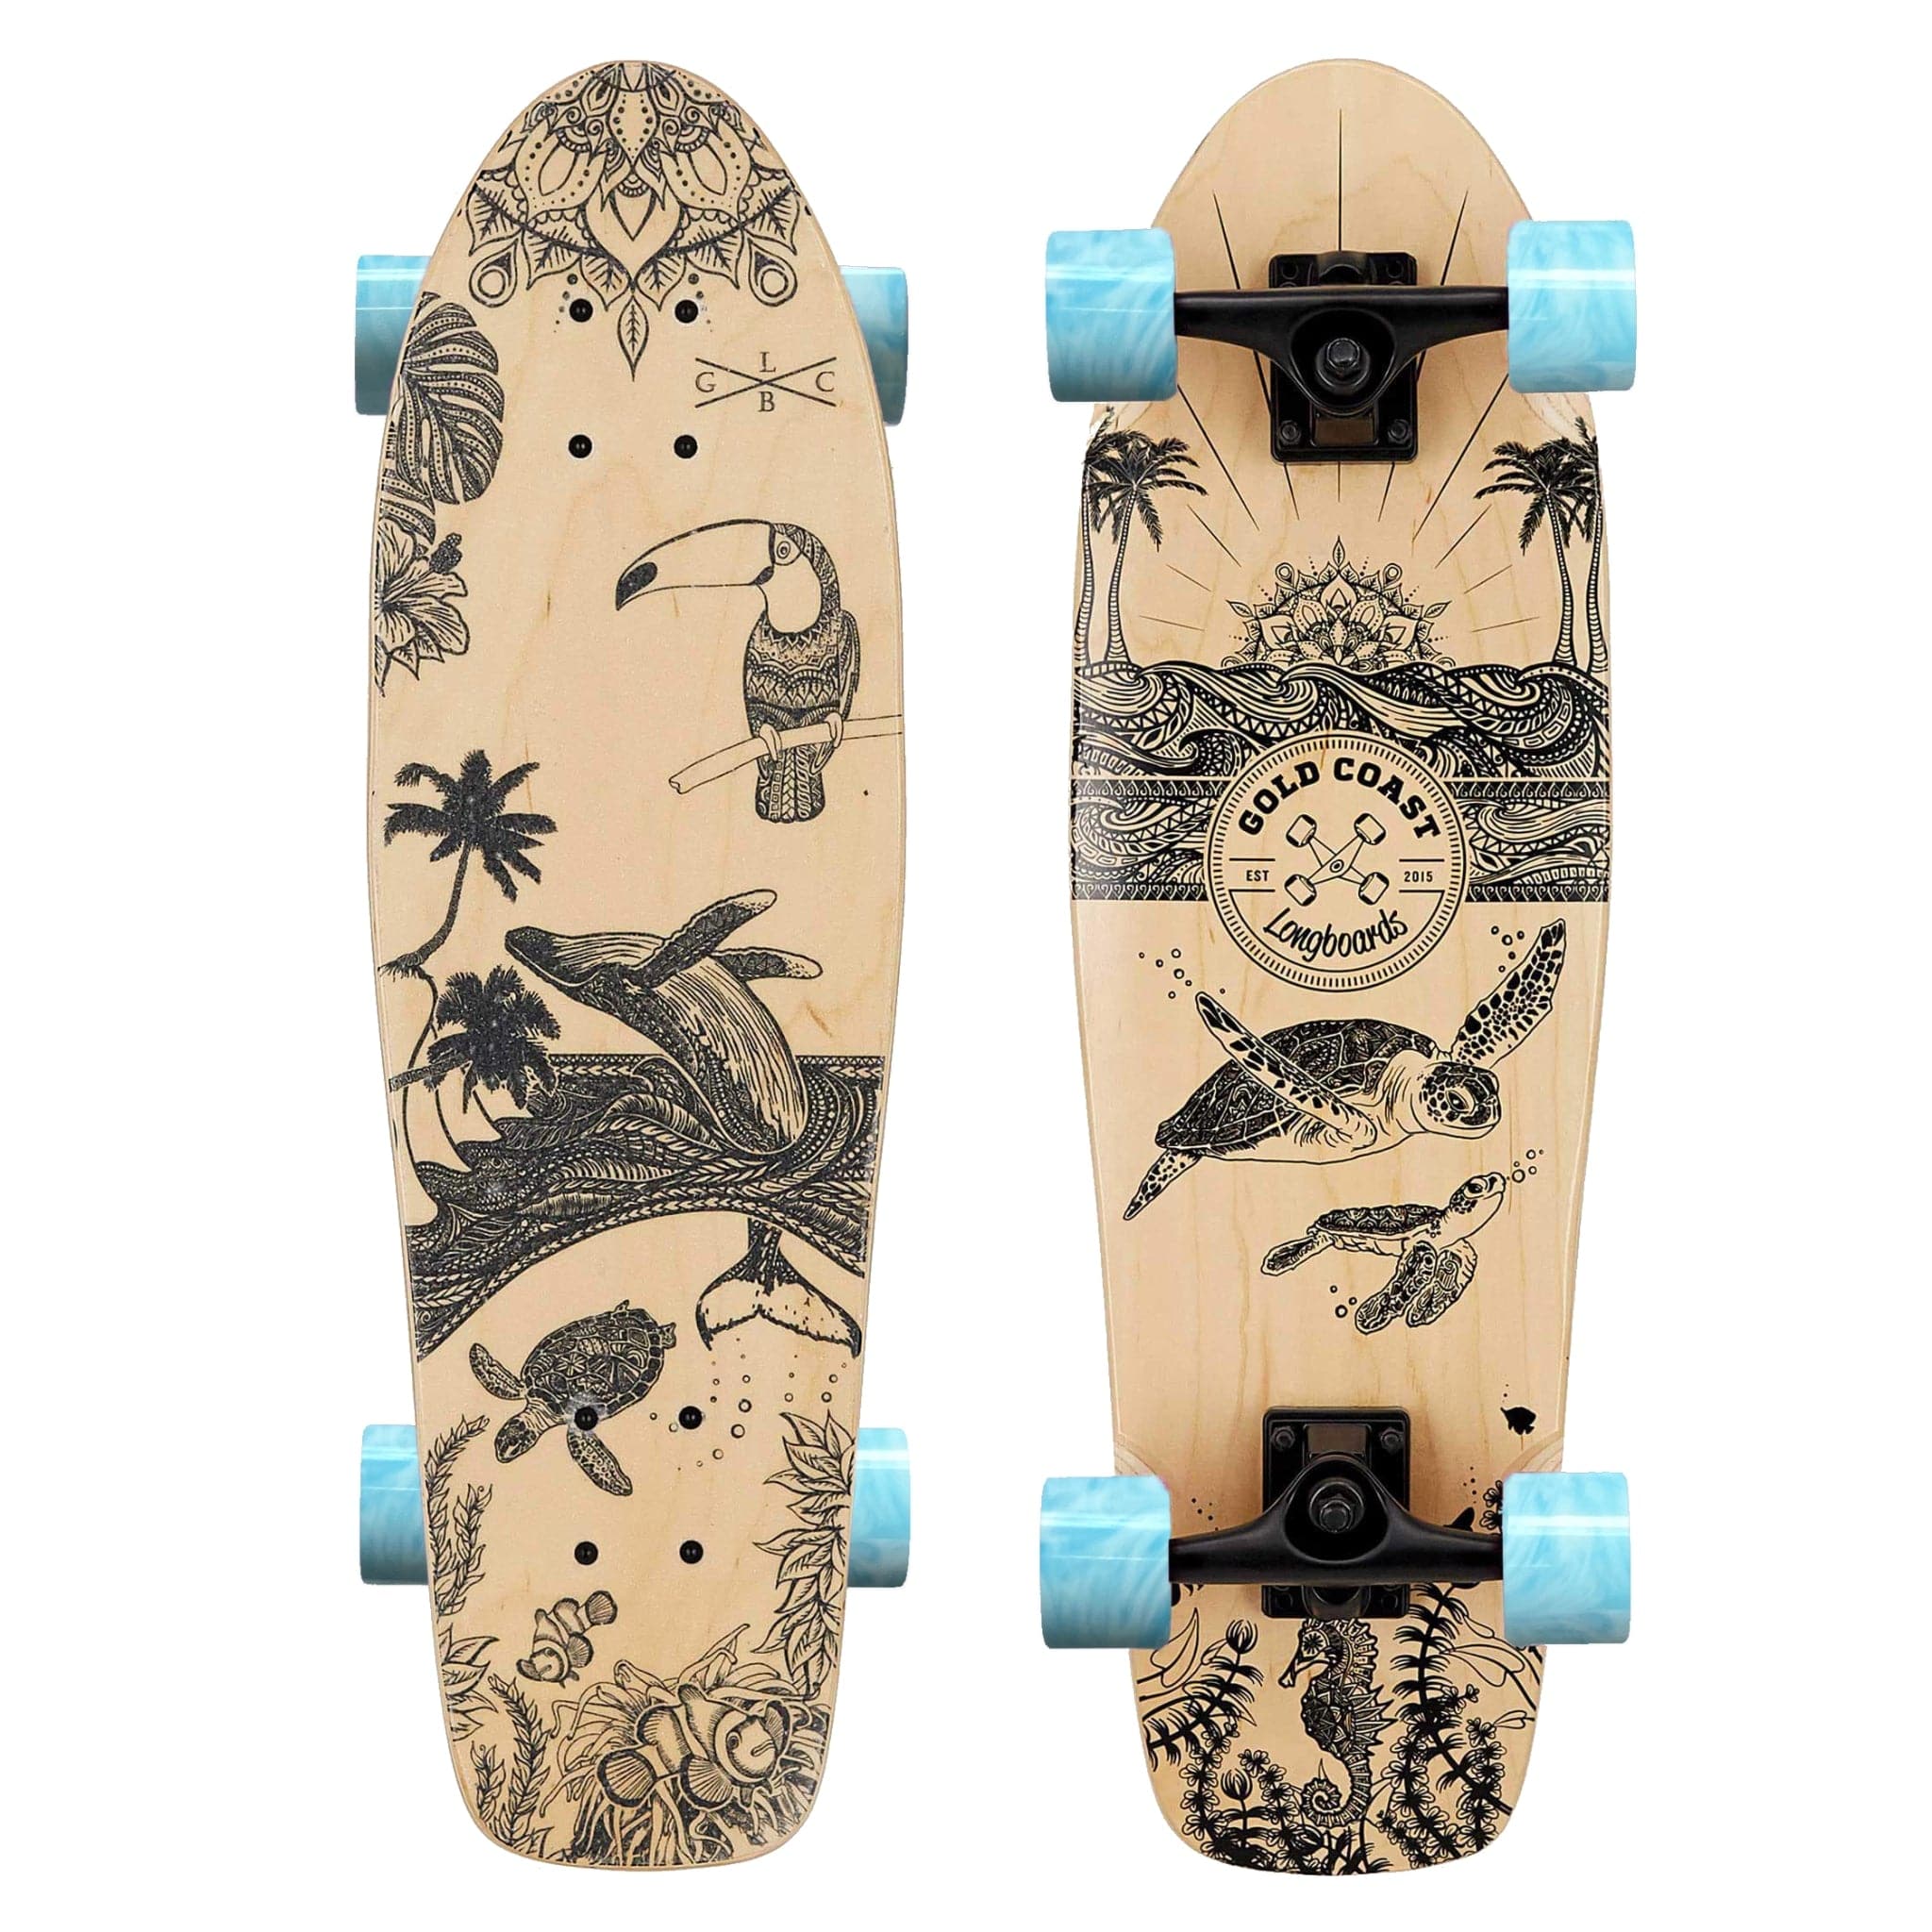
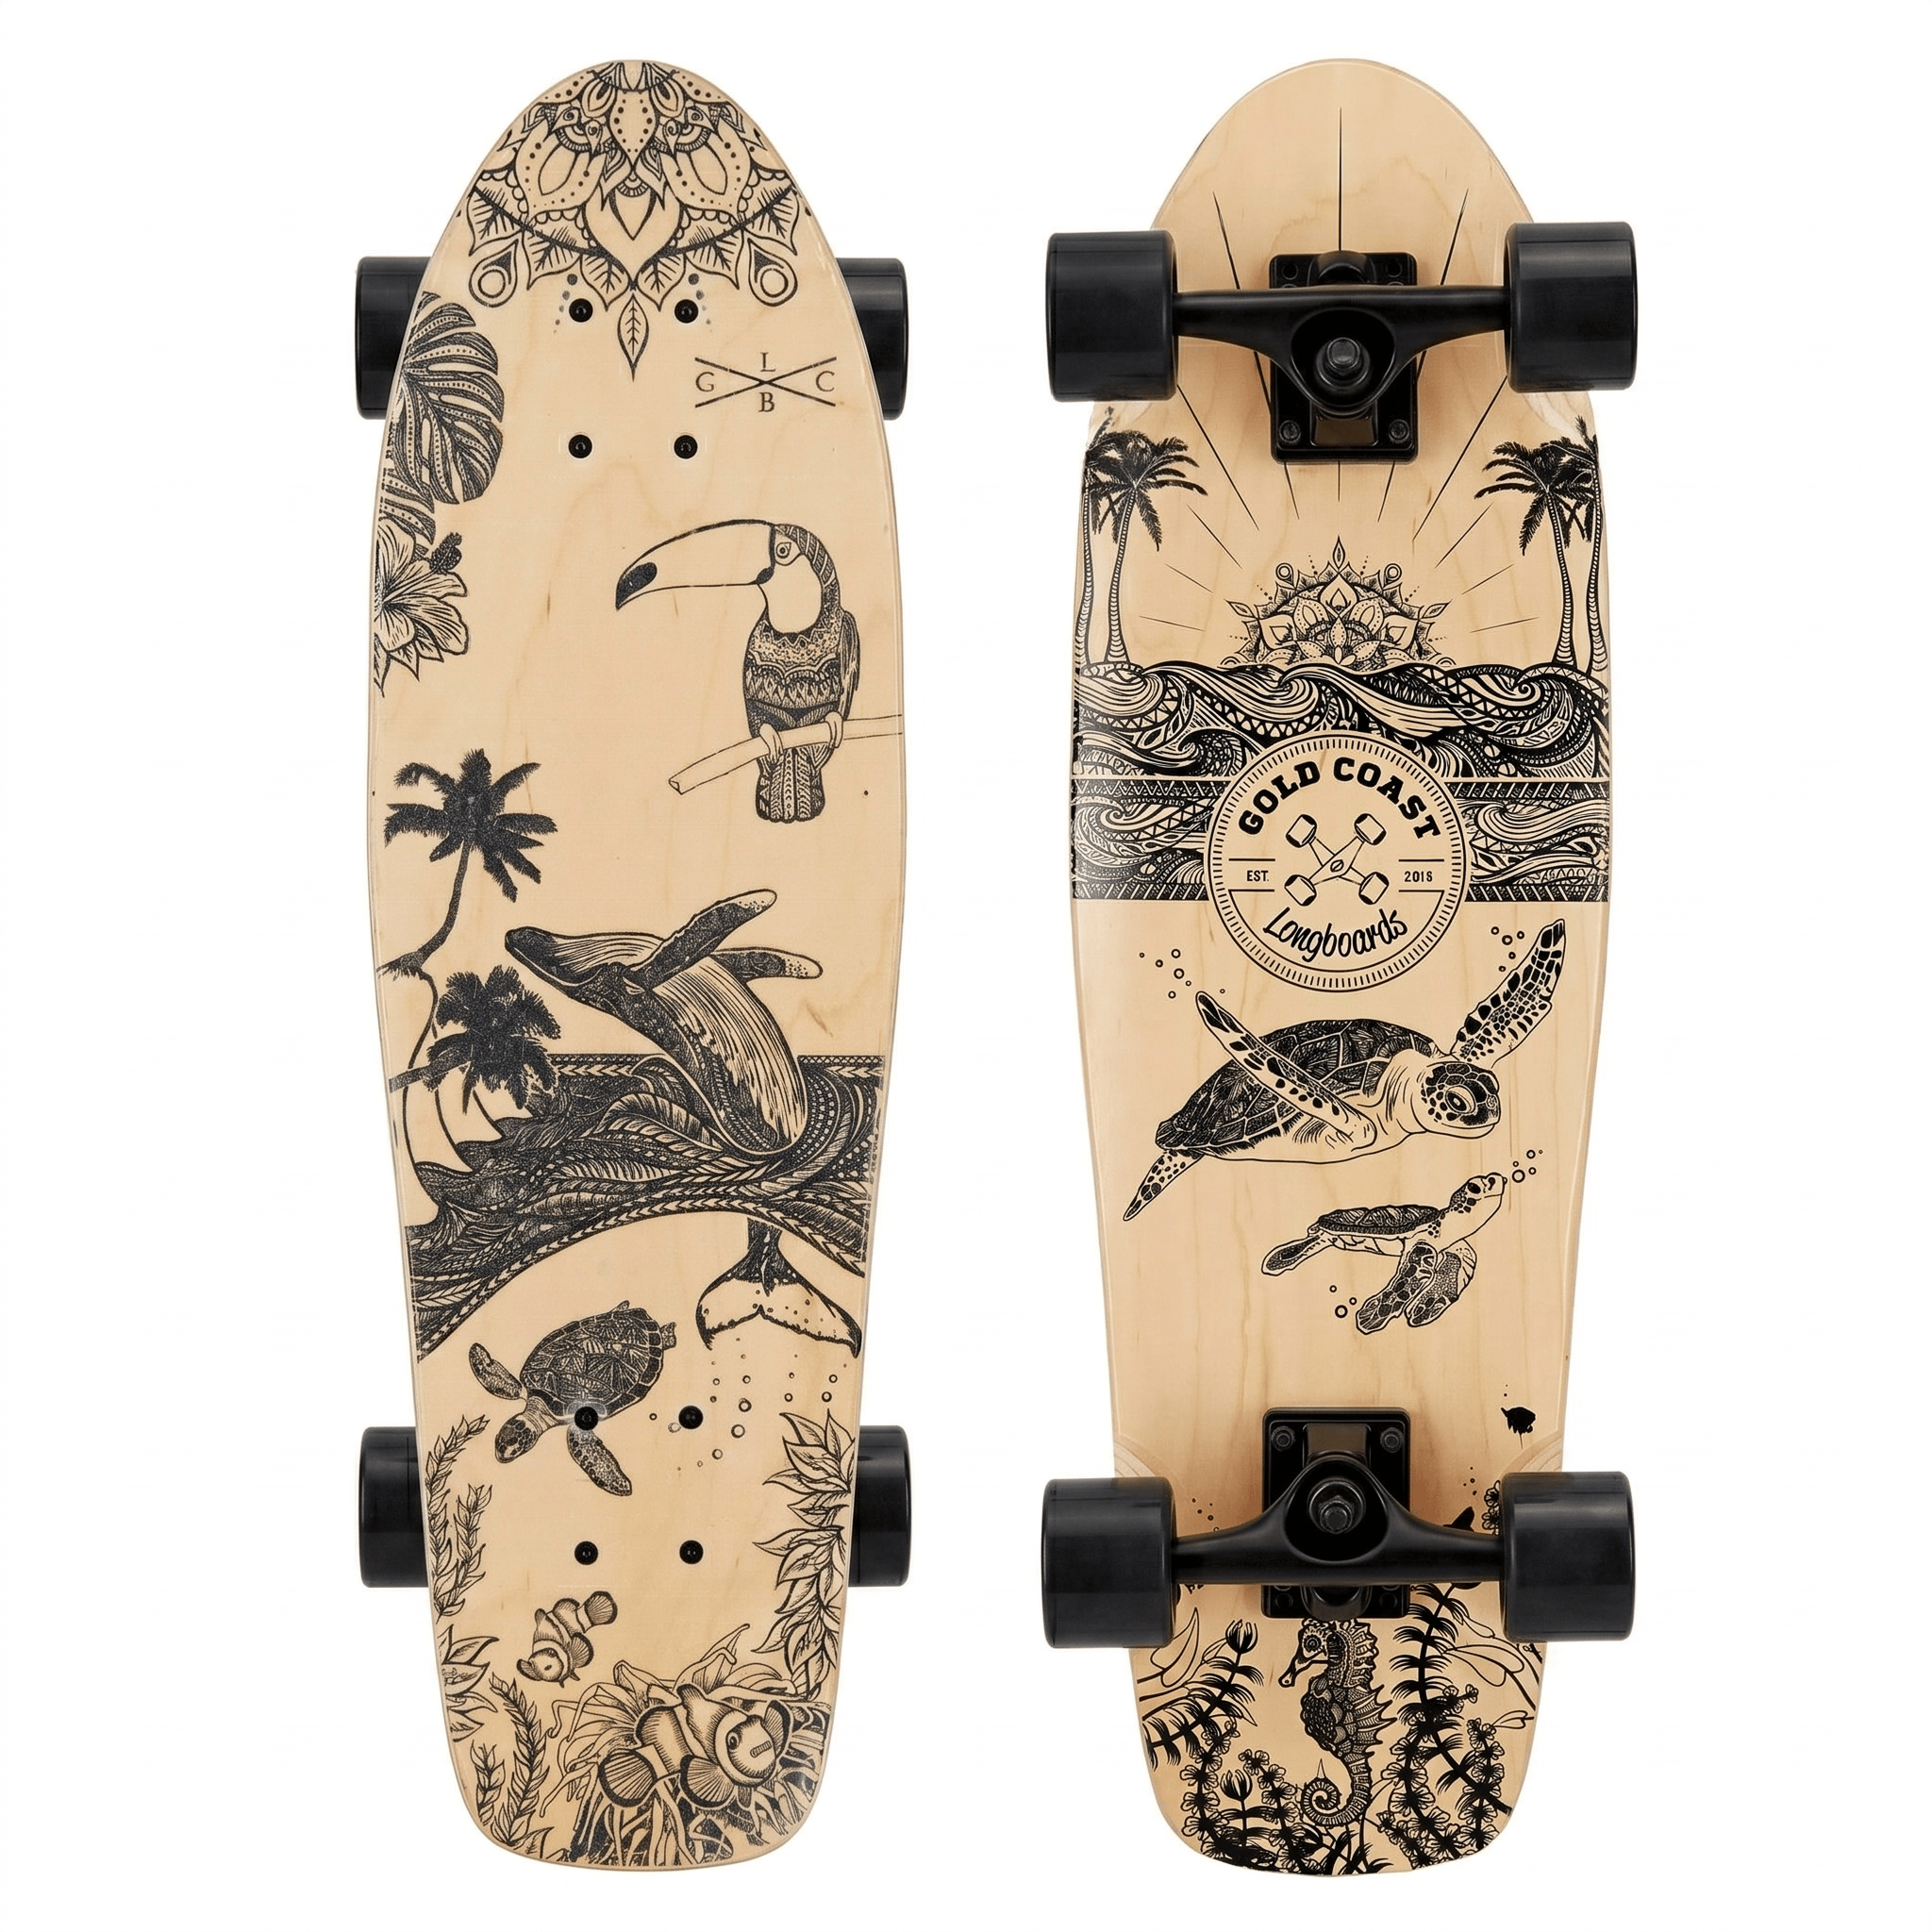
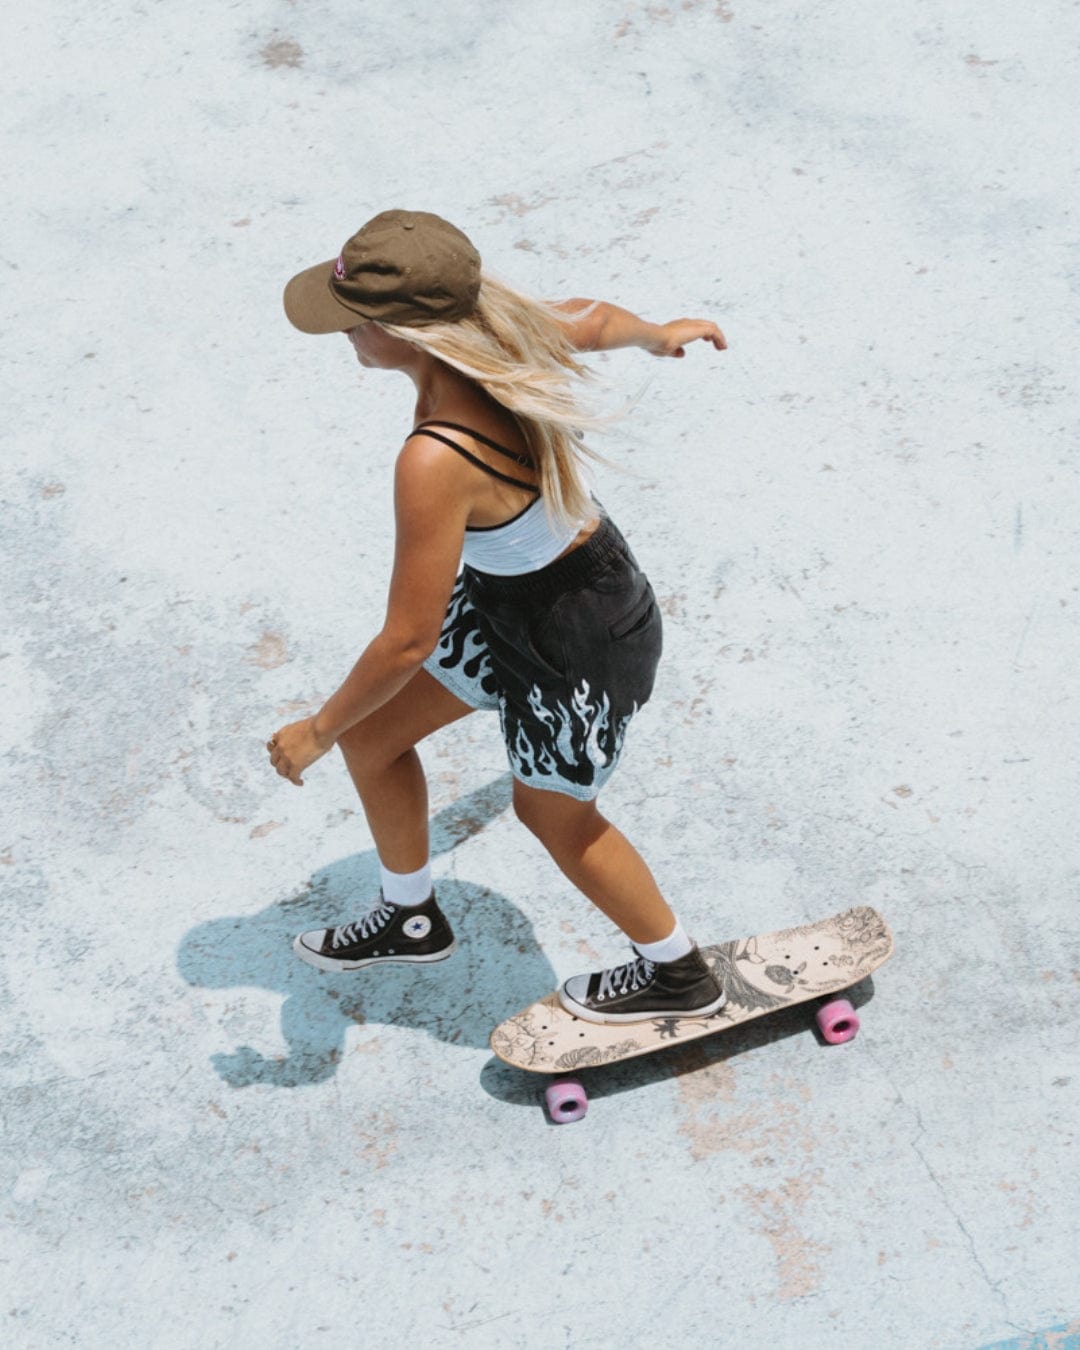
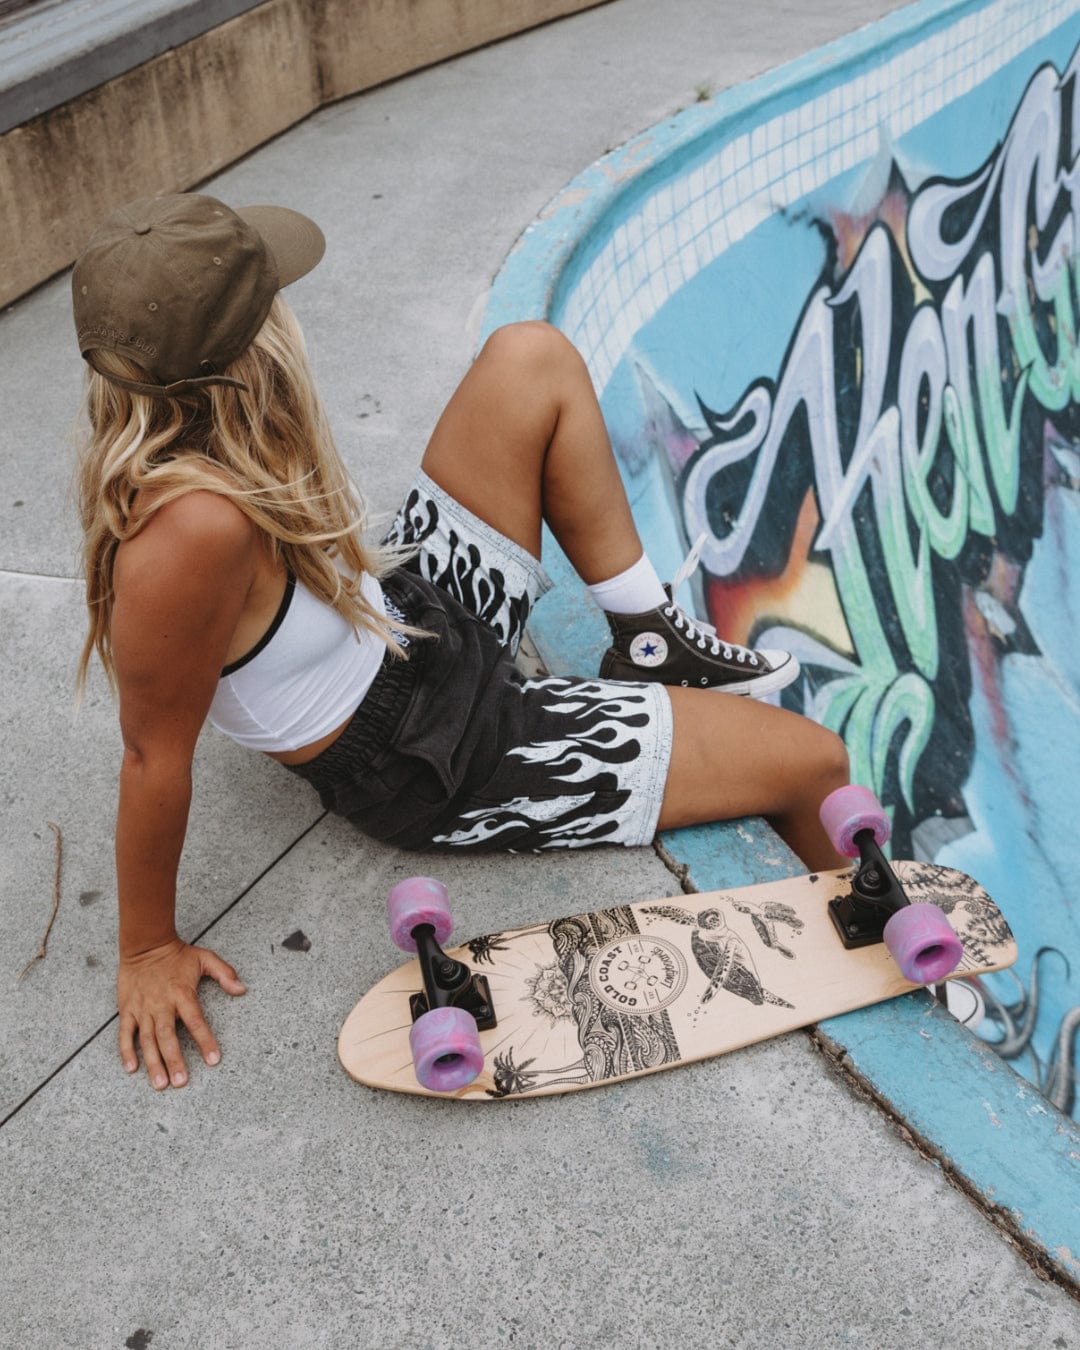
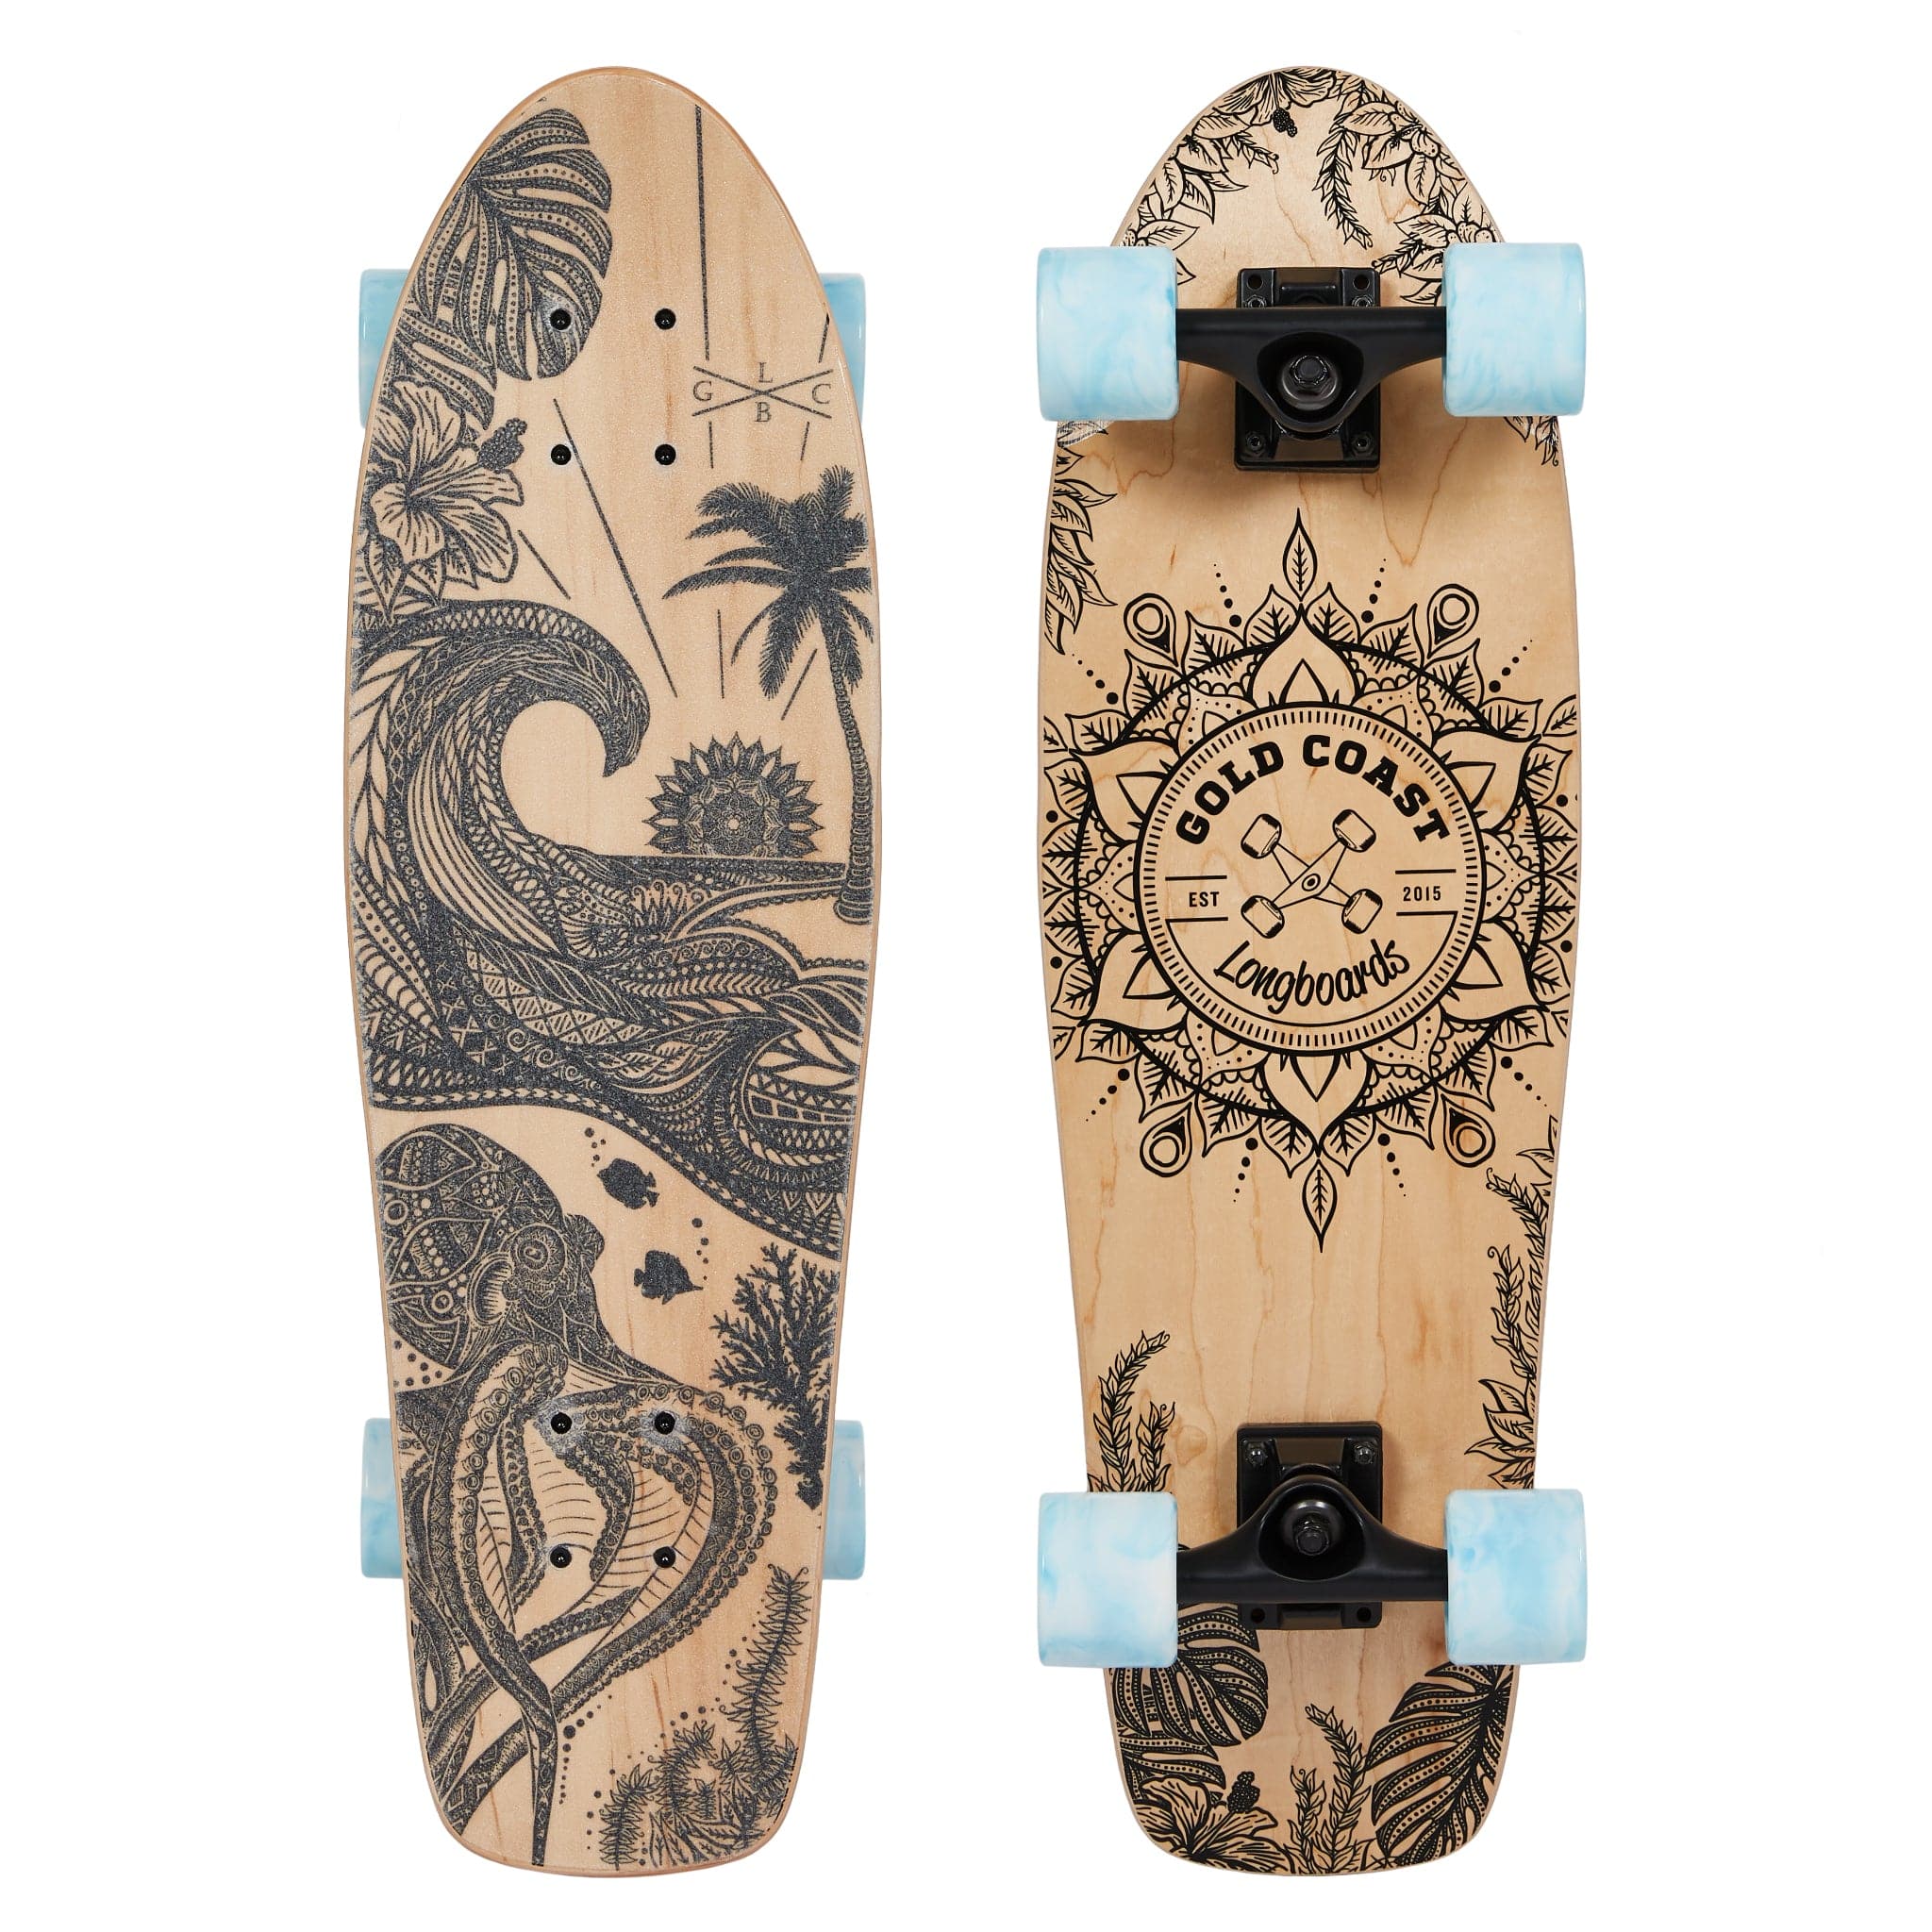
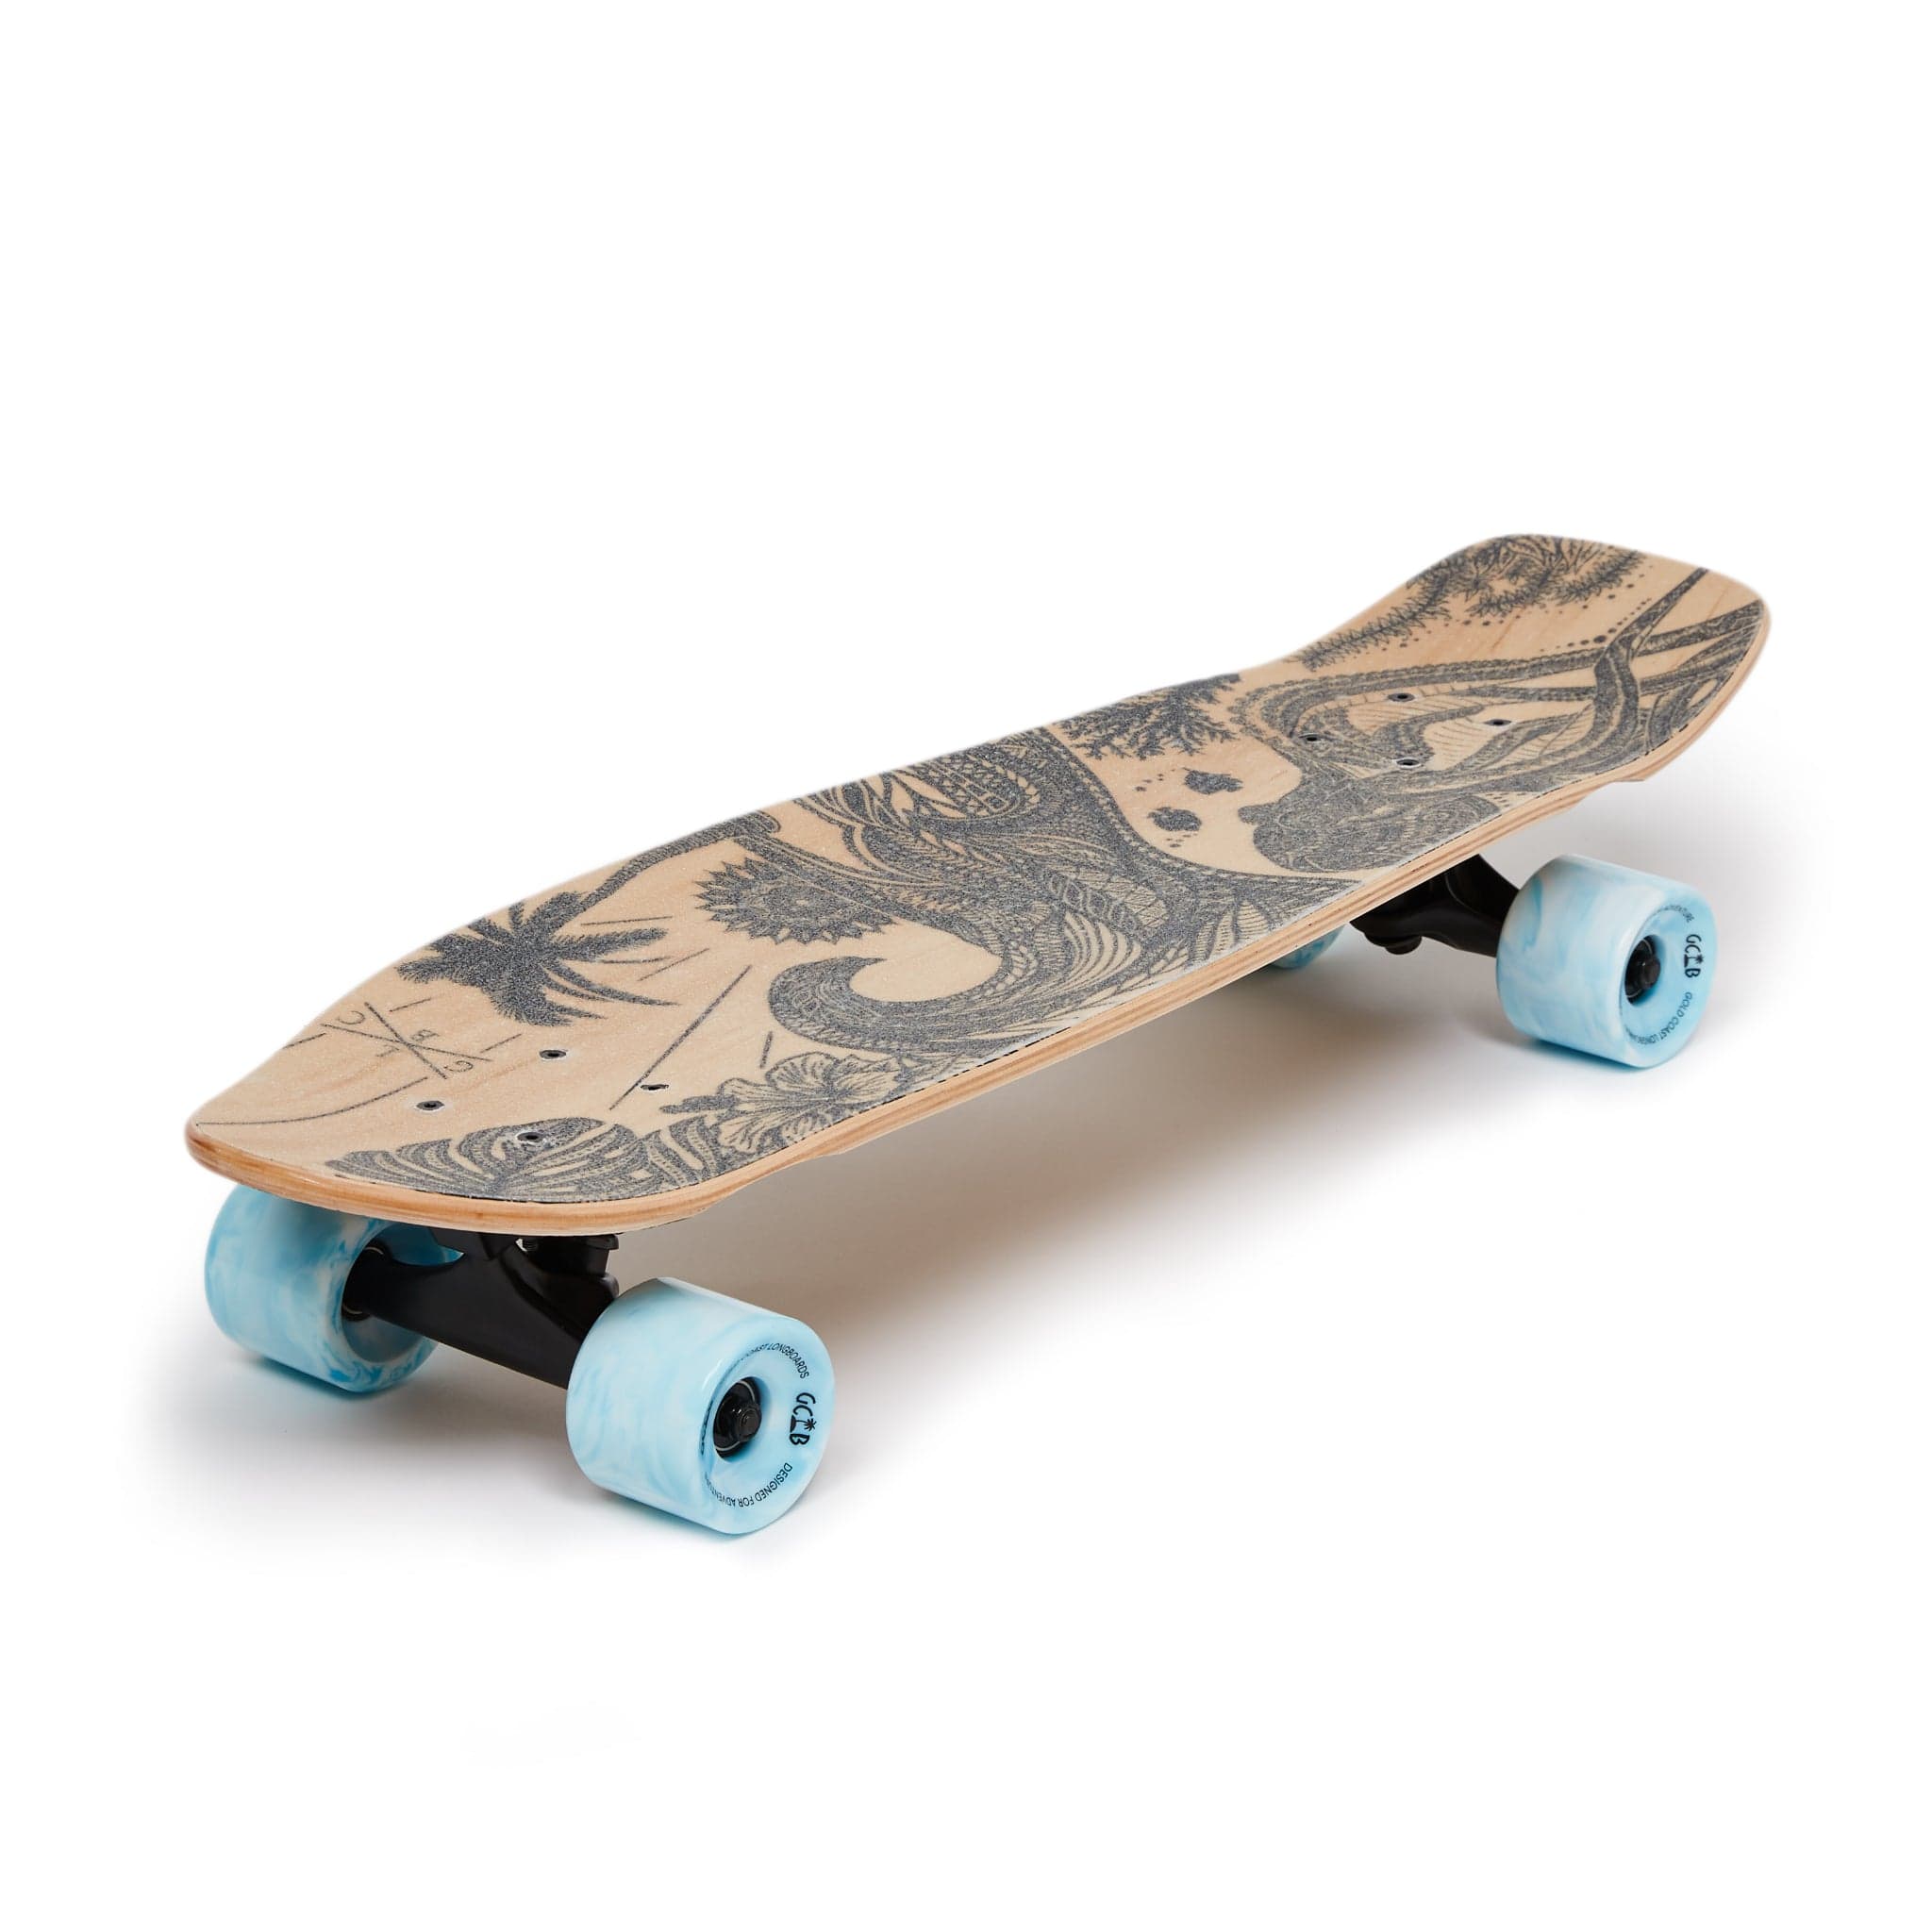
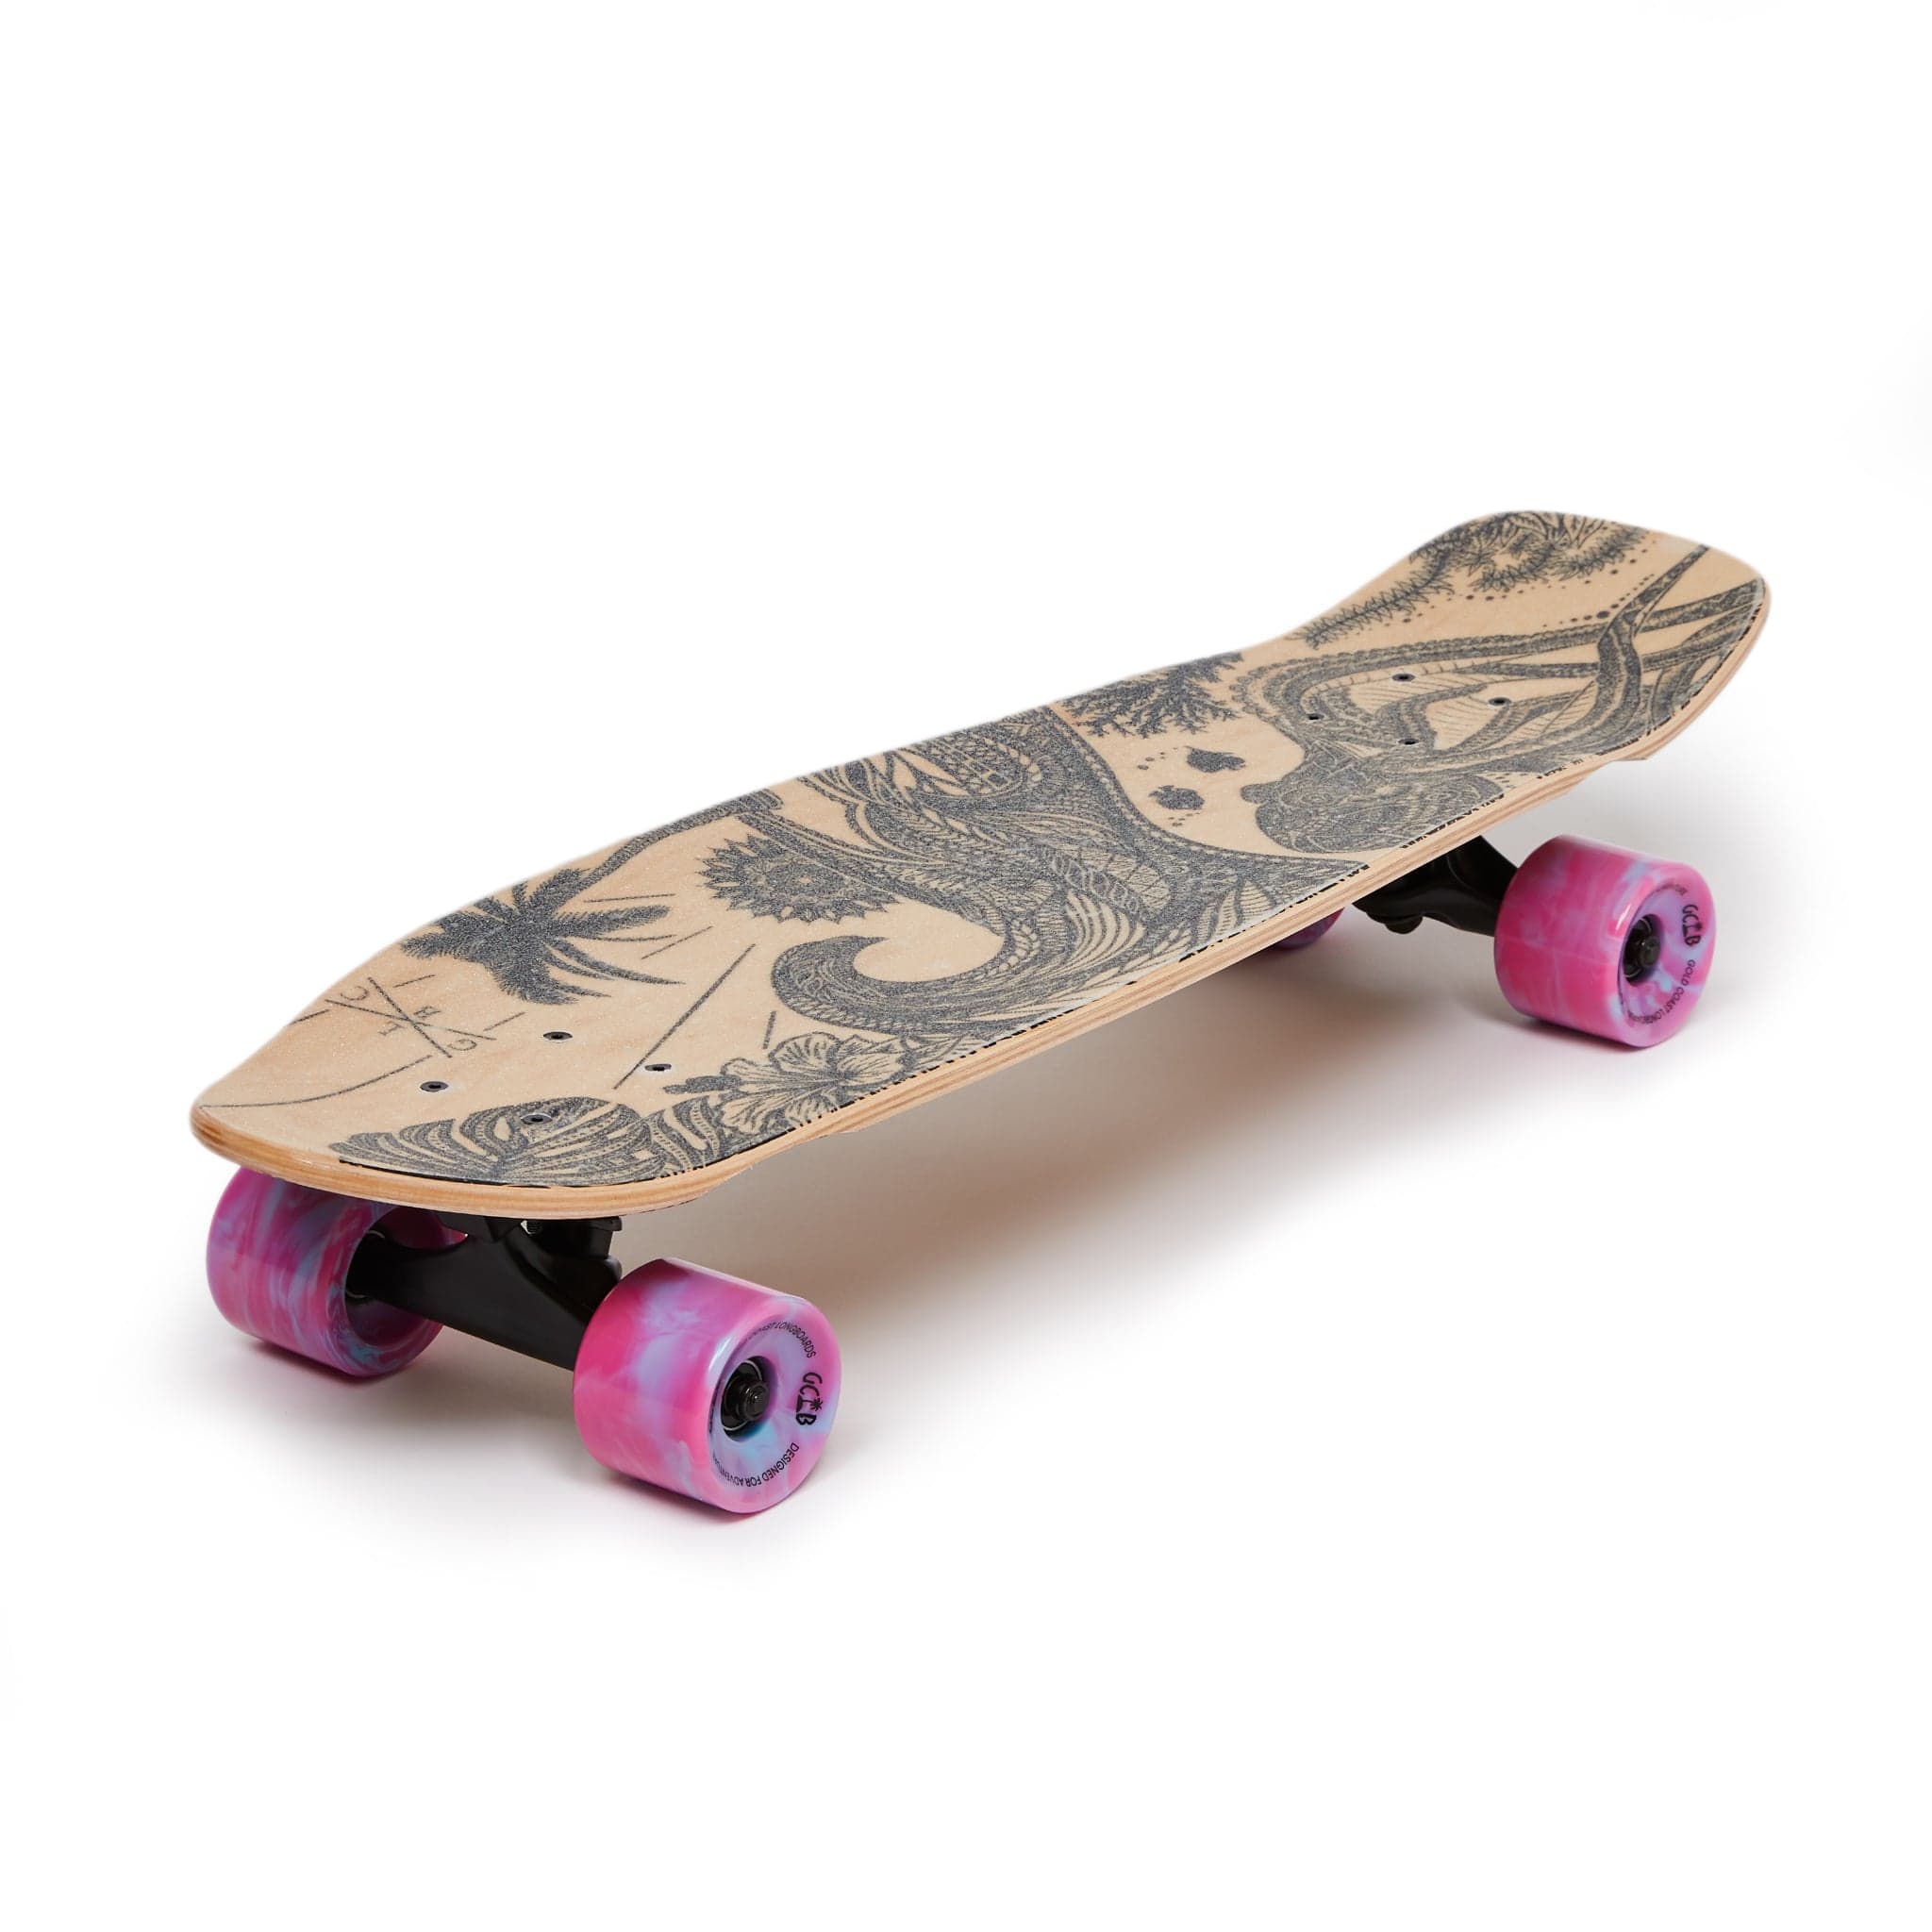
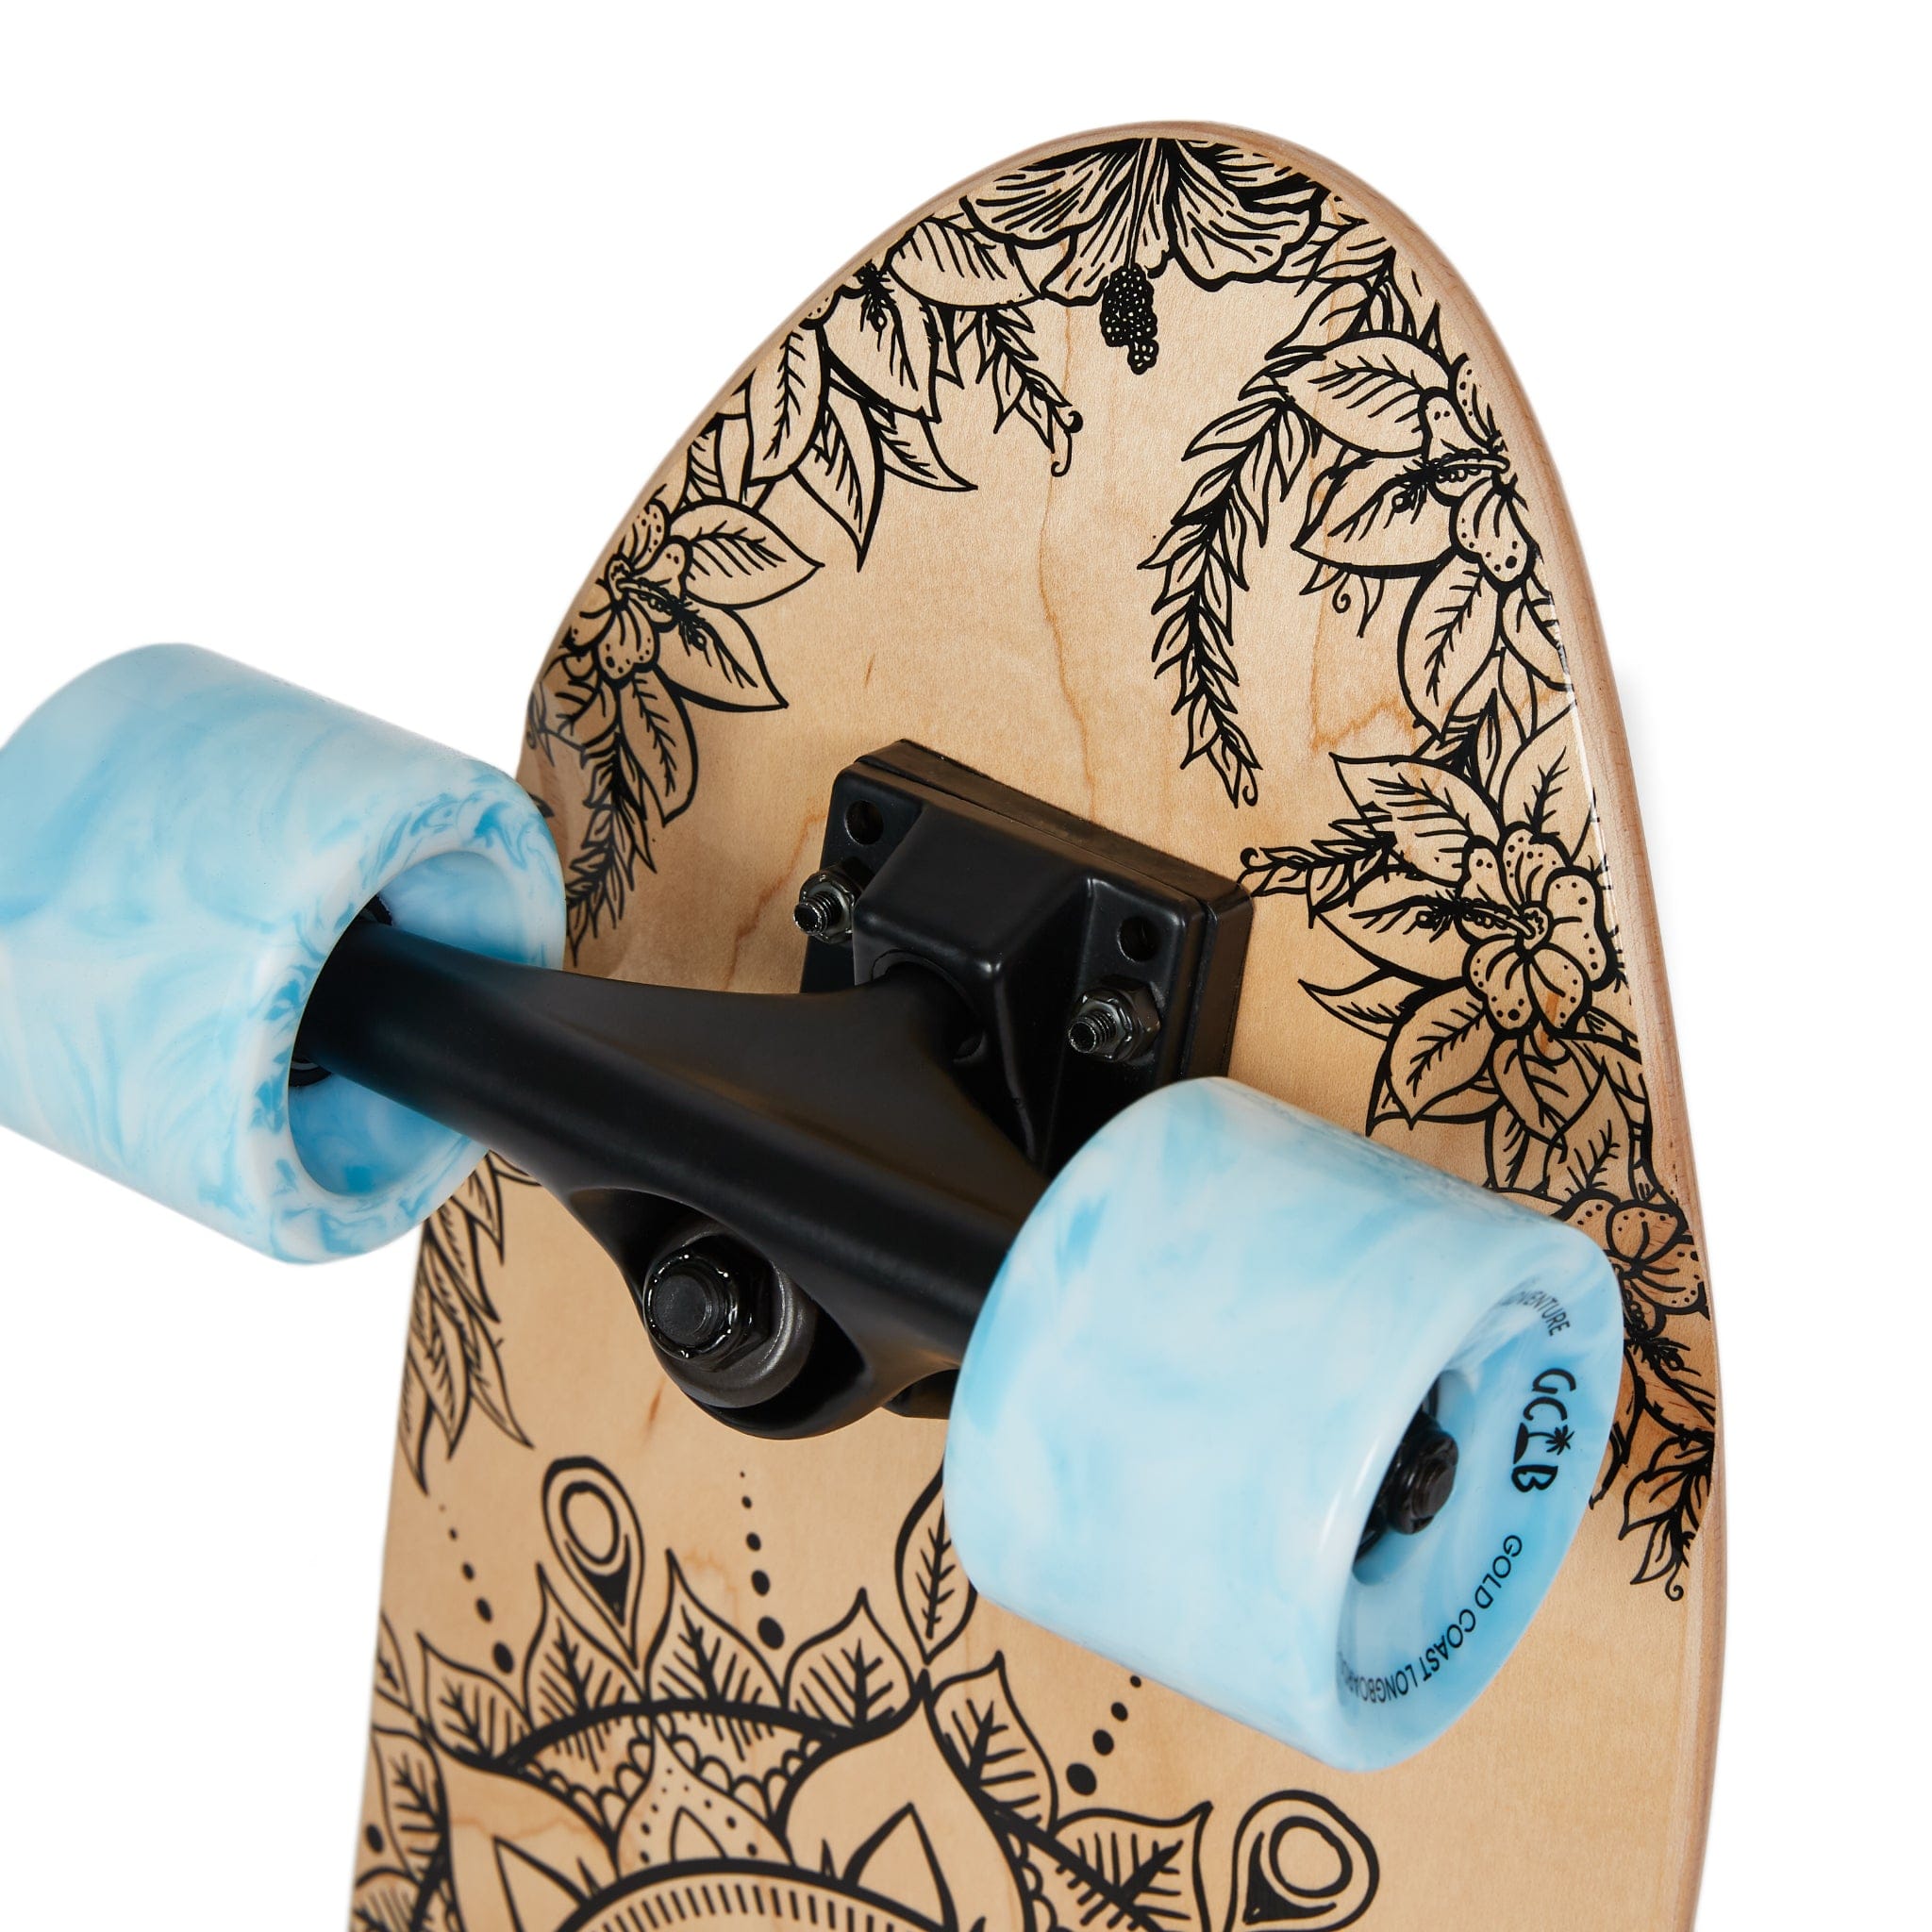
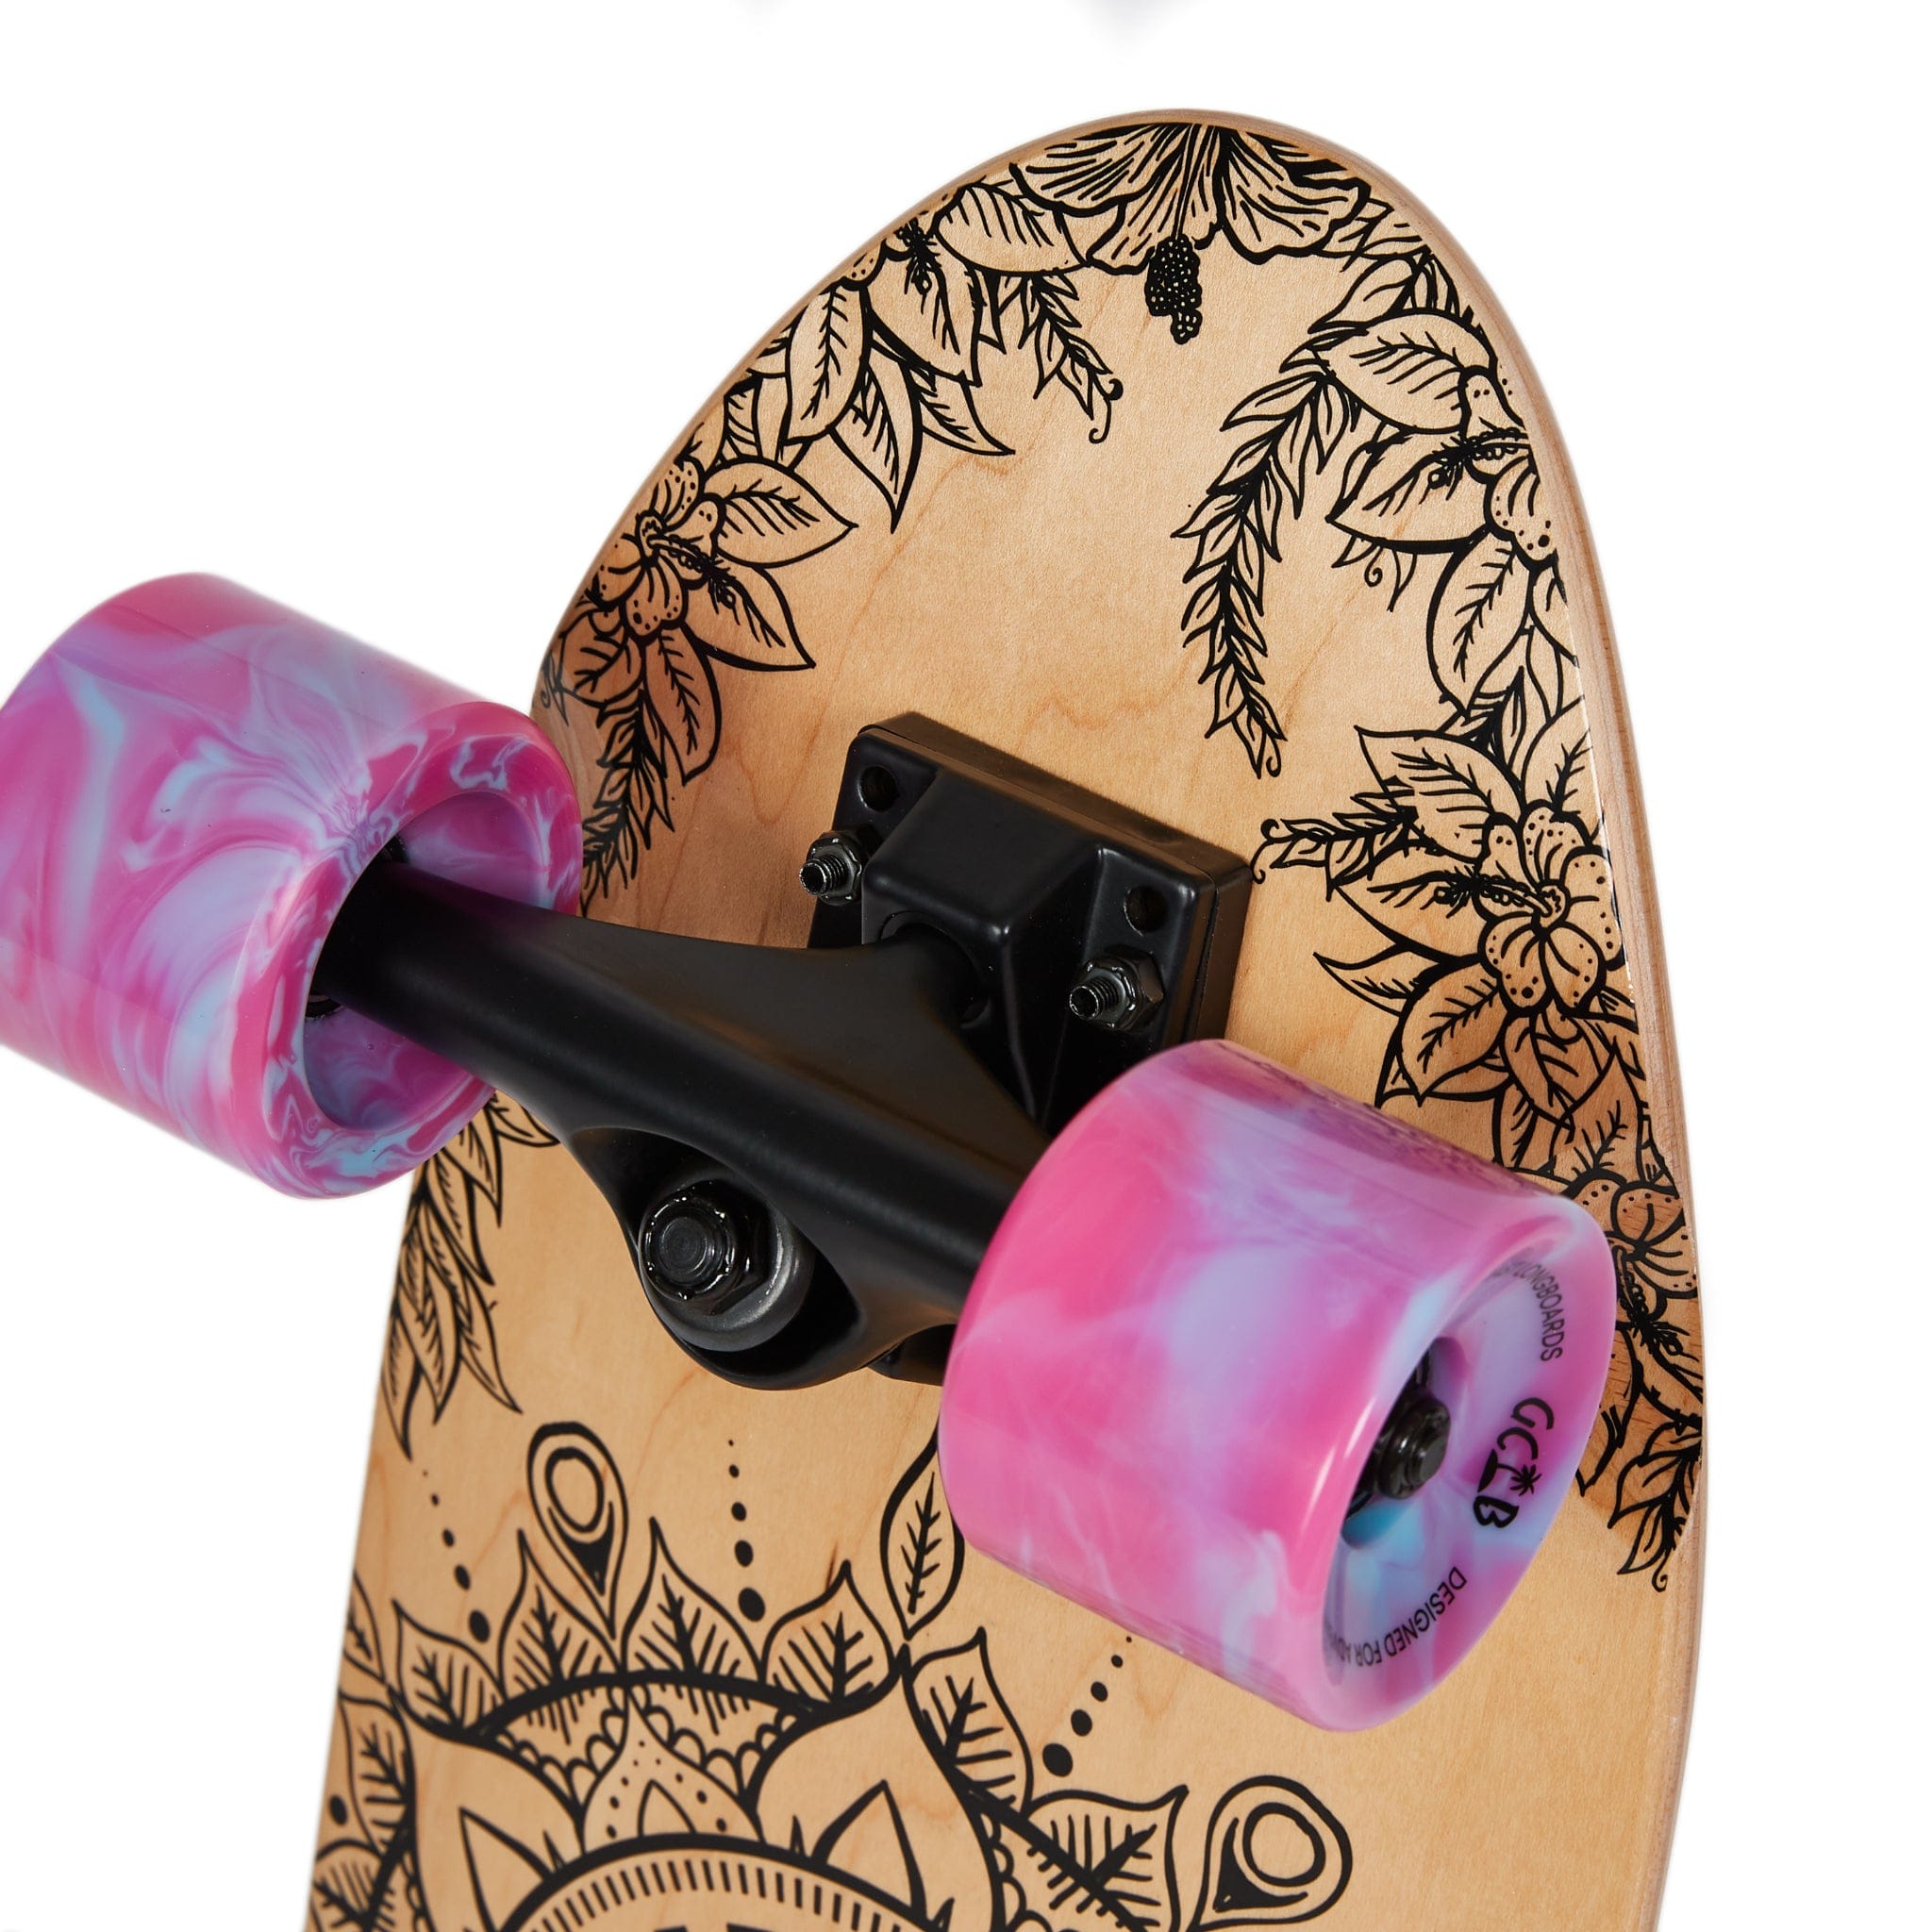
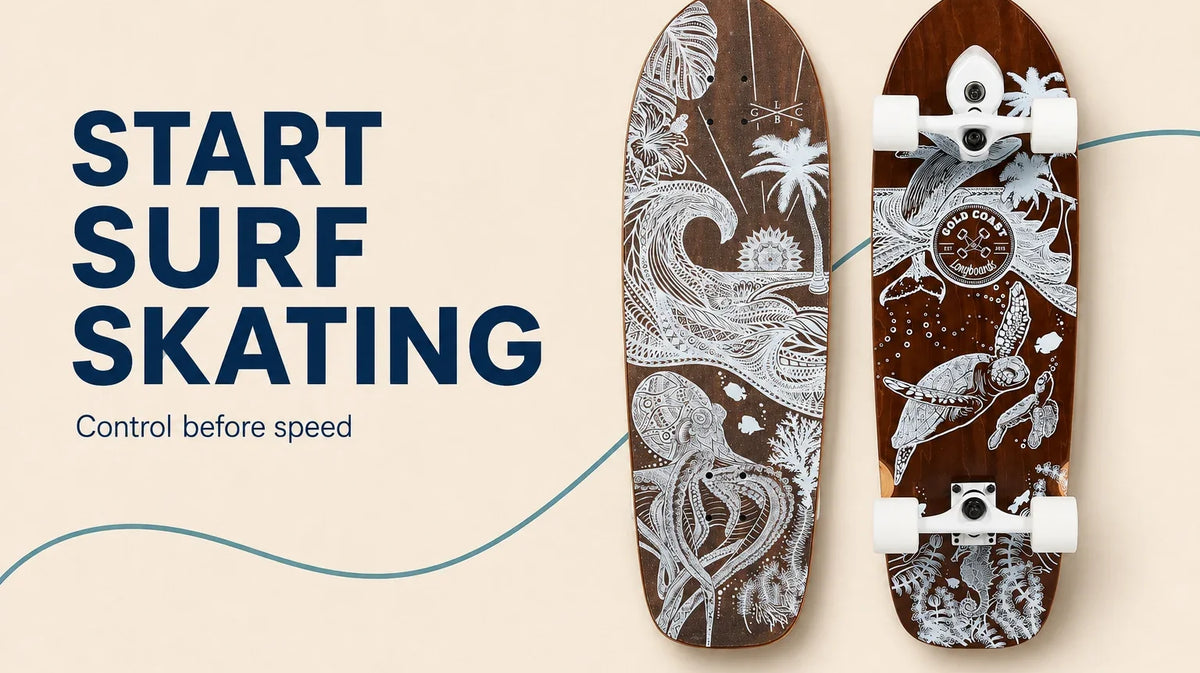
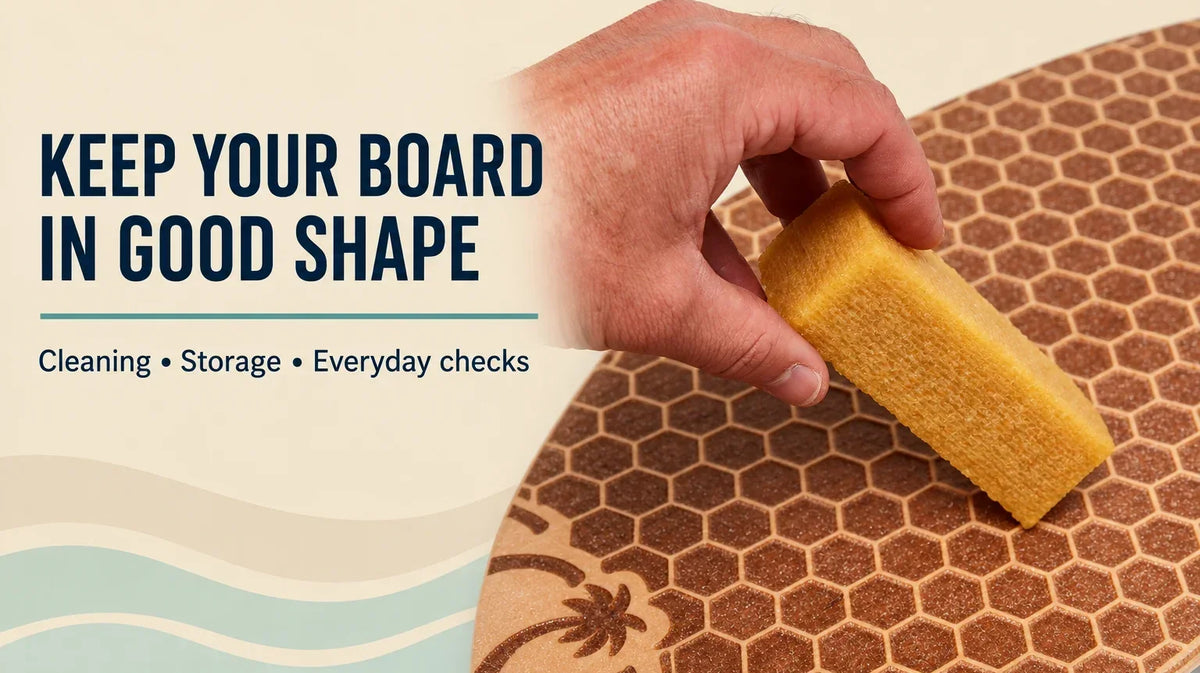
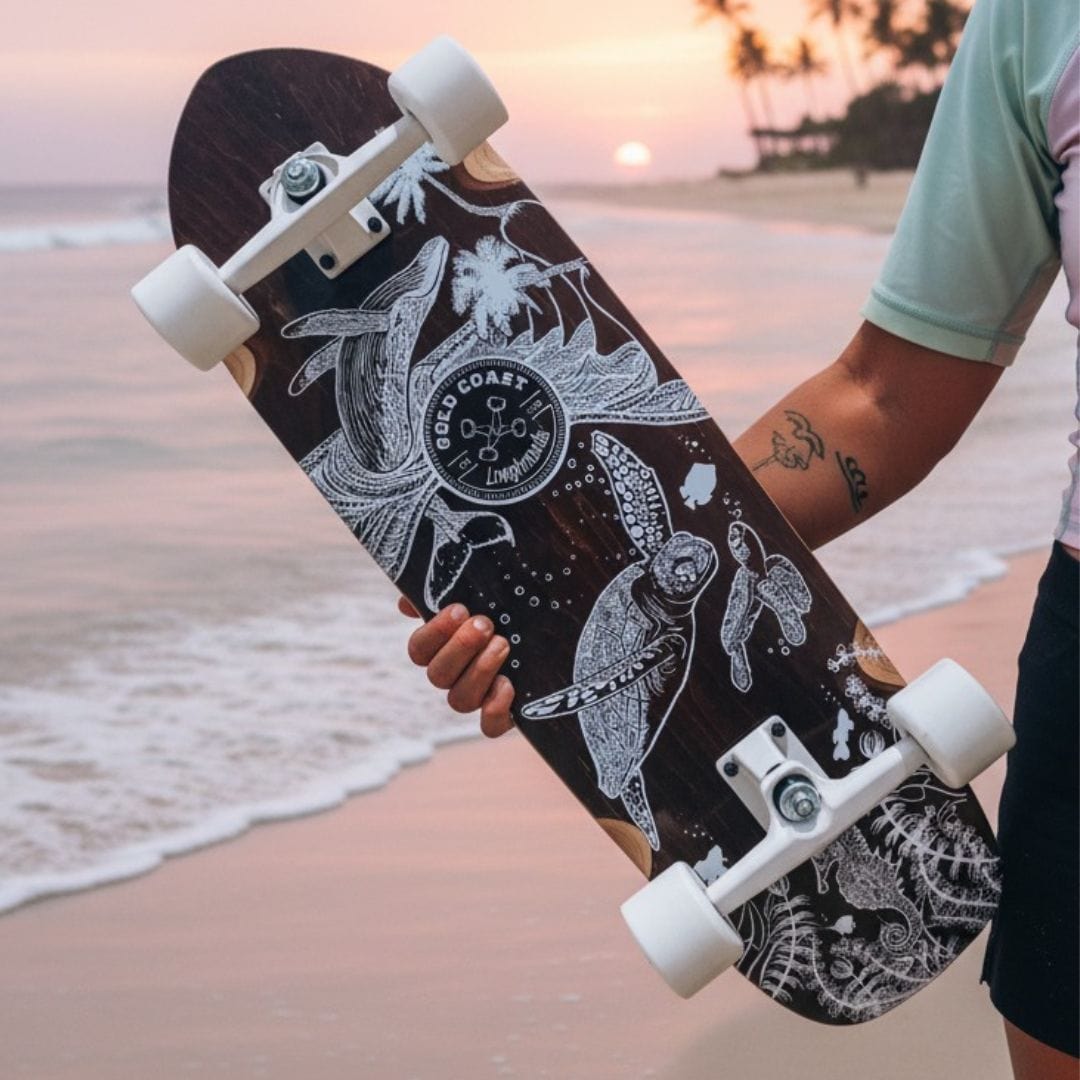
Header artwork created with AI using GCLB product photography. The studio image within this guide shows the product itself; it is not a demonstration of riding technique.