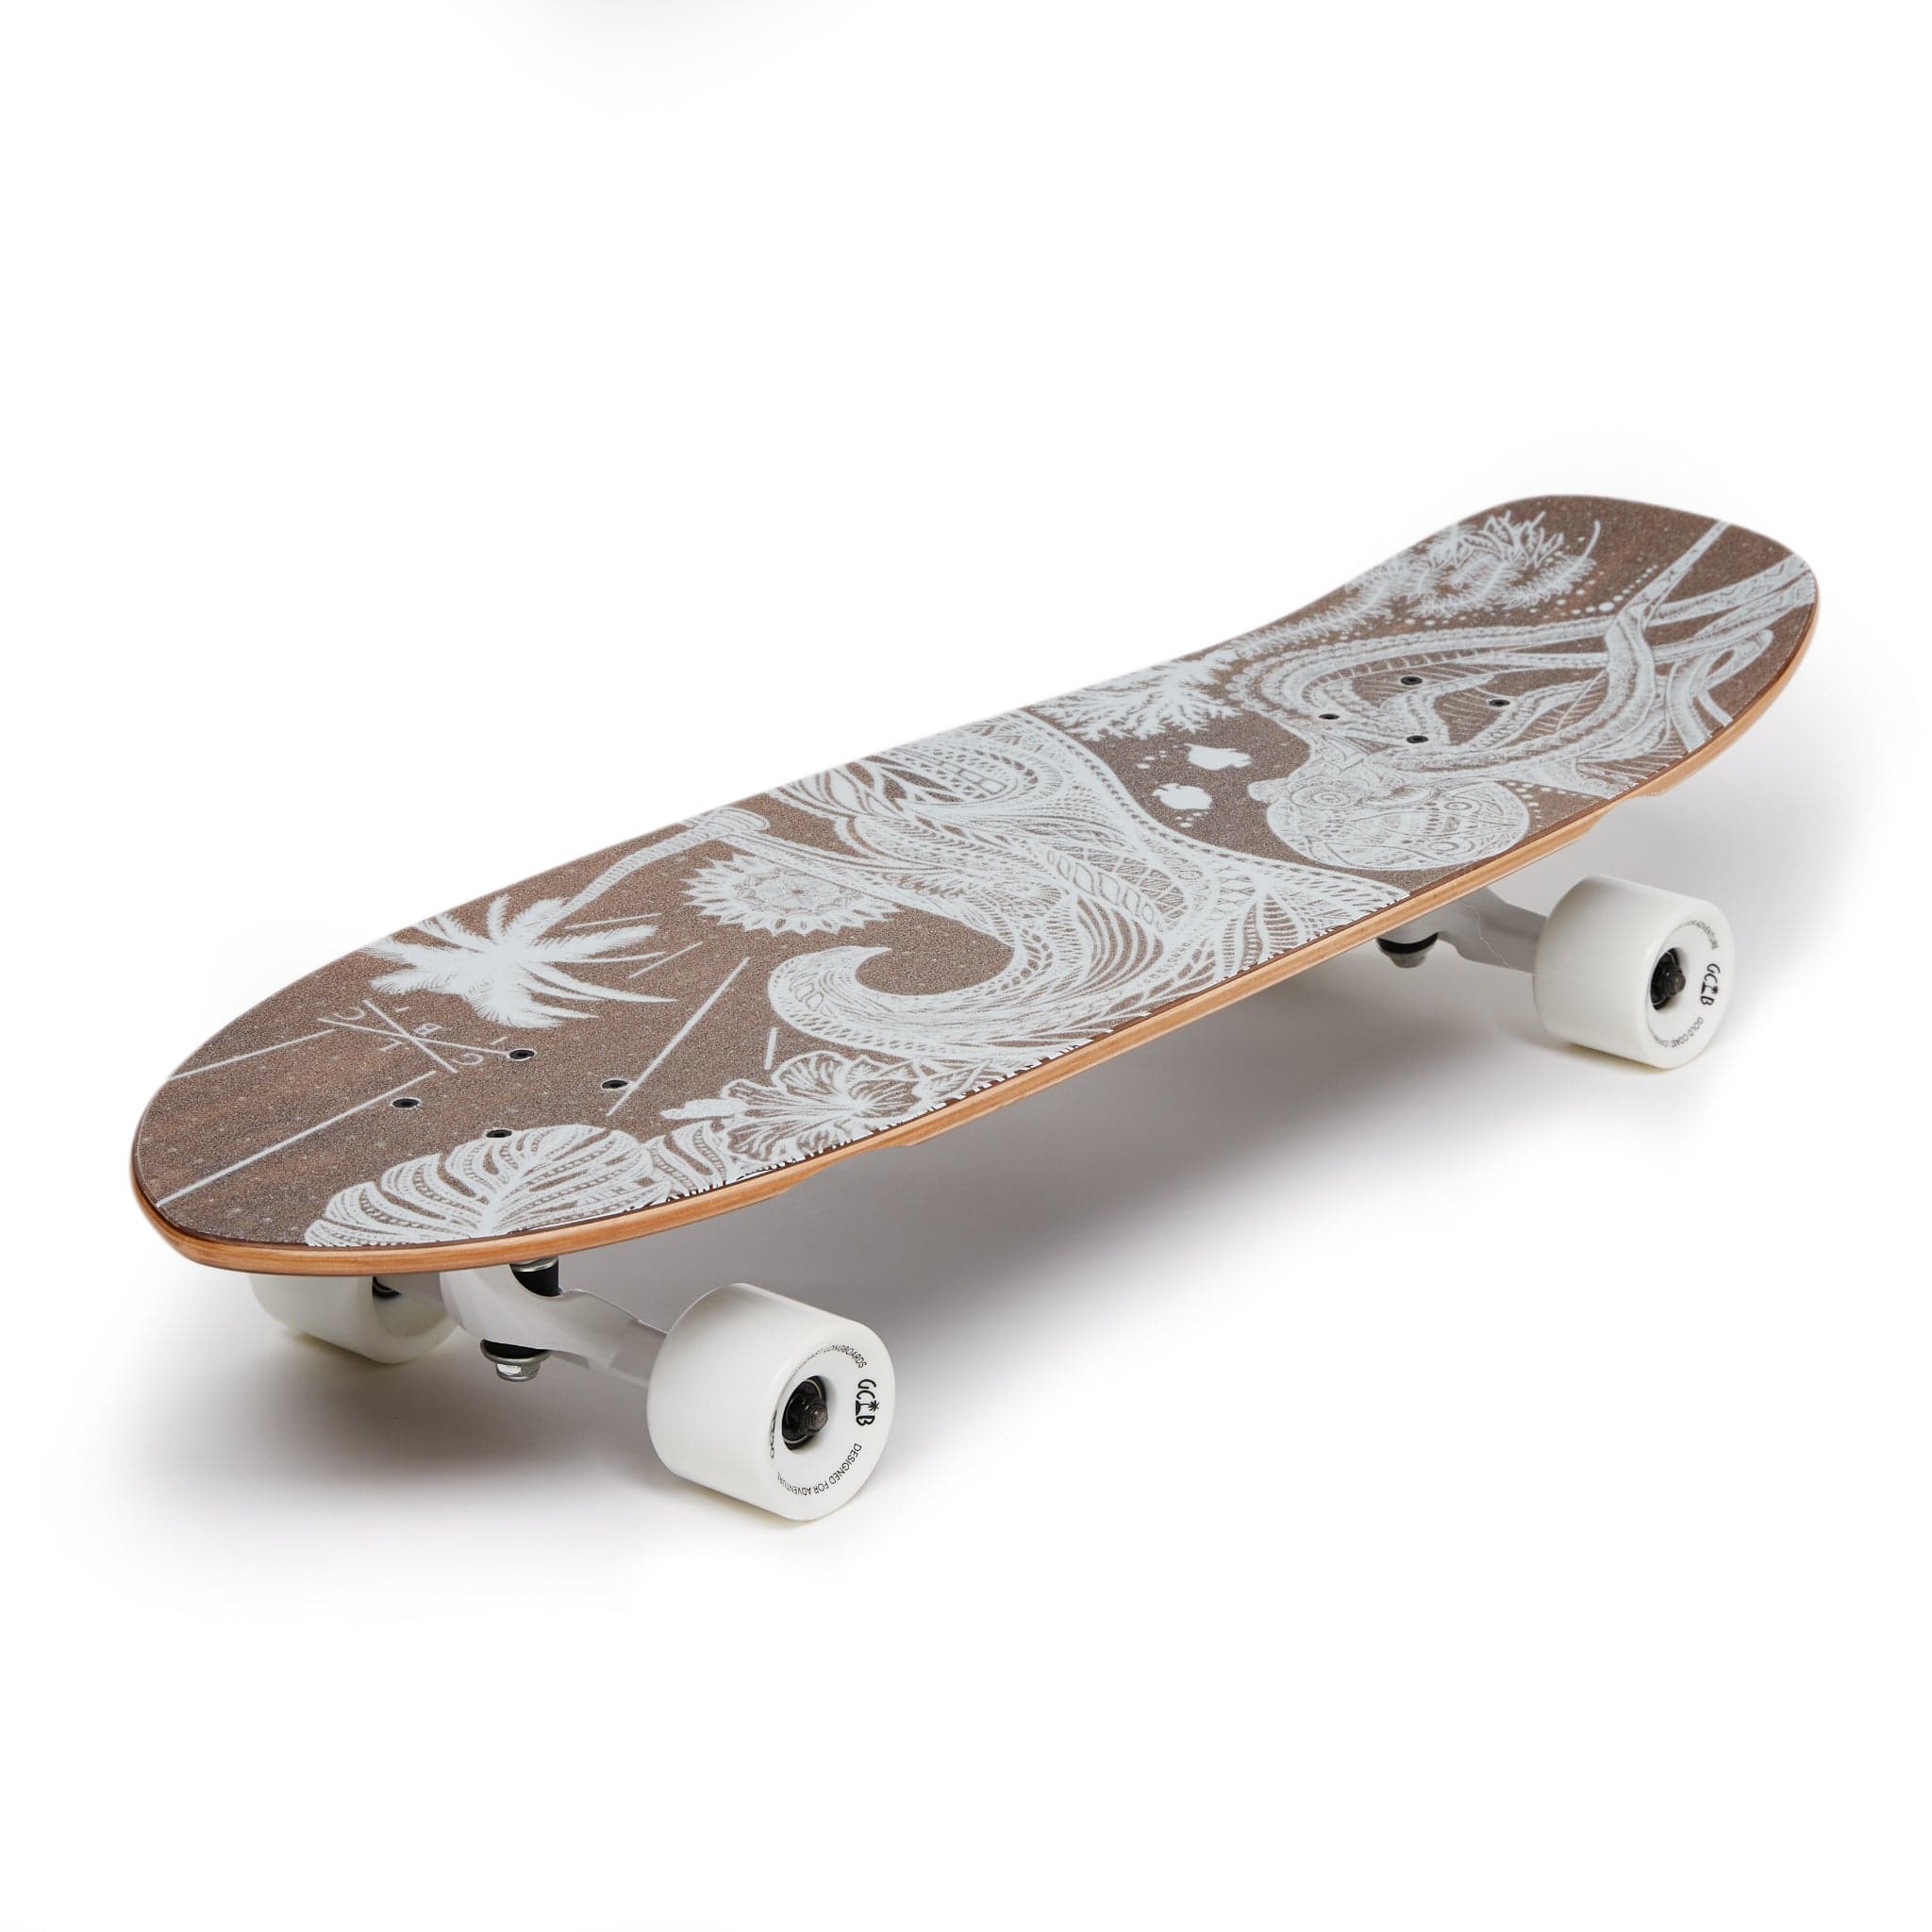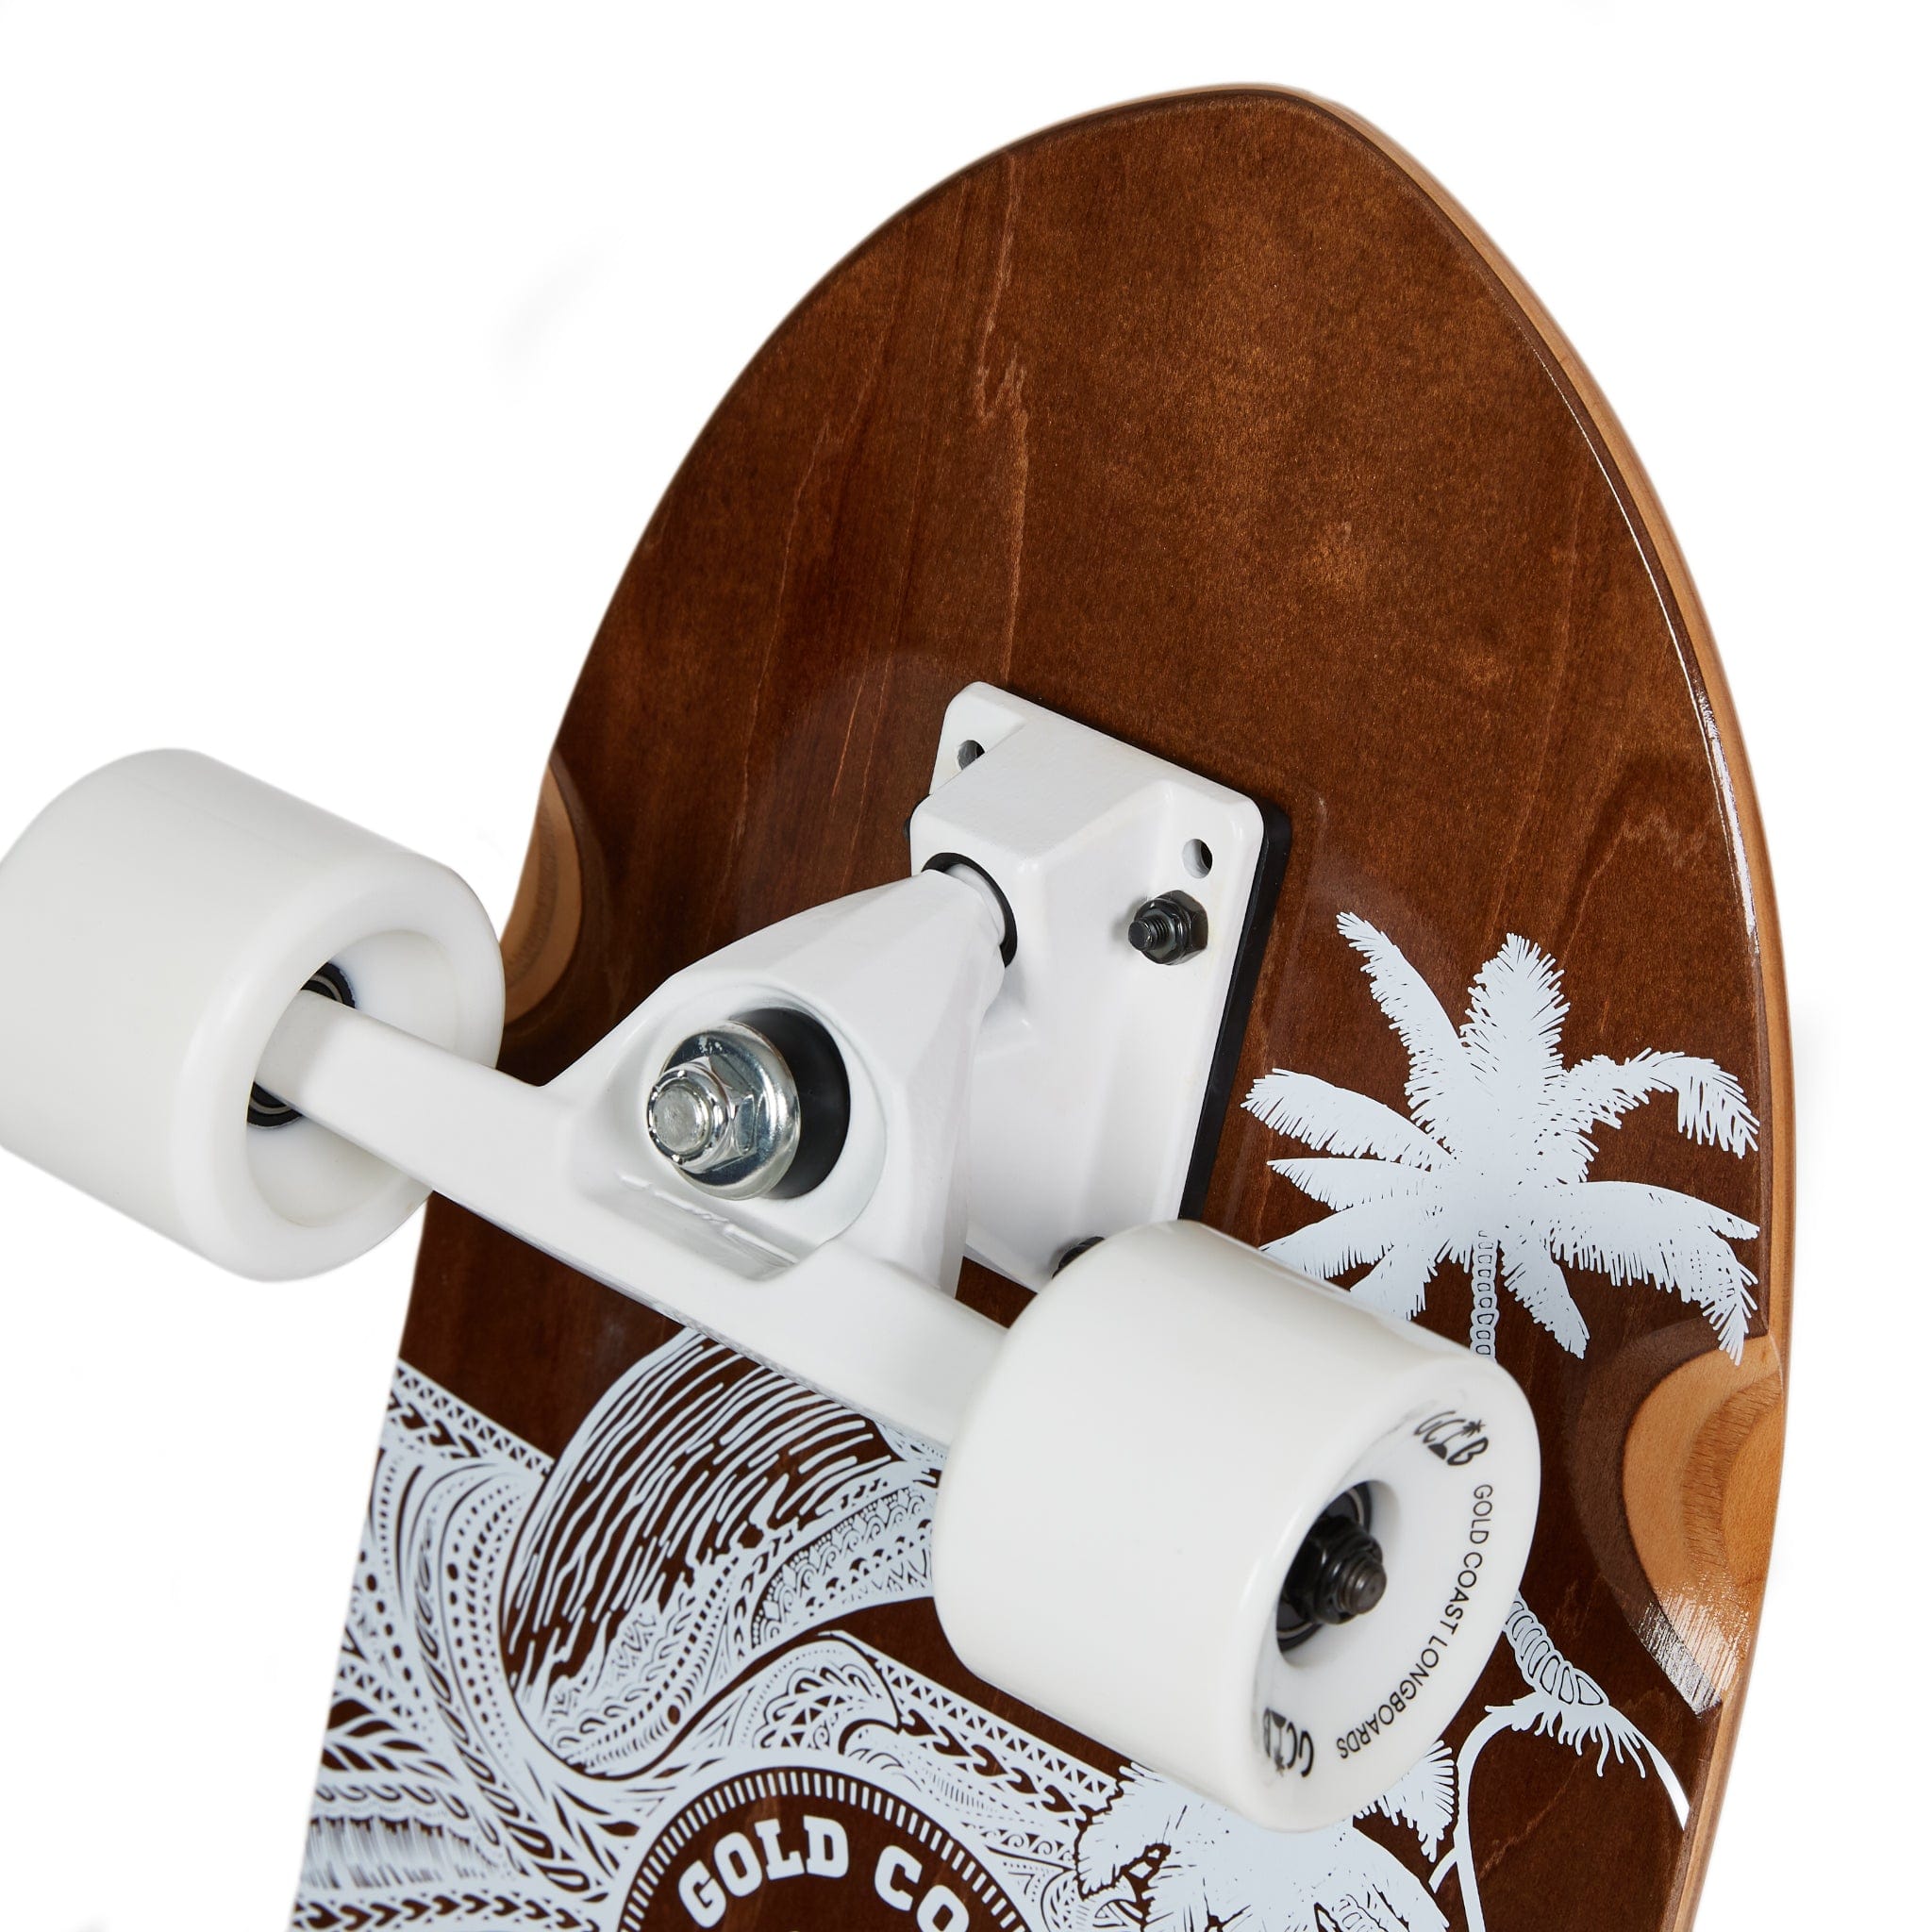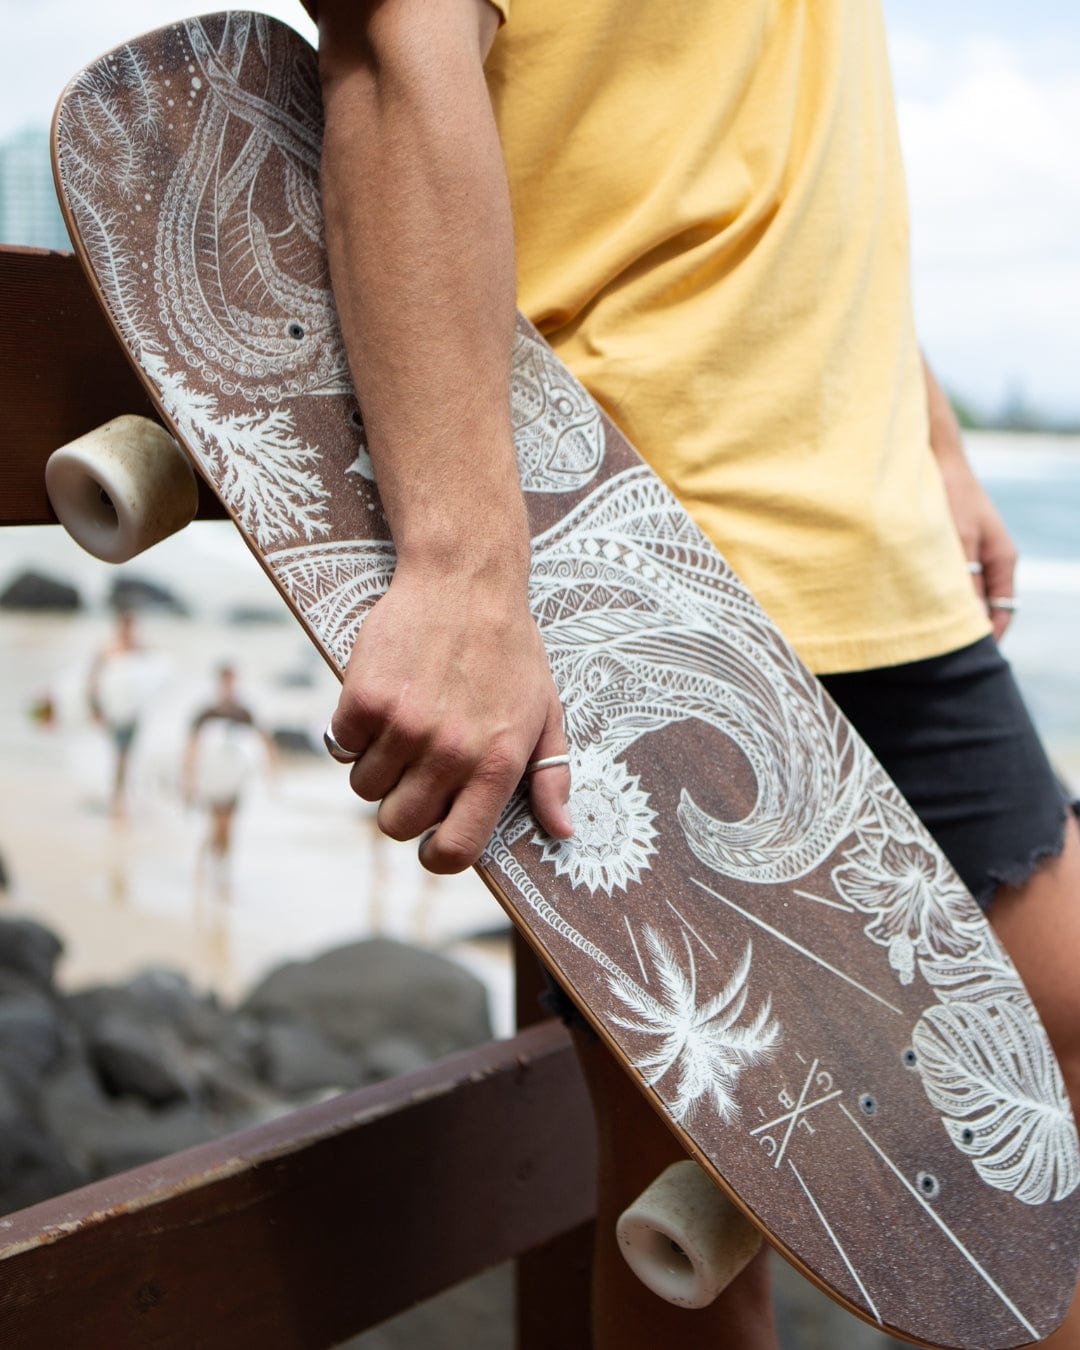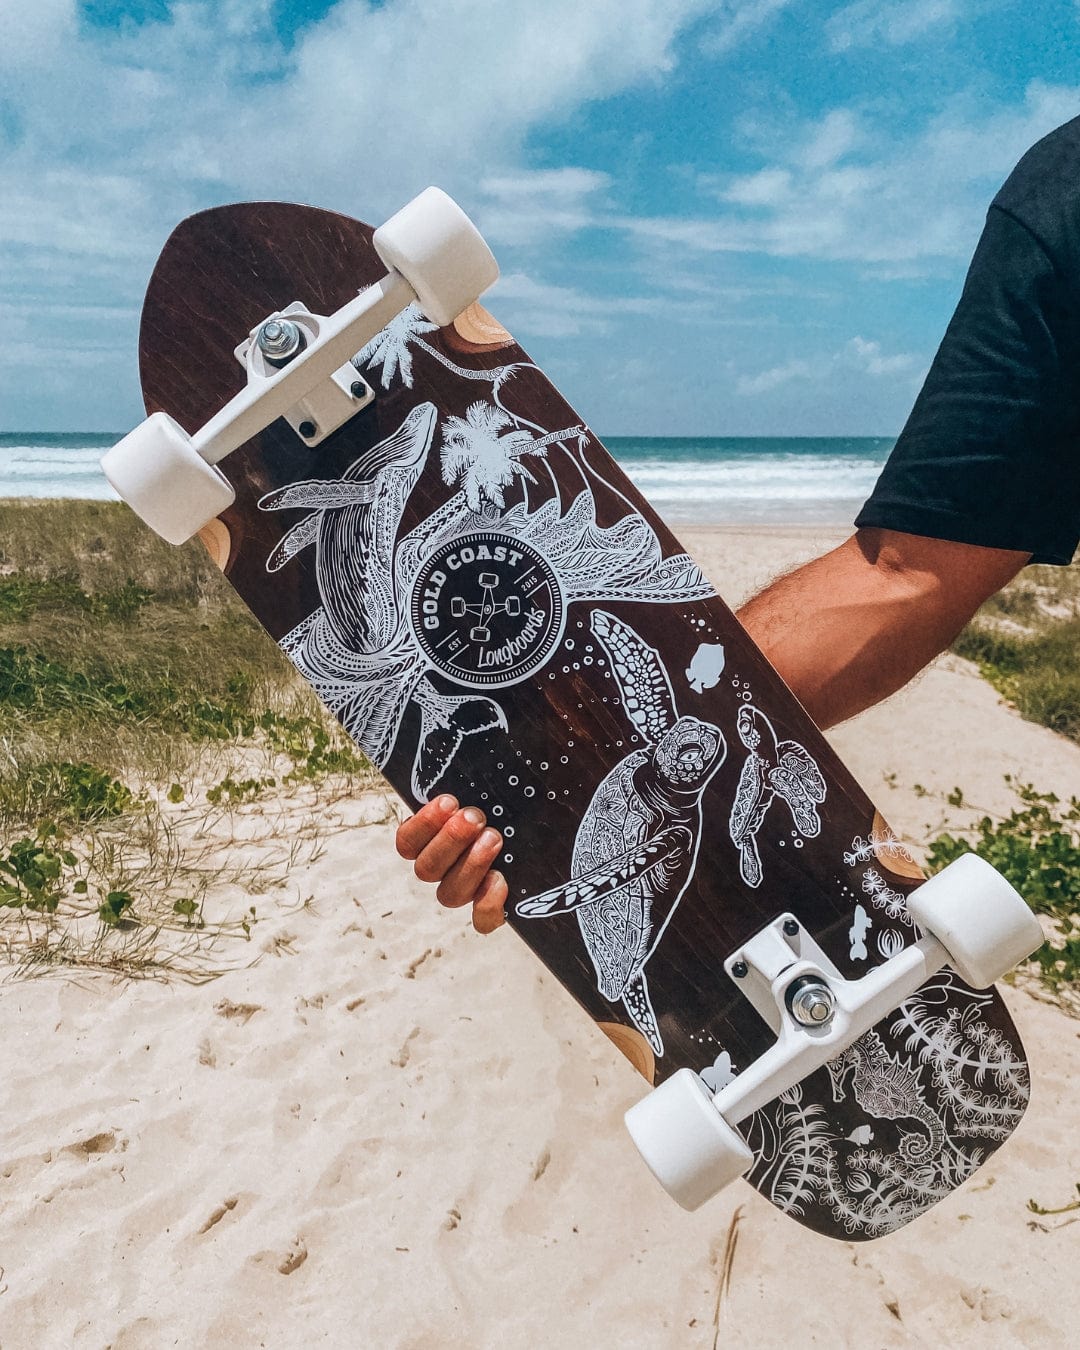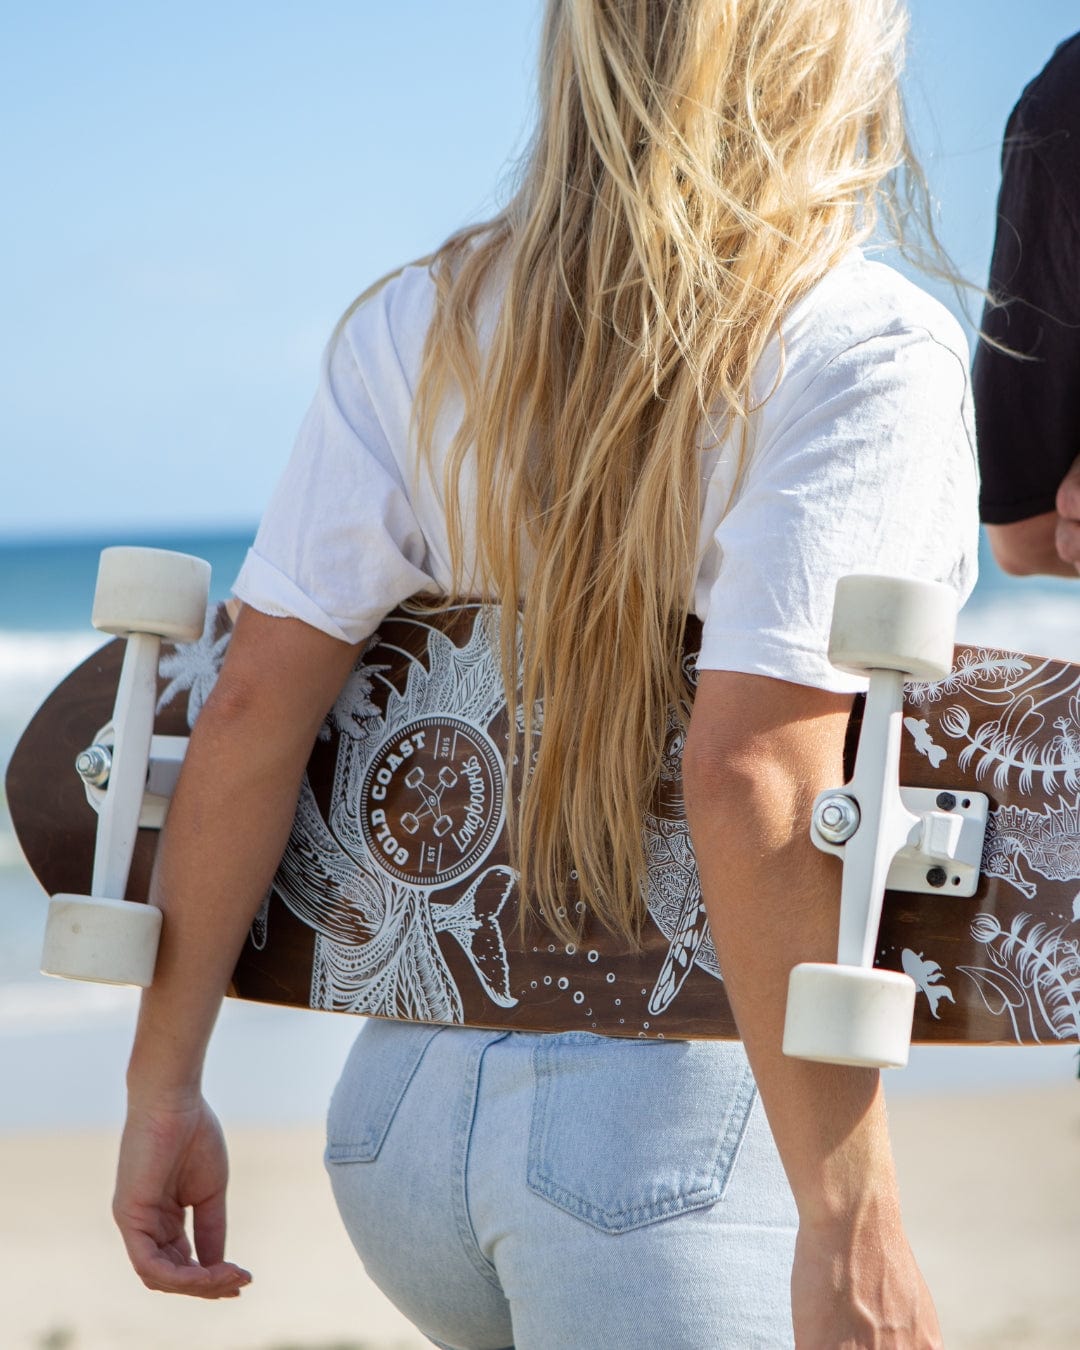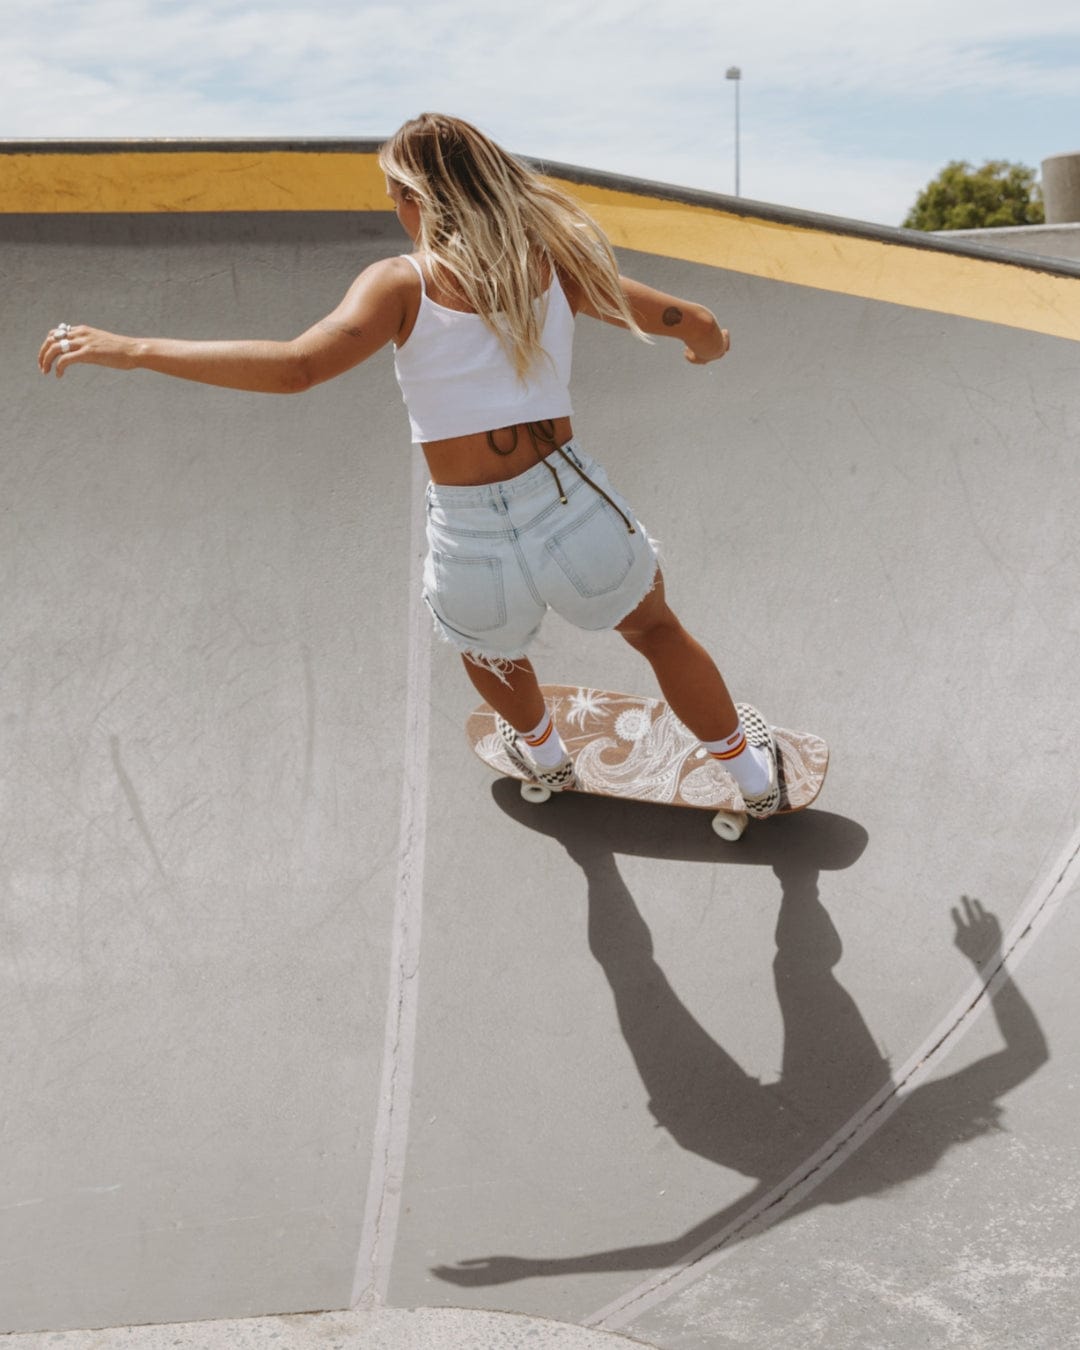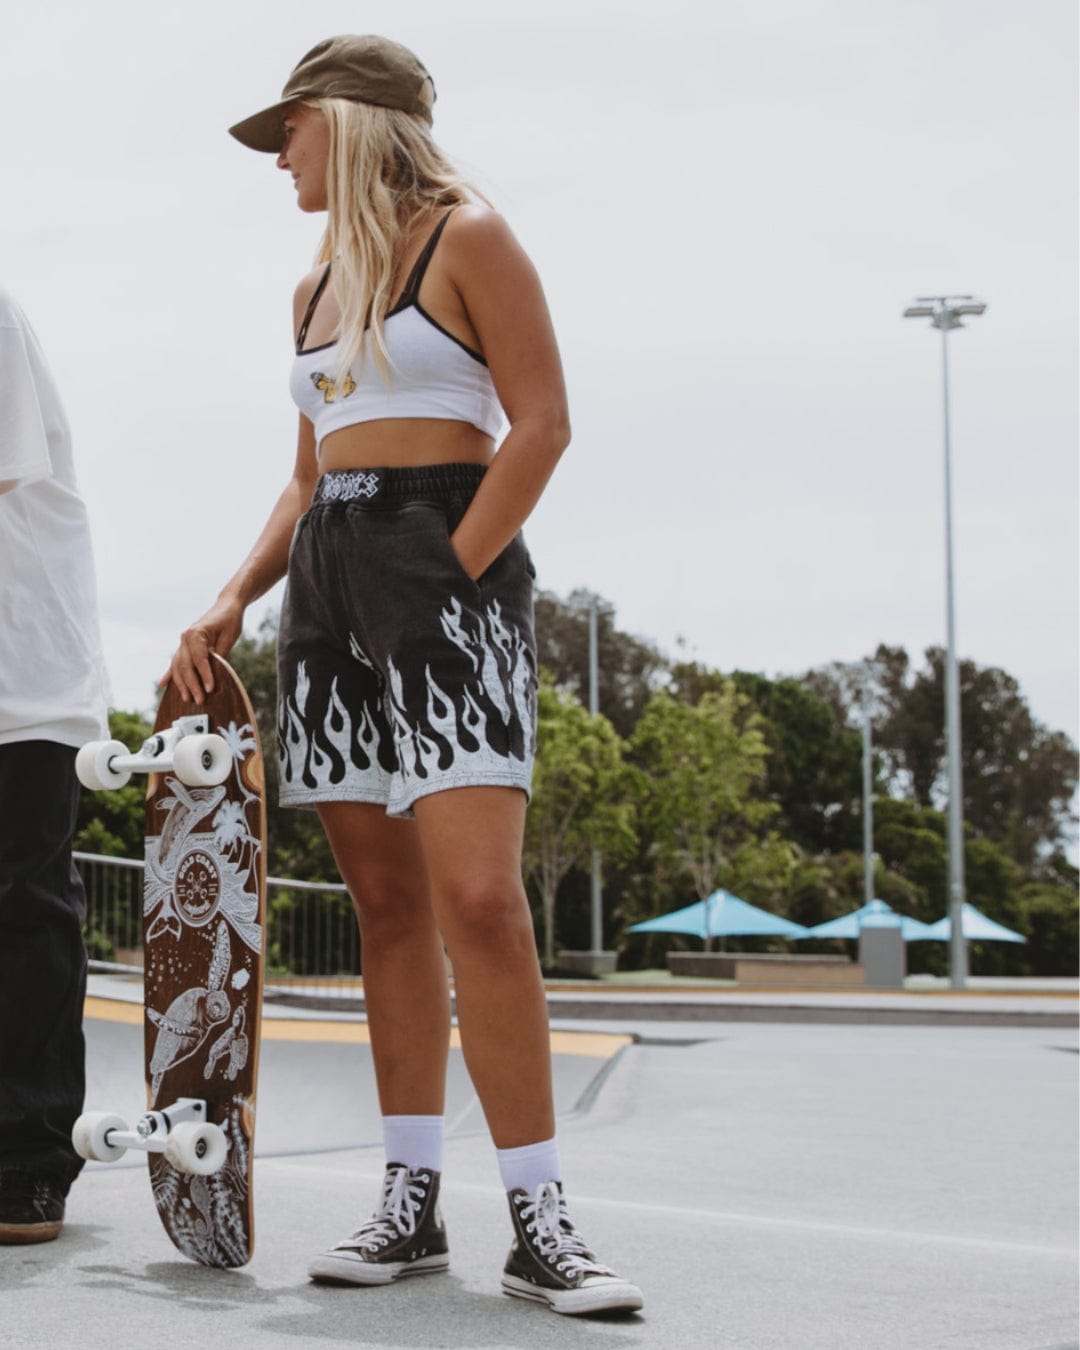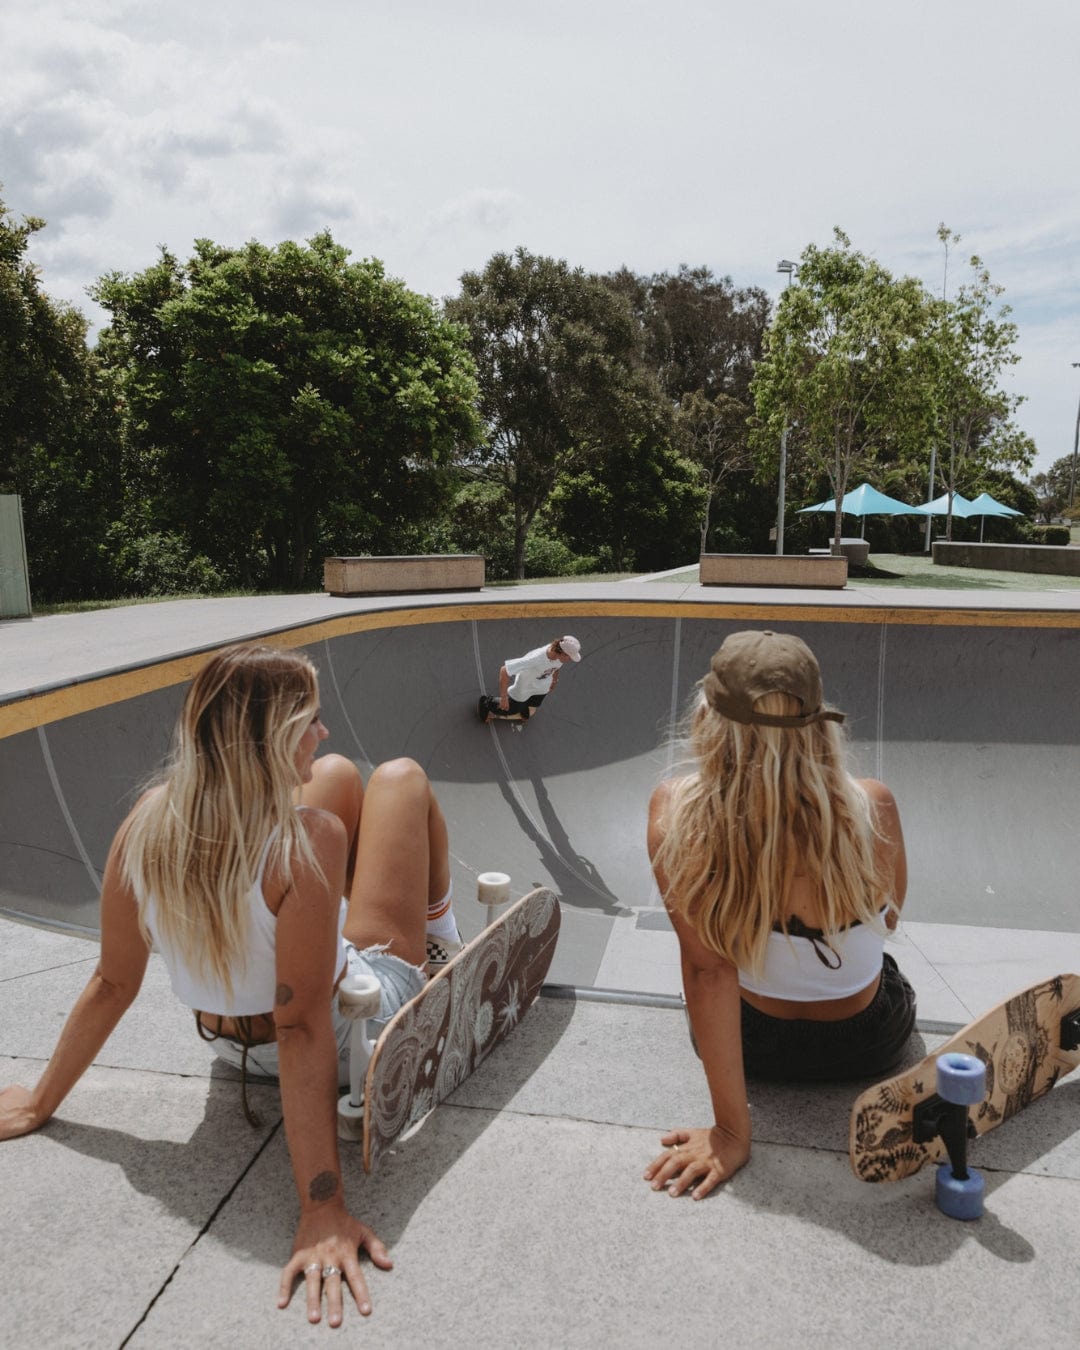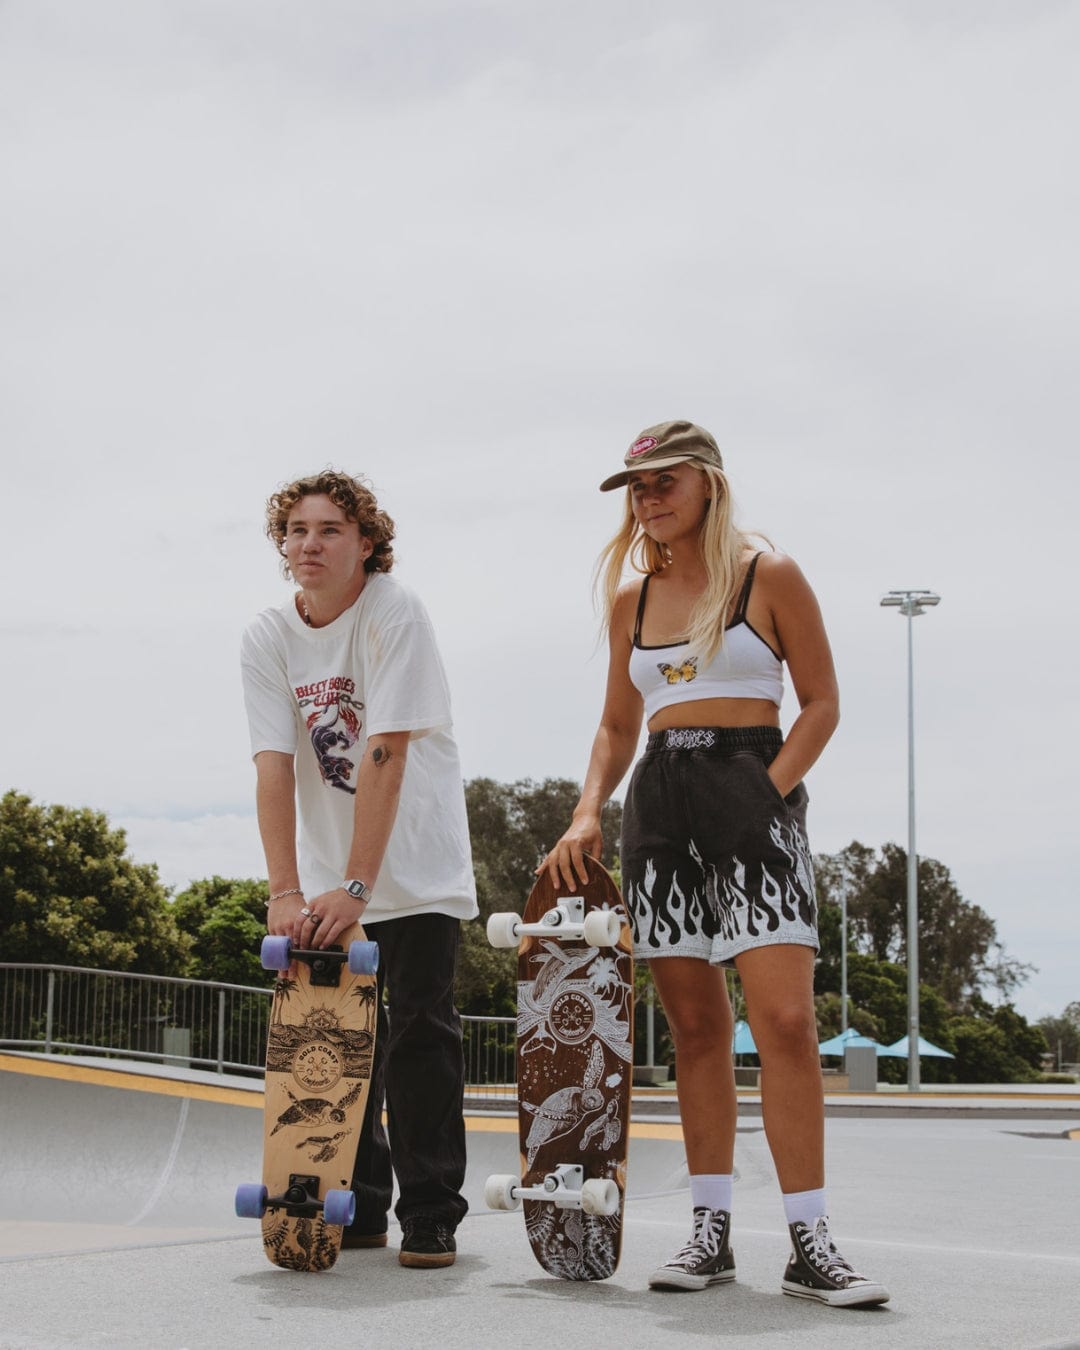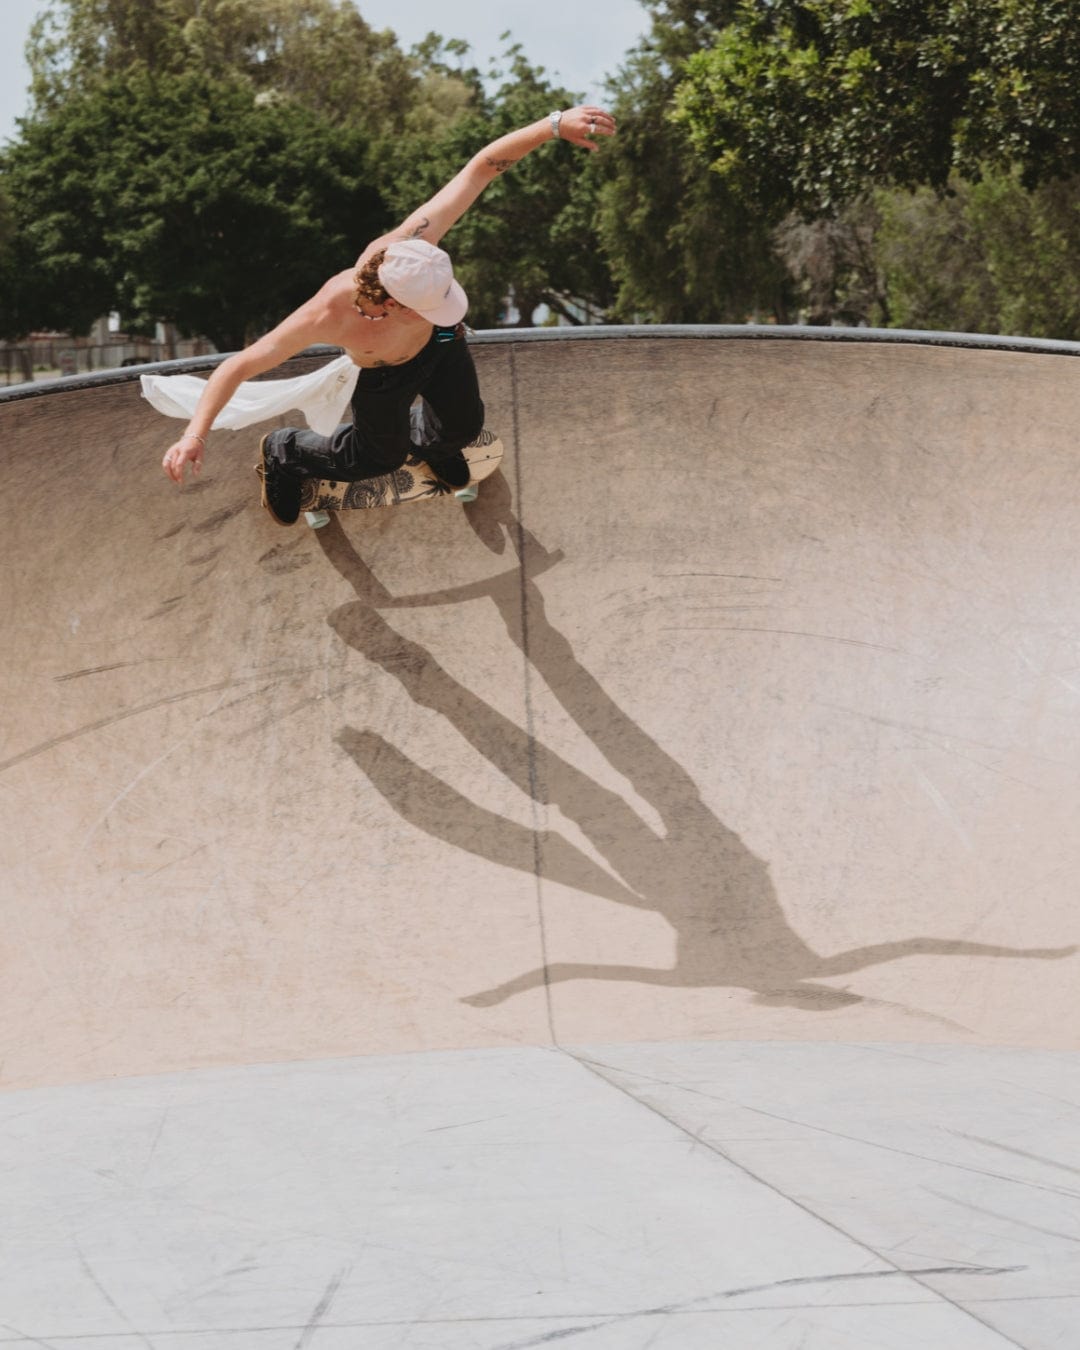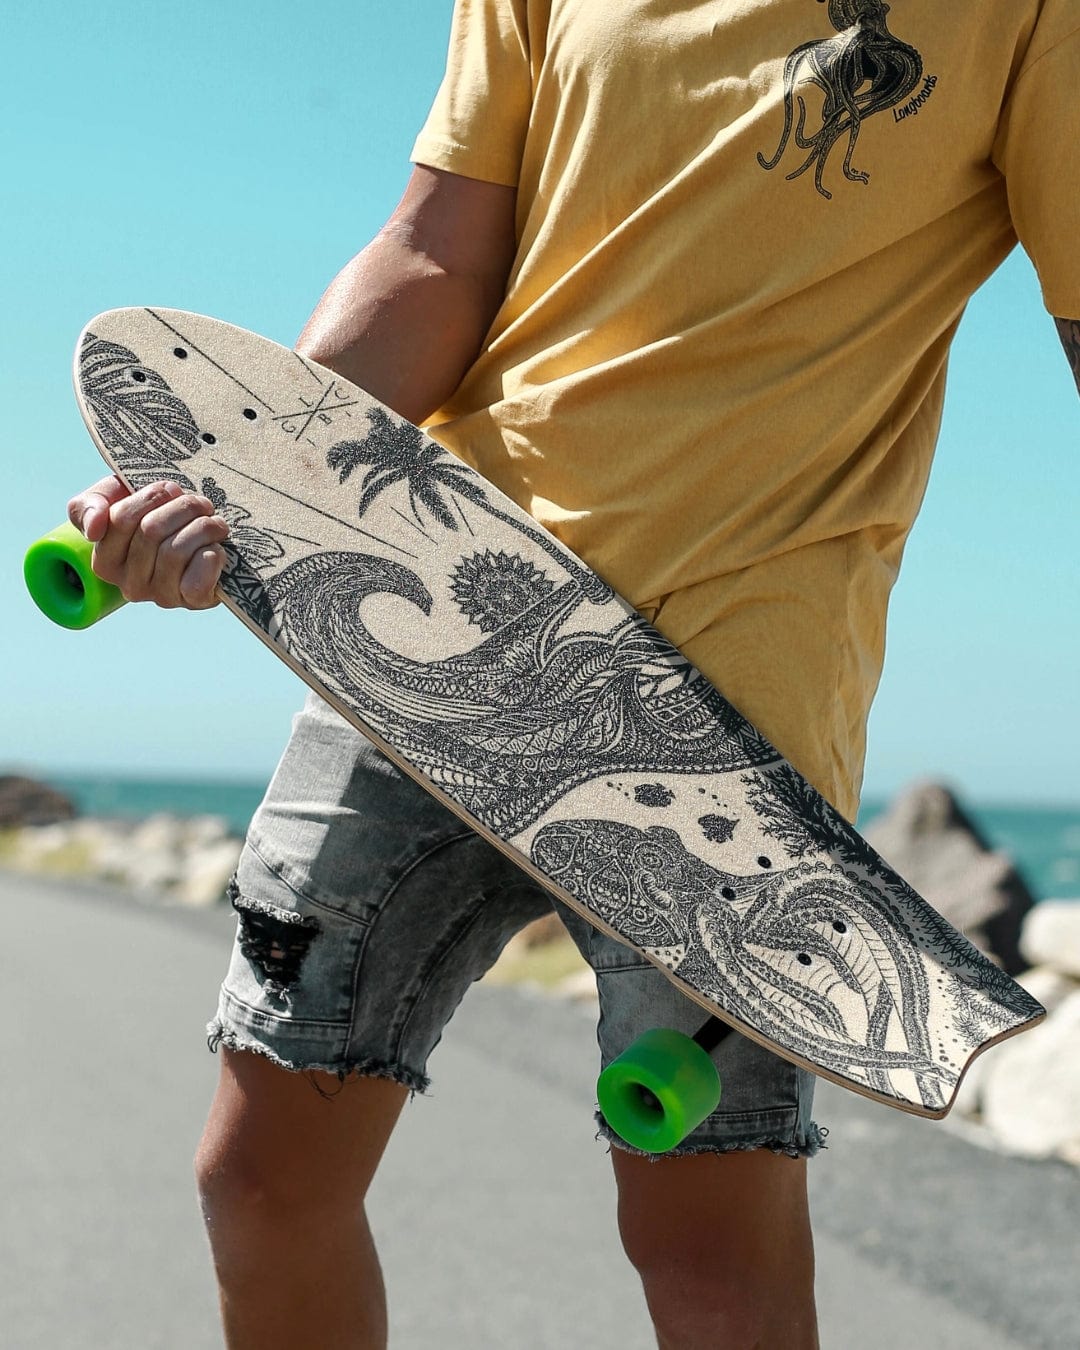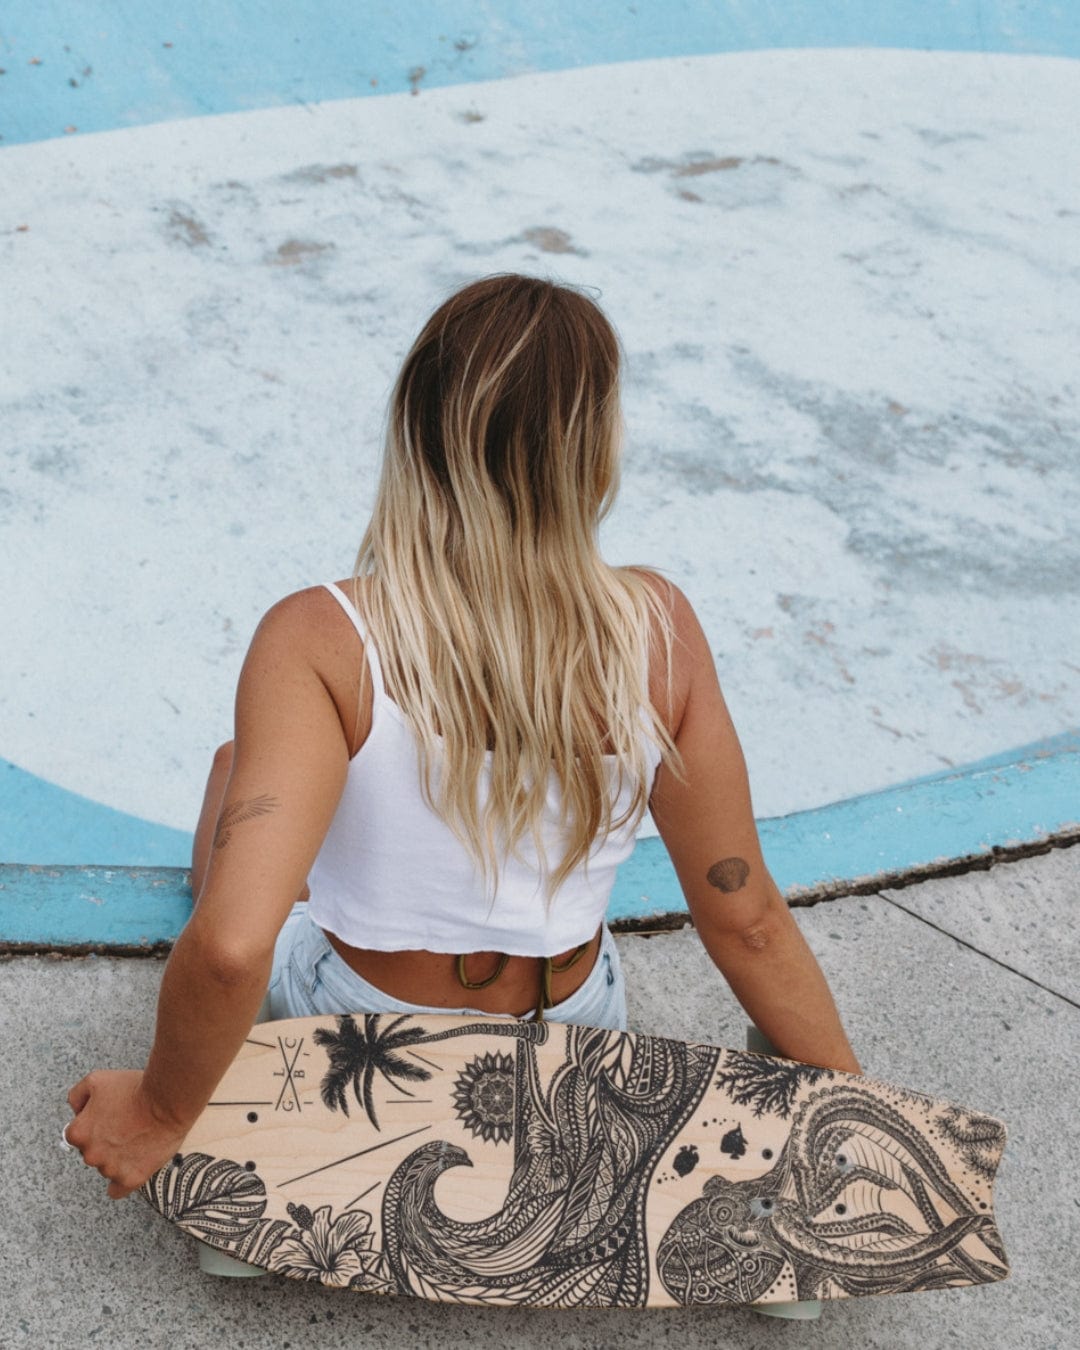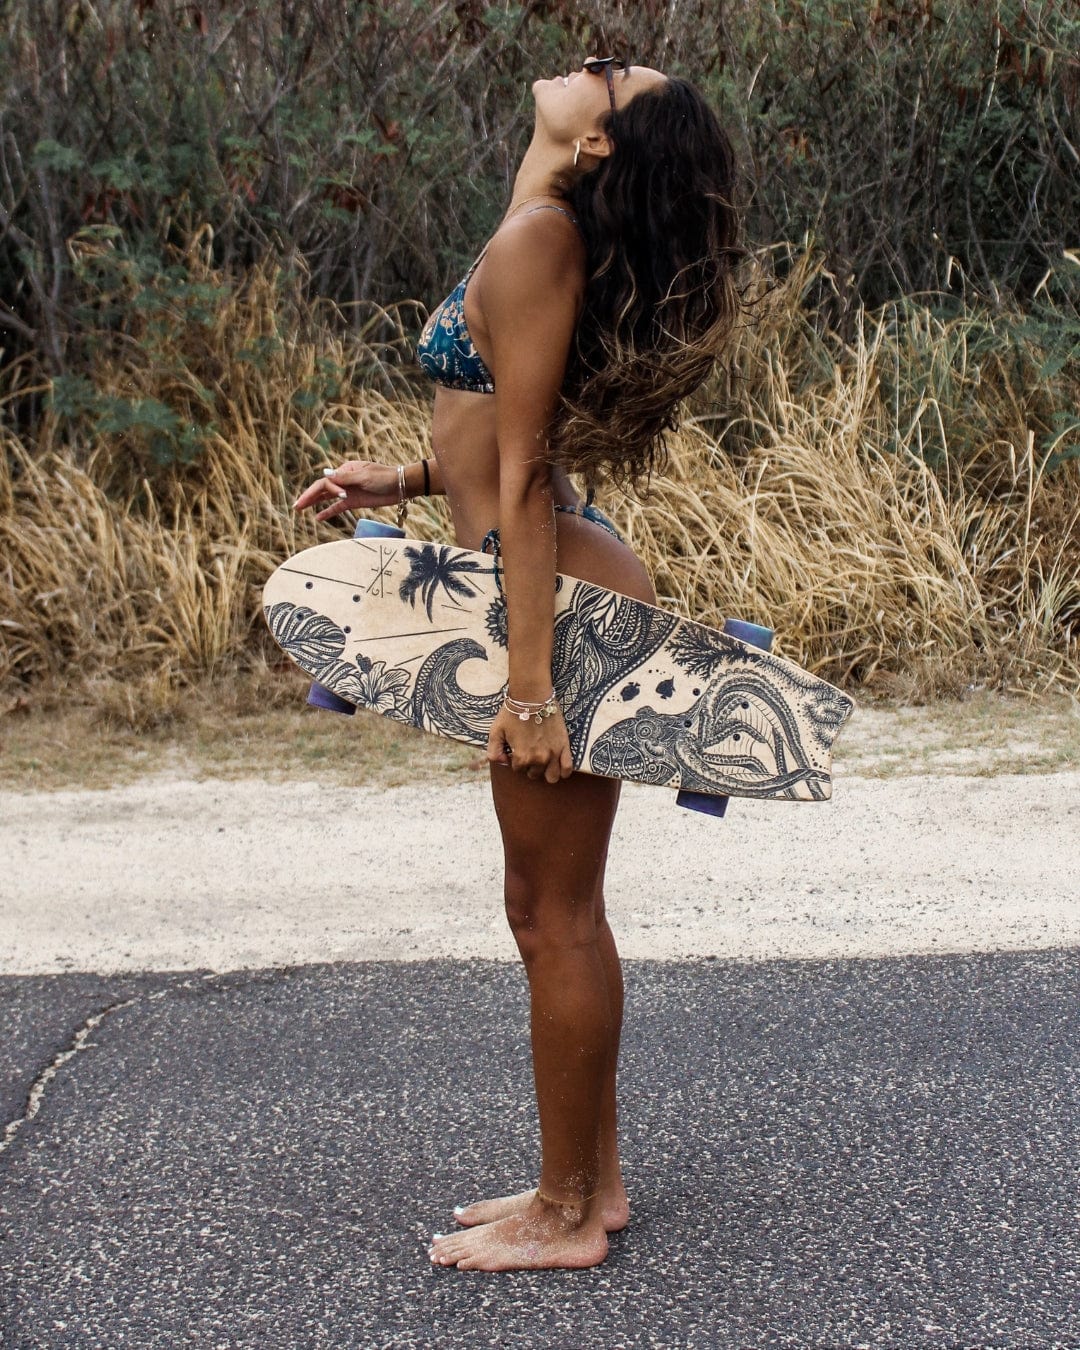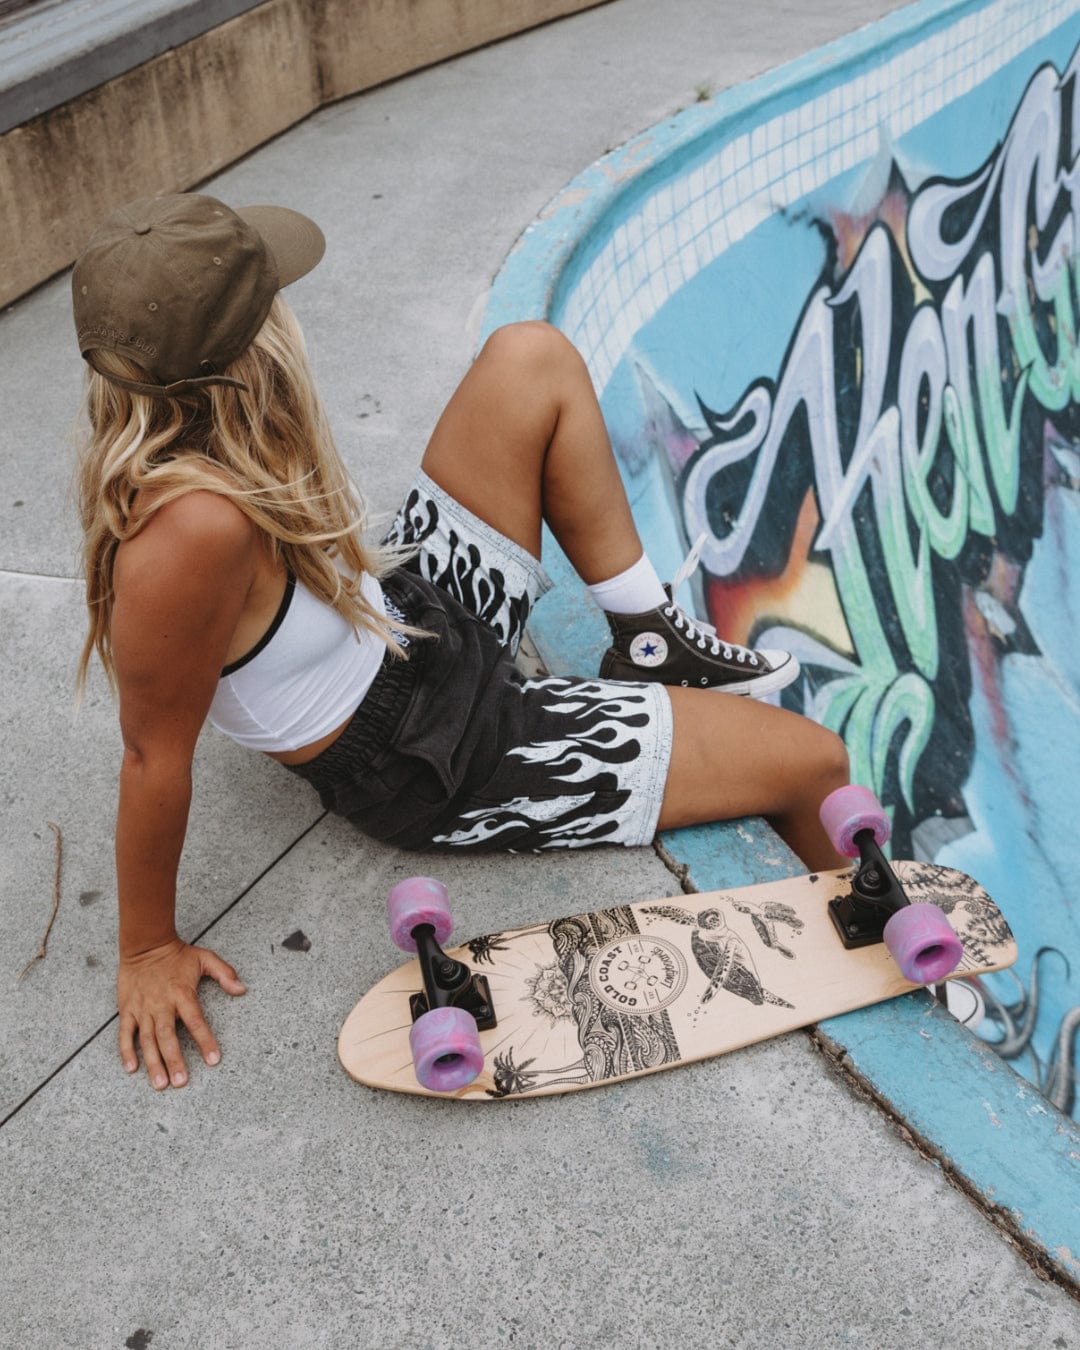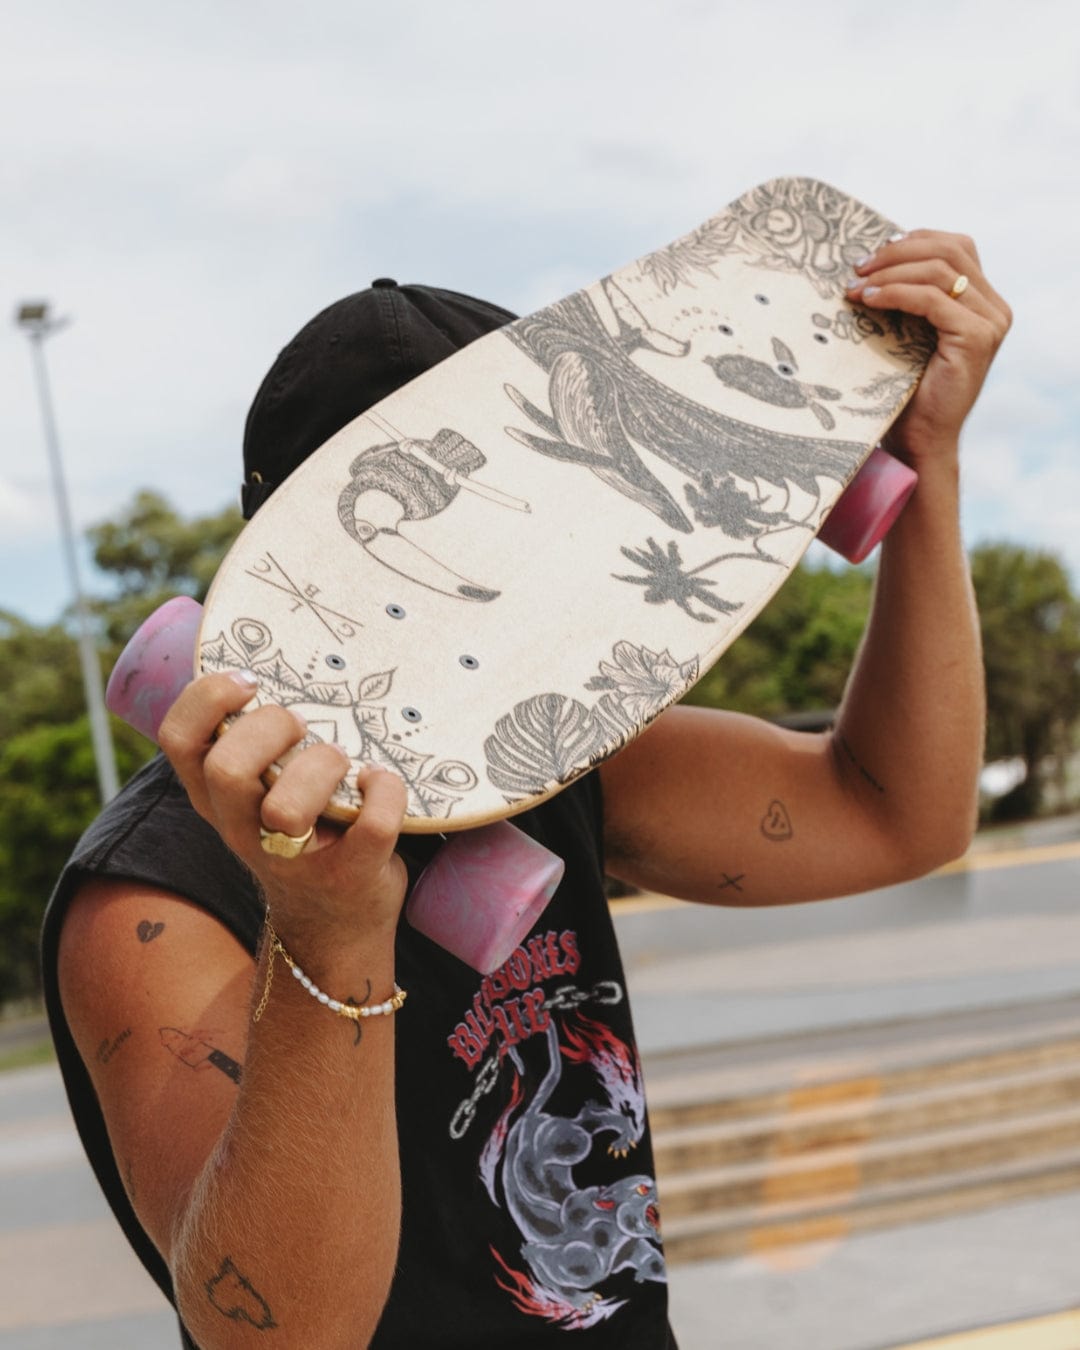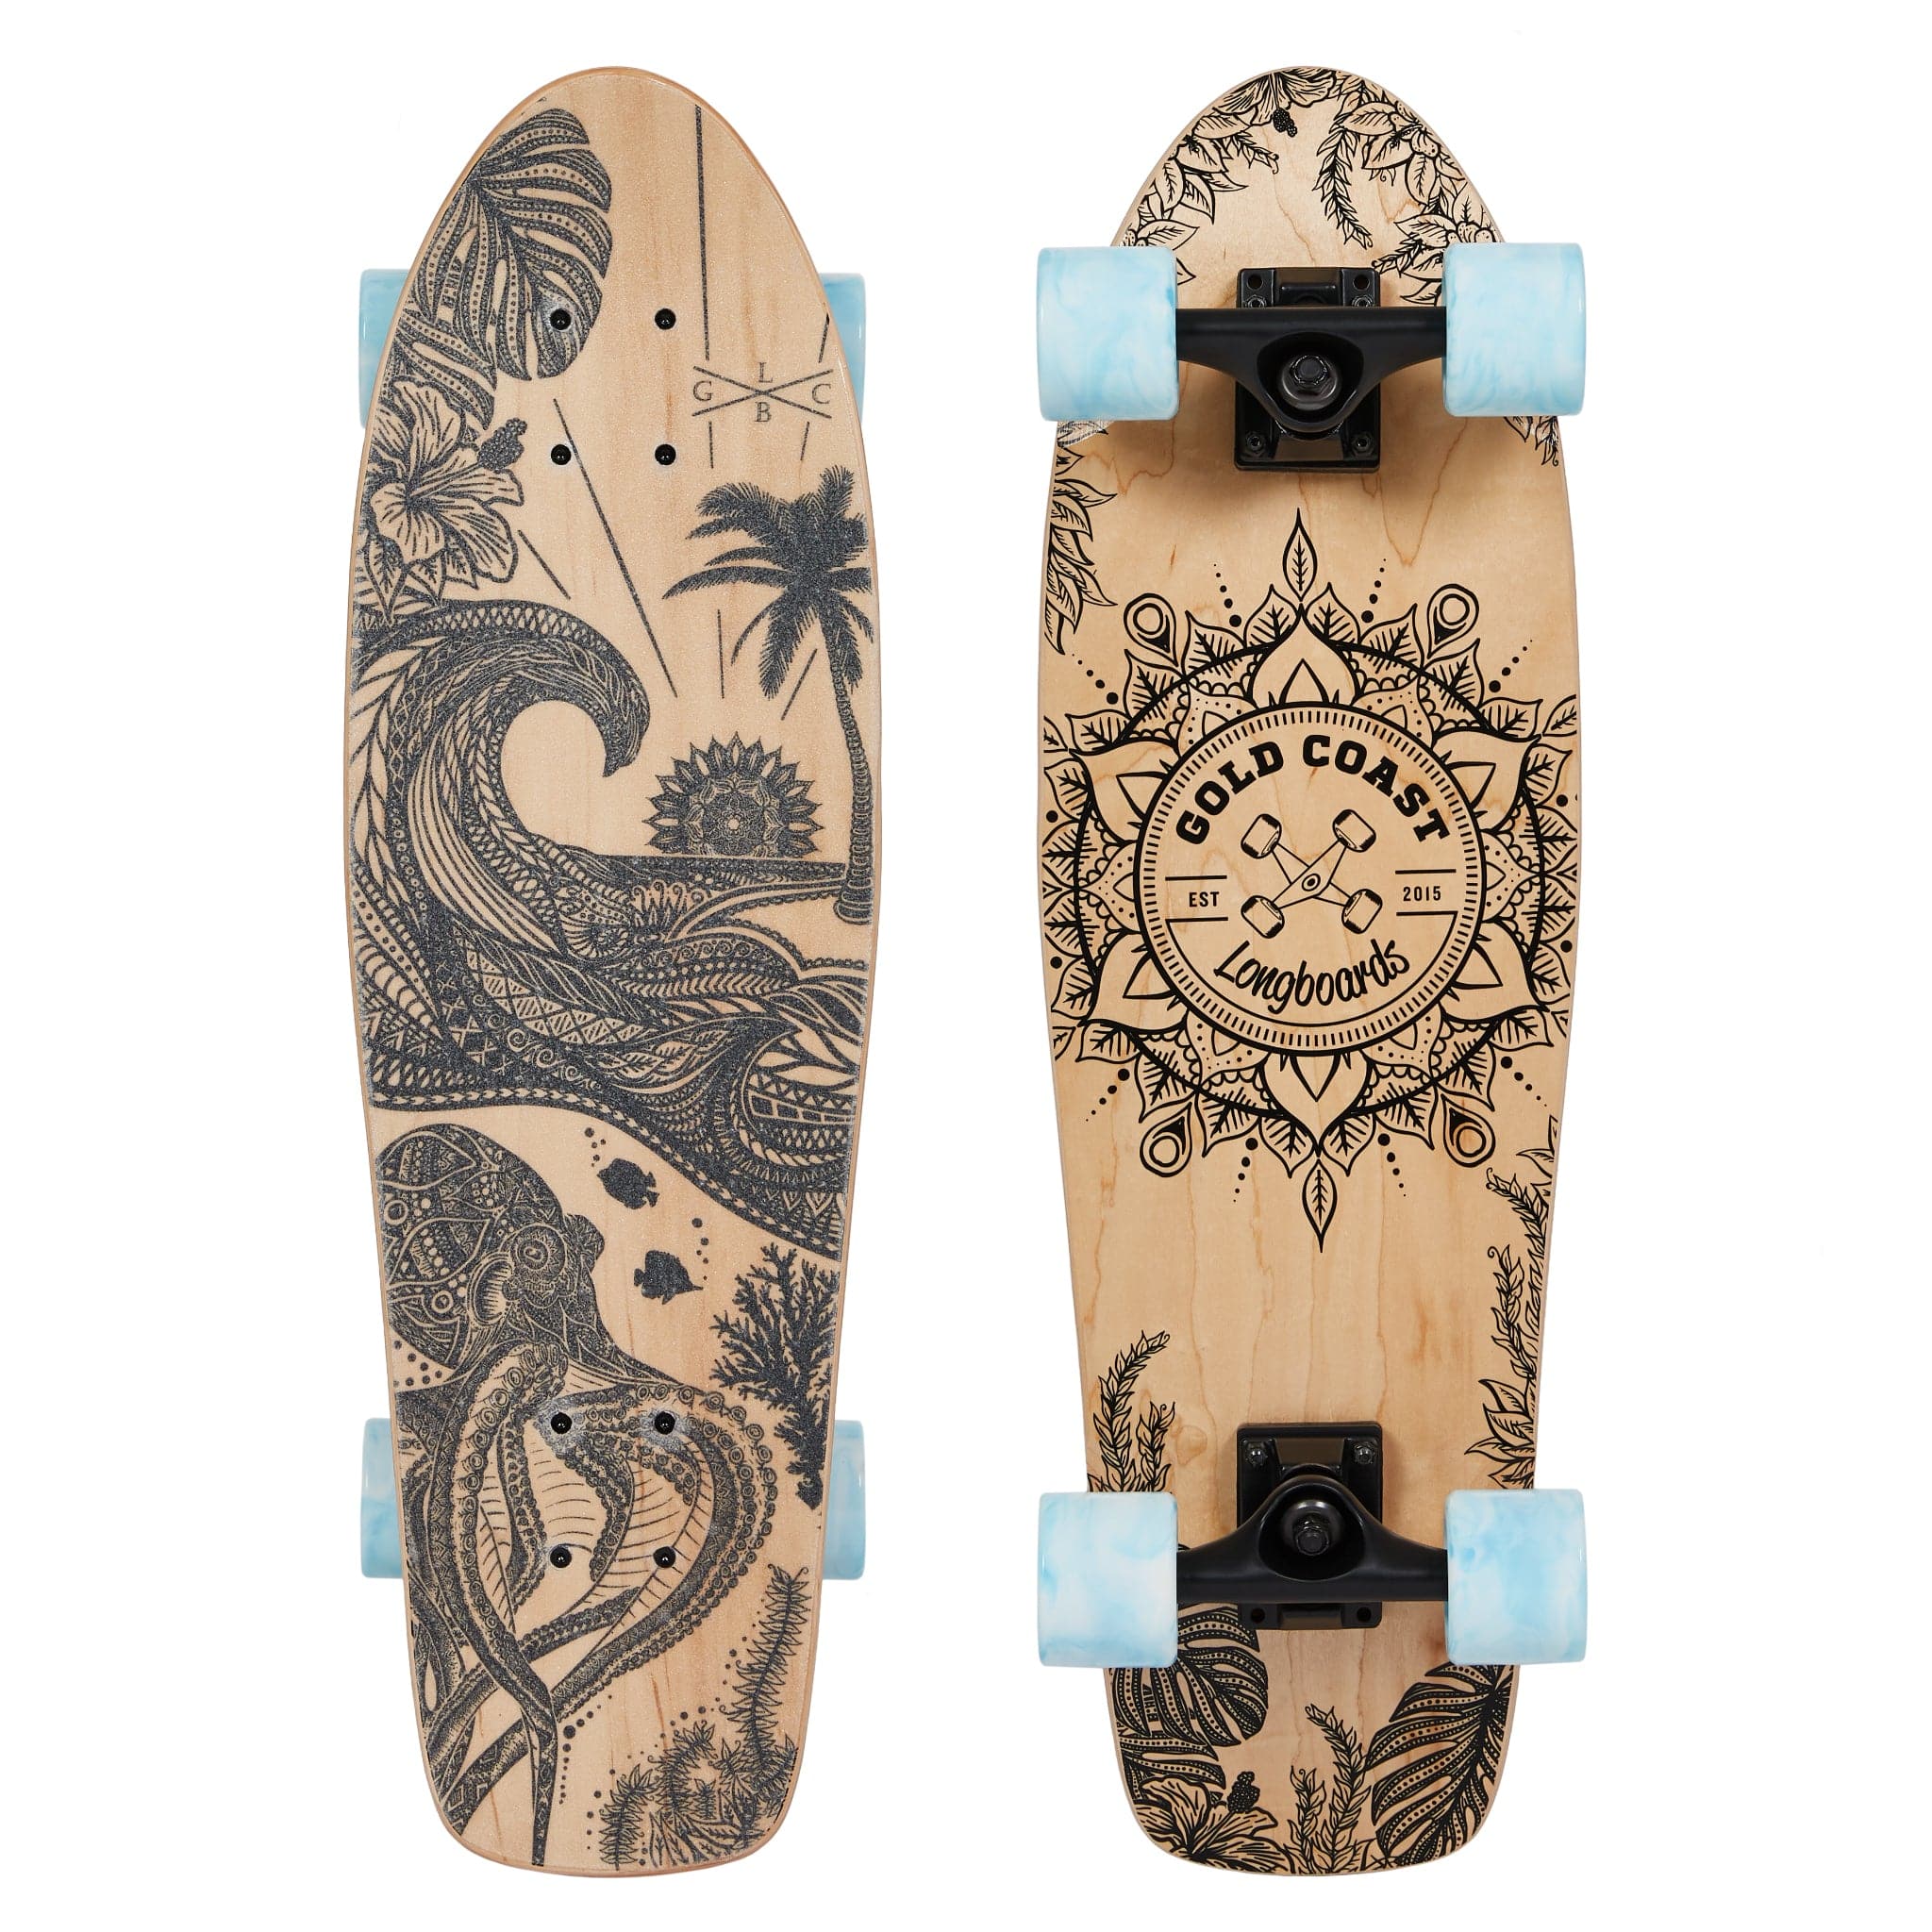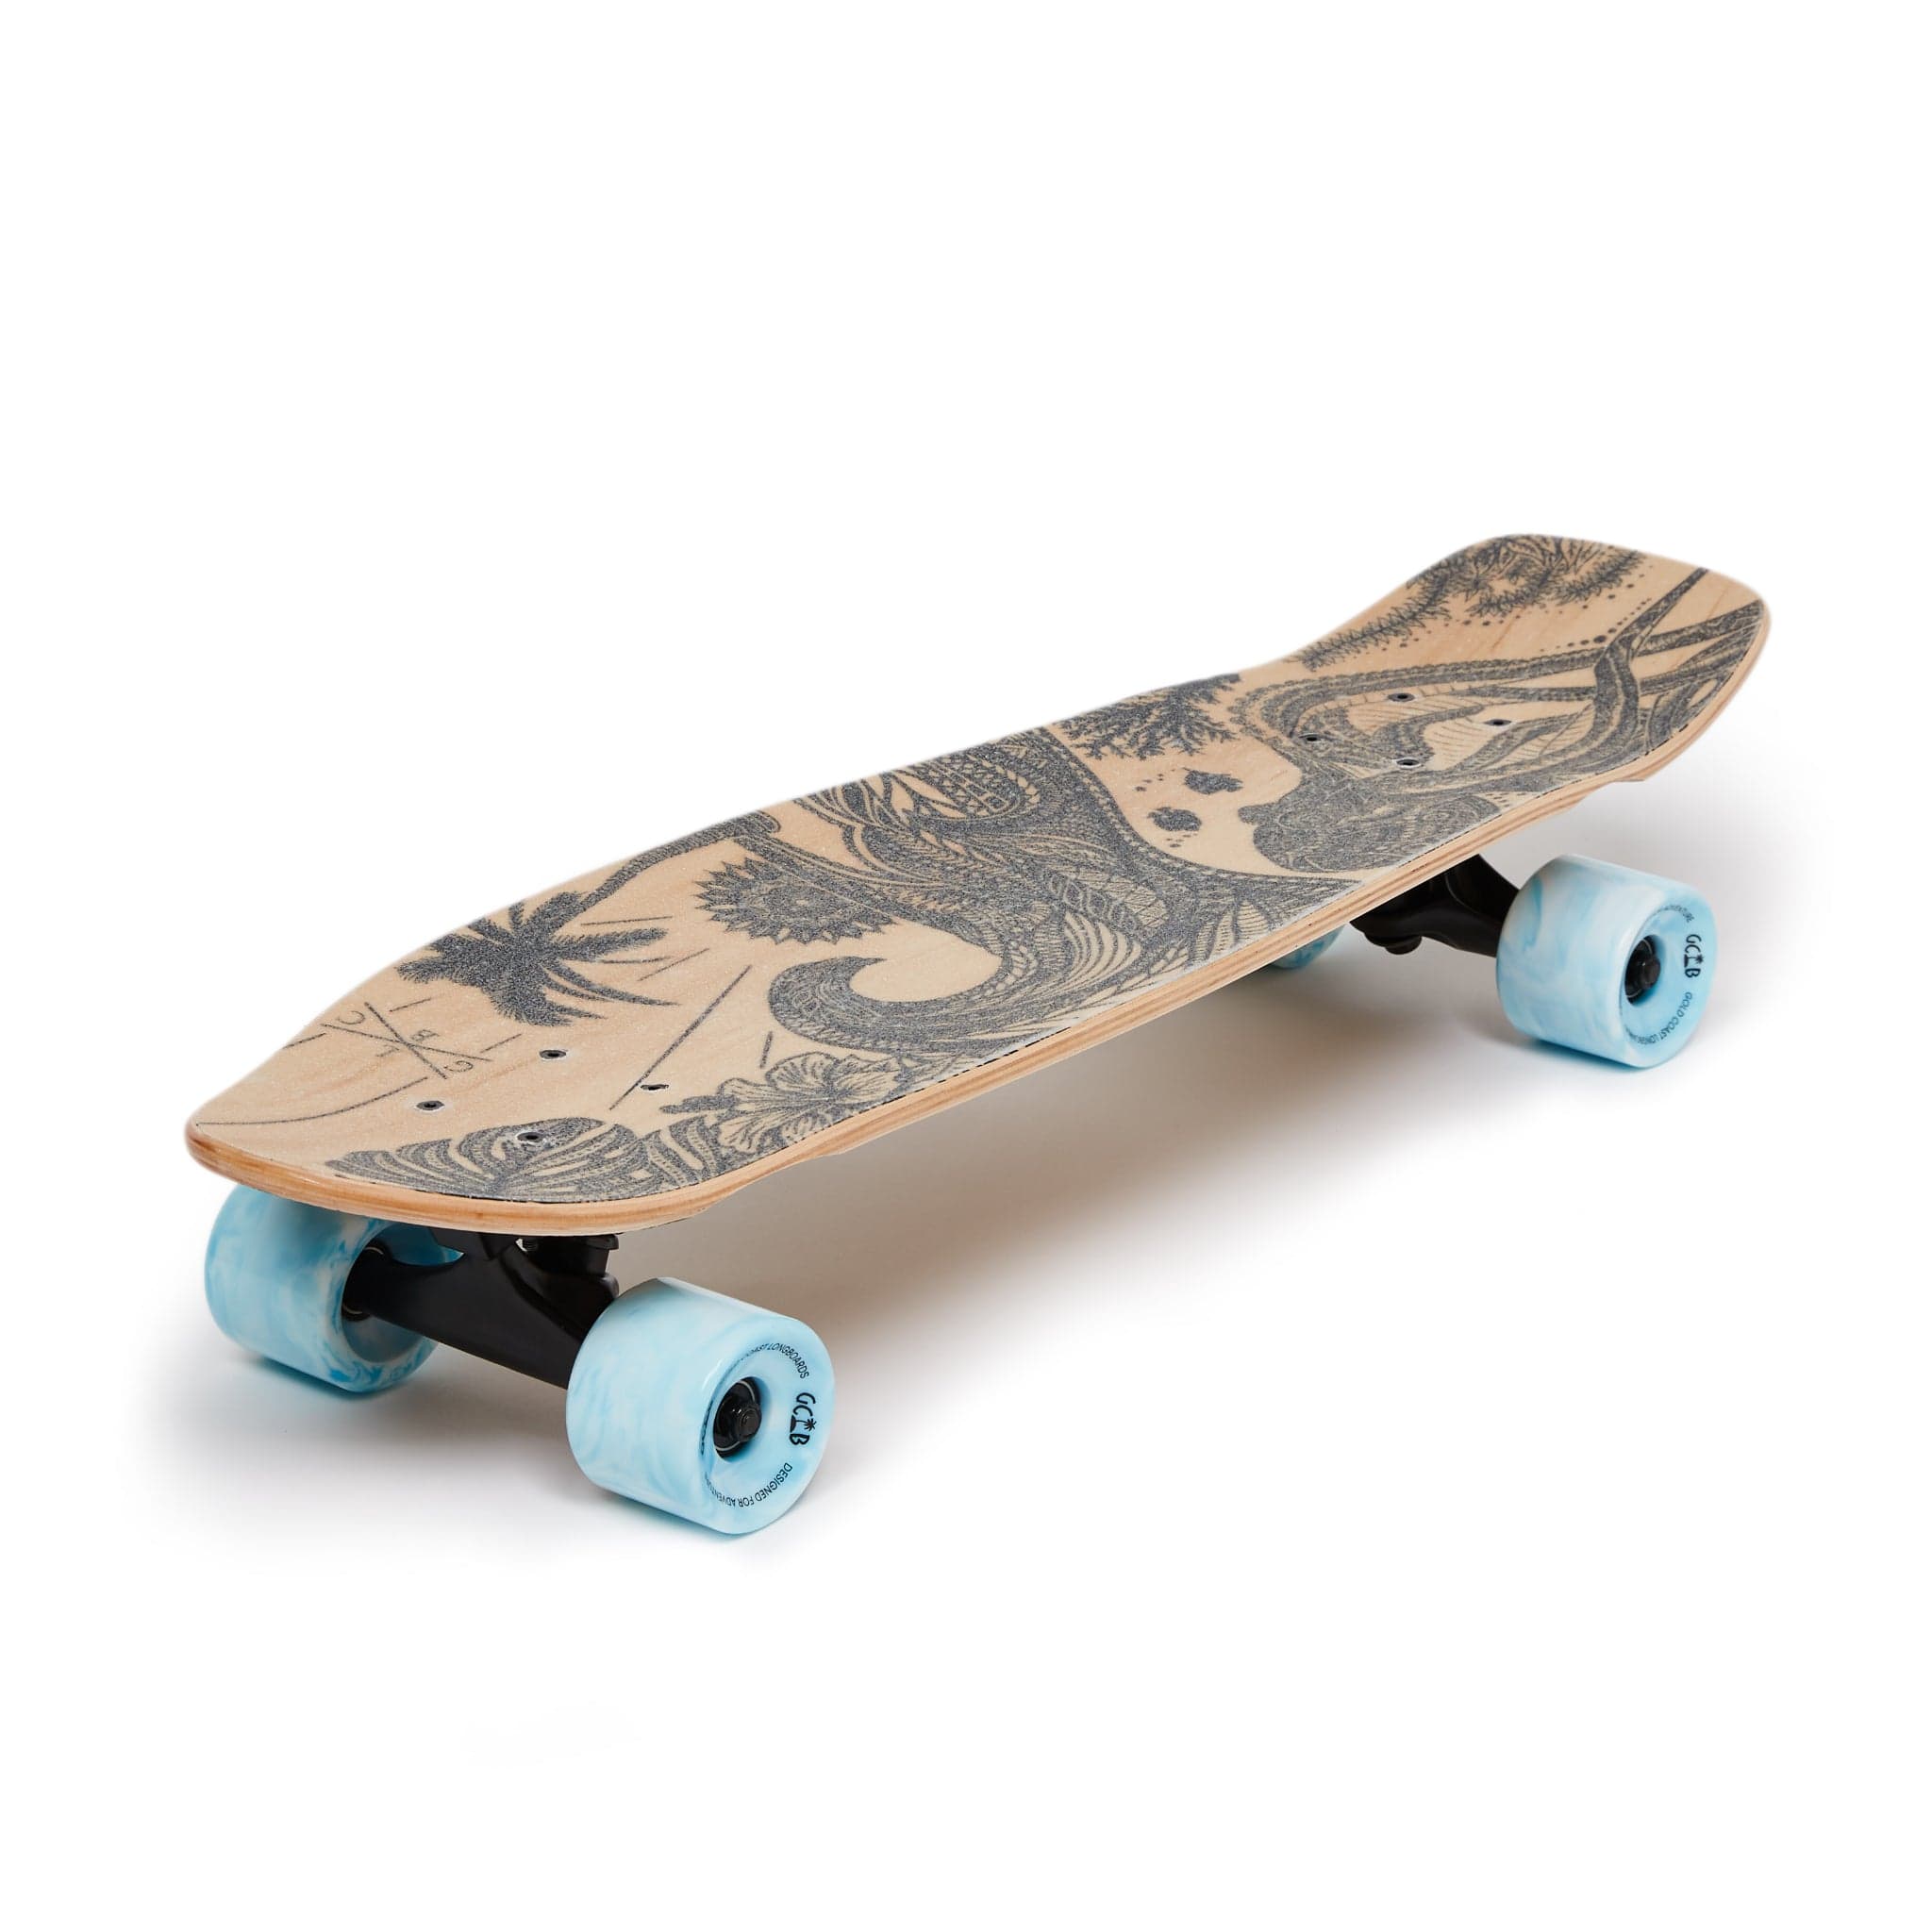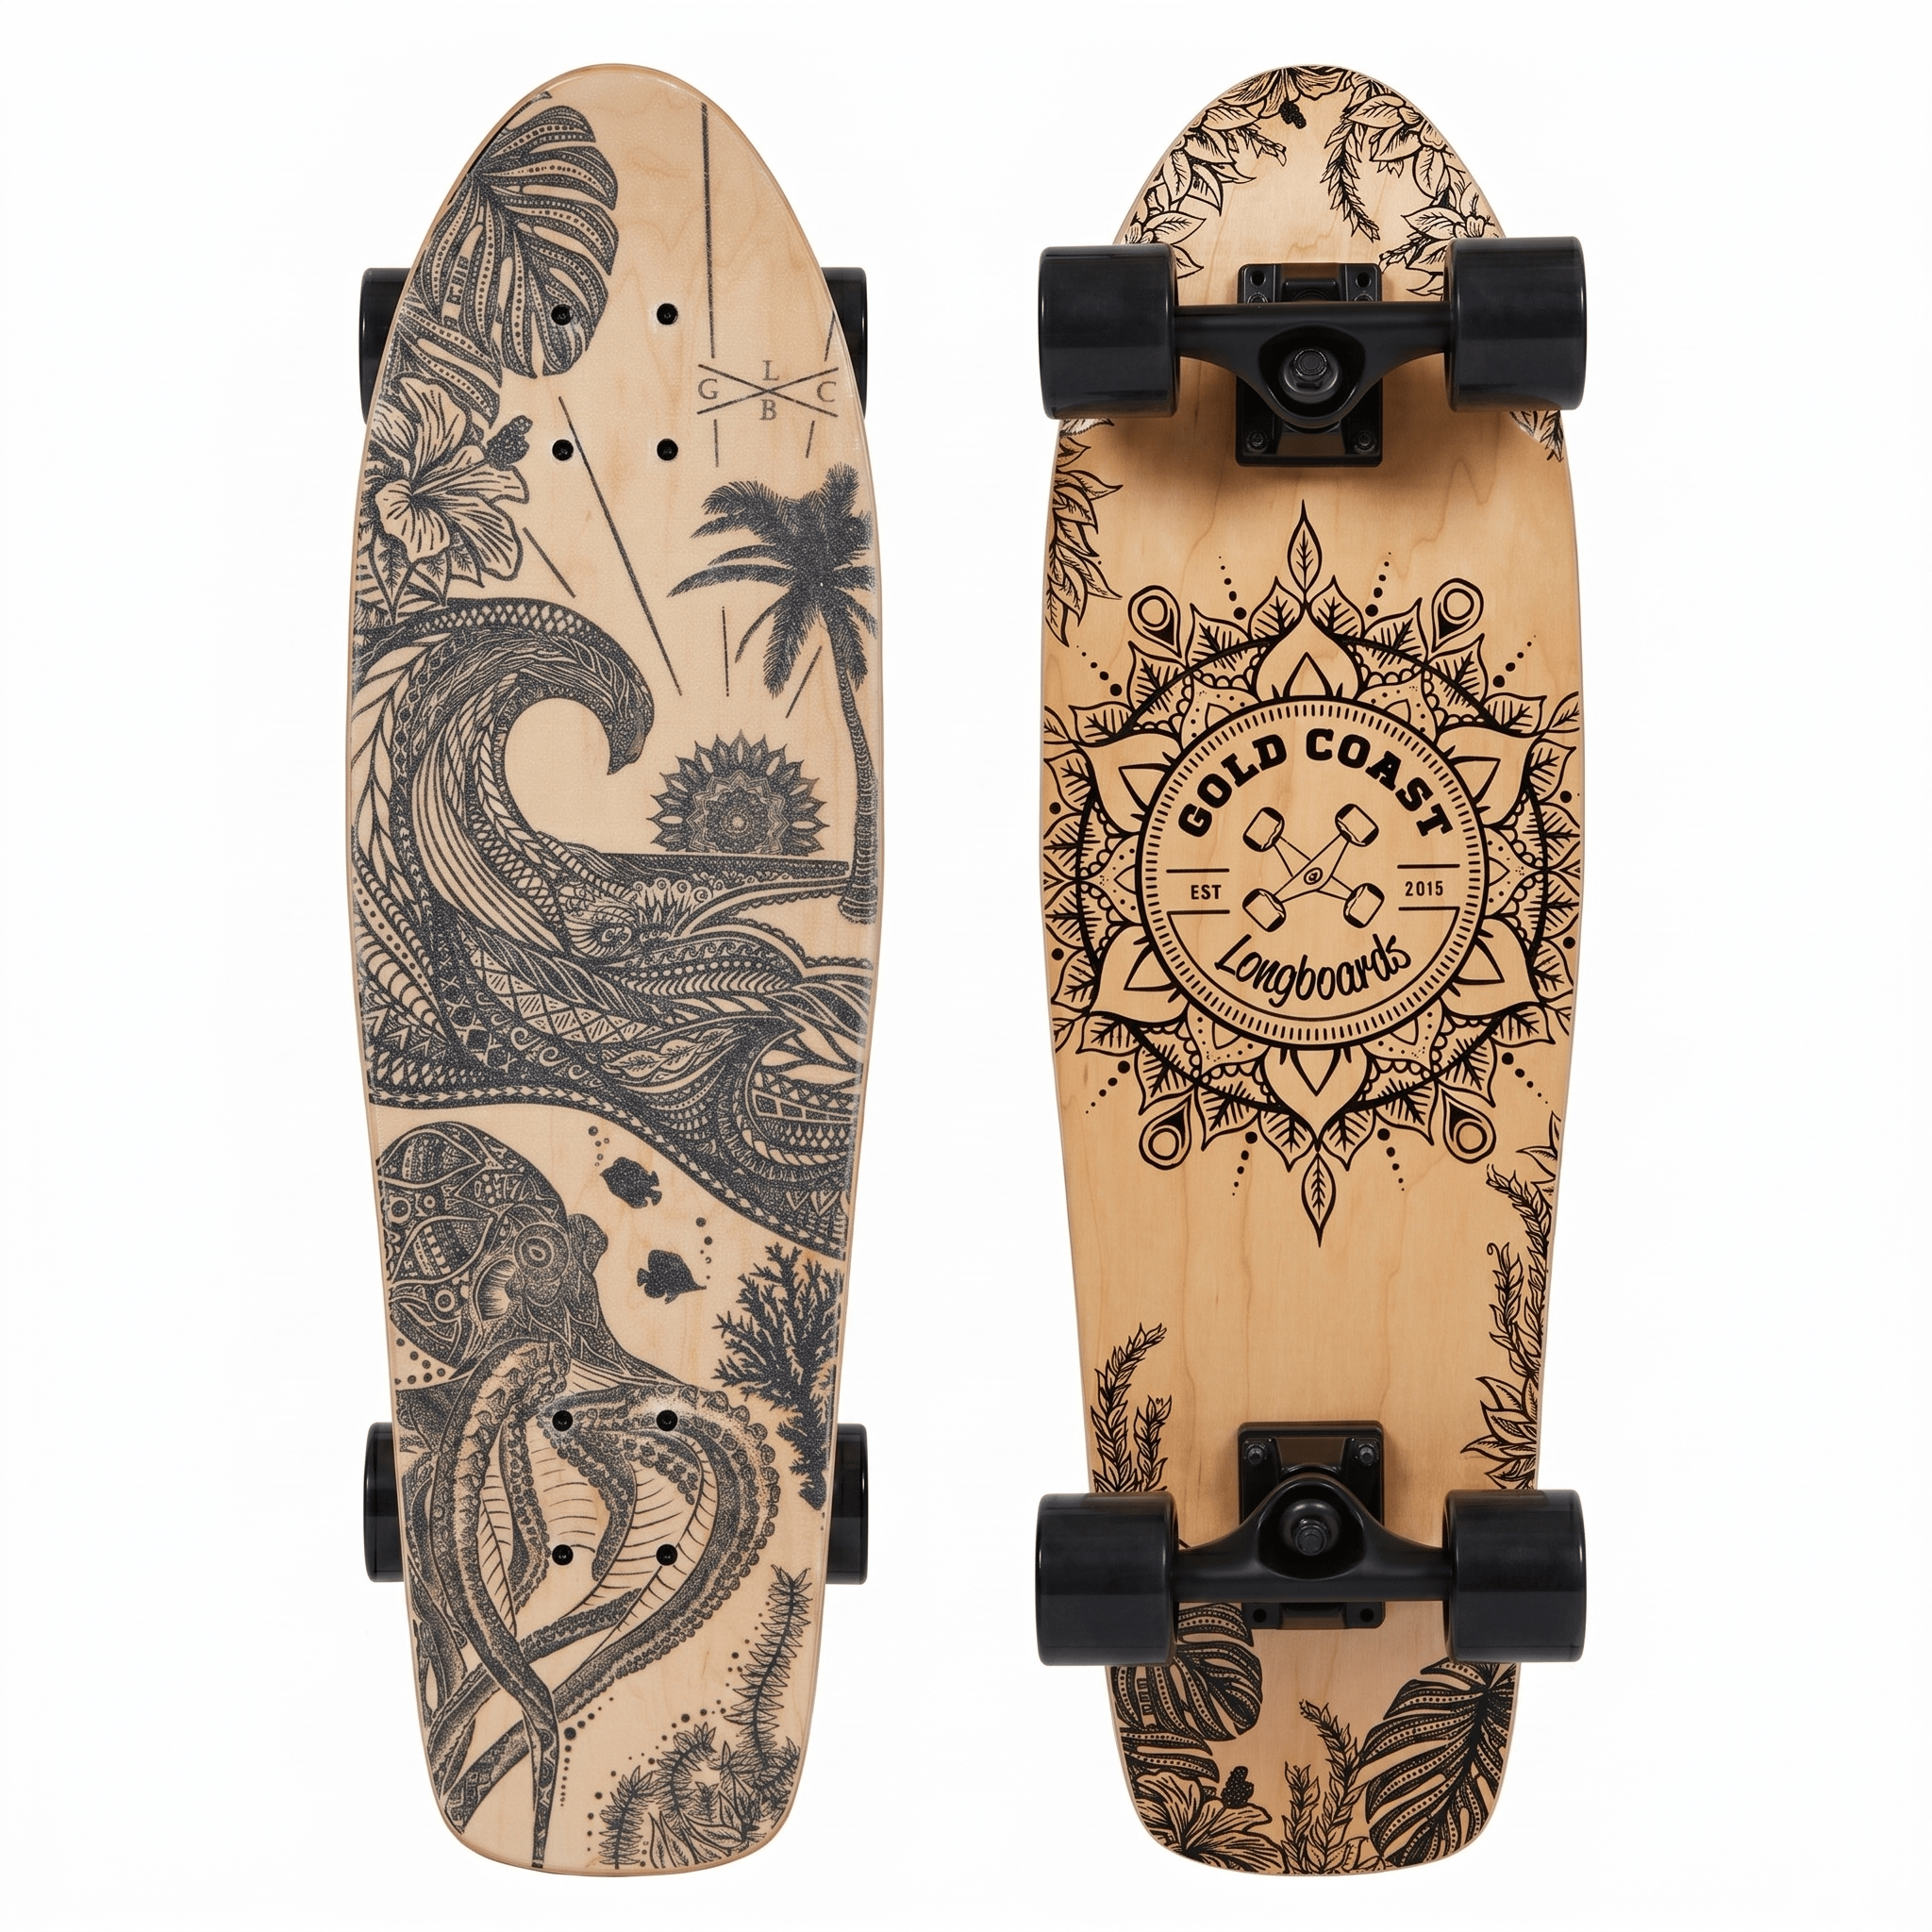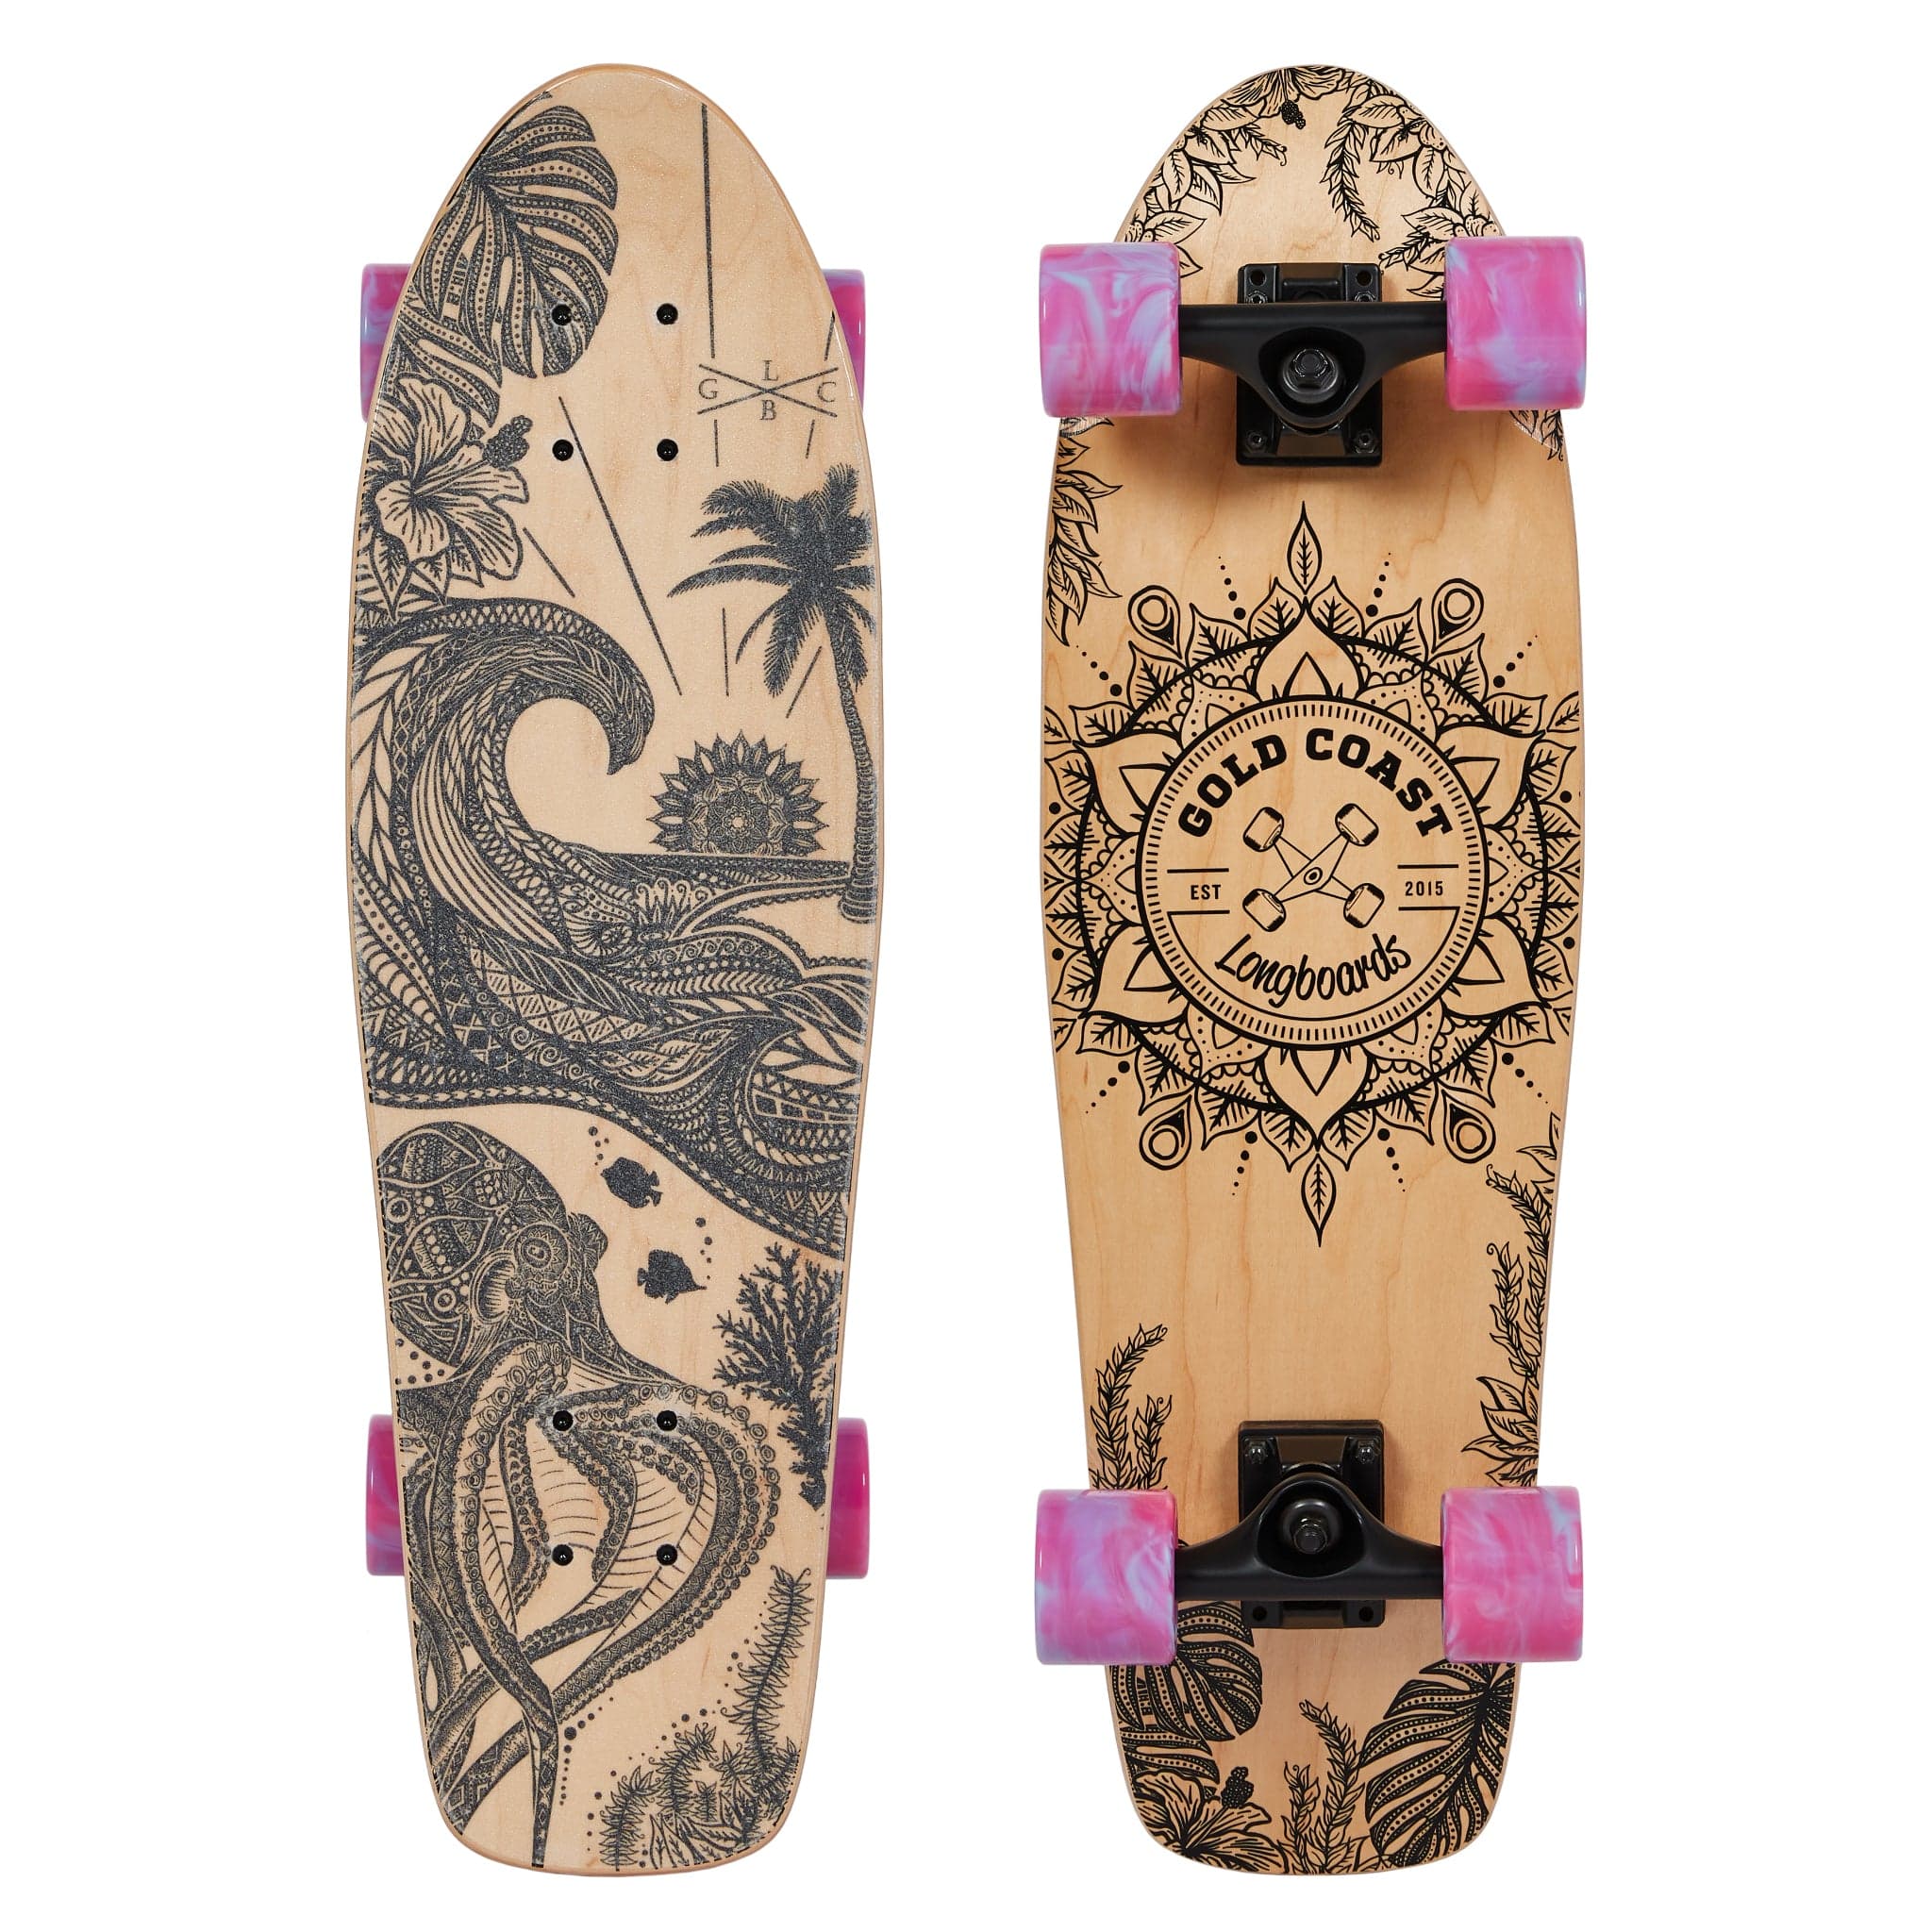




Your first surf skate session
Start on flat ground. Get comfortable stepping on, pushing slowly and stopping before linking gentle turns. Pumping comes next: a coordinated movement that keeps the board rolling without another push. You do not need to master it on day one.
That smooth, flowing ride is the attraction. But when you first stand on a surf skate, the responsive front end can be a surprise. Give yourself a smaller first goal: a short roll that you can finish on purpose.
This guide is for a human-powered surf skate on flat ground. It is not a downhill, ramp or trick tutorial. If you are completely new to skating, a lesson with a qualified skate coach is a useful starting point, especially for balance and braking.
Before you roll: choose the space, then check your gear
Look for a dry, smooth, level practice area where skating is permitted, away from vehicles and passing foot traffic. Walk it first. Sand, gravel, cracks and obstacles are reasons to choose another patch; an empty-looking car park is not automatically a suitable practice space.
Wear a properly fitted skateboarding helmet, wrist guards, knee and elbow pads, plus closed shoes with grip. Queensland's skateboard safety guidance recommends protective equipment. Check local rules and signs wherever you ride.
Check the board and protective gear for damage before starting. If a wheel catches, hardware is visibly loose or something looks damaged, leave riding until it has been checked. Do not experiment with unfamiliar truck adjustments to make a problem disappear.
Leave plenty of clear space, and stop if the area becomes crowded or the surface deteriorates. Children need attentive adult supervision and instruction suited to their ability.
1. Find a comfortable stance without chasing movement
Regular means your left foot leads; goofy means your right foot leads. Neither is better. Choose the direction that feels more natural.
Practise stationary footwork on carpet, checking the board cannot roll before stepping on. Keep your knees relaxed and your weight centred, rather than standing rigidly or leaning out over an edge.
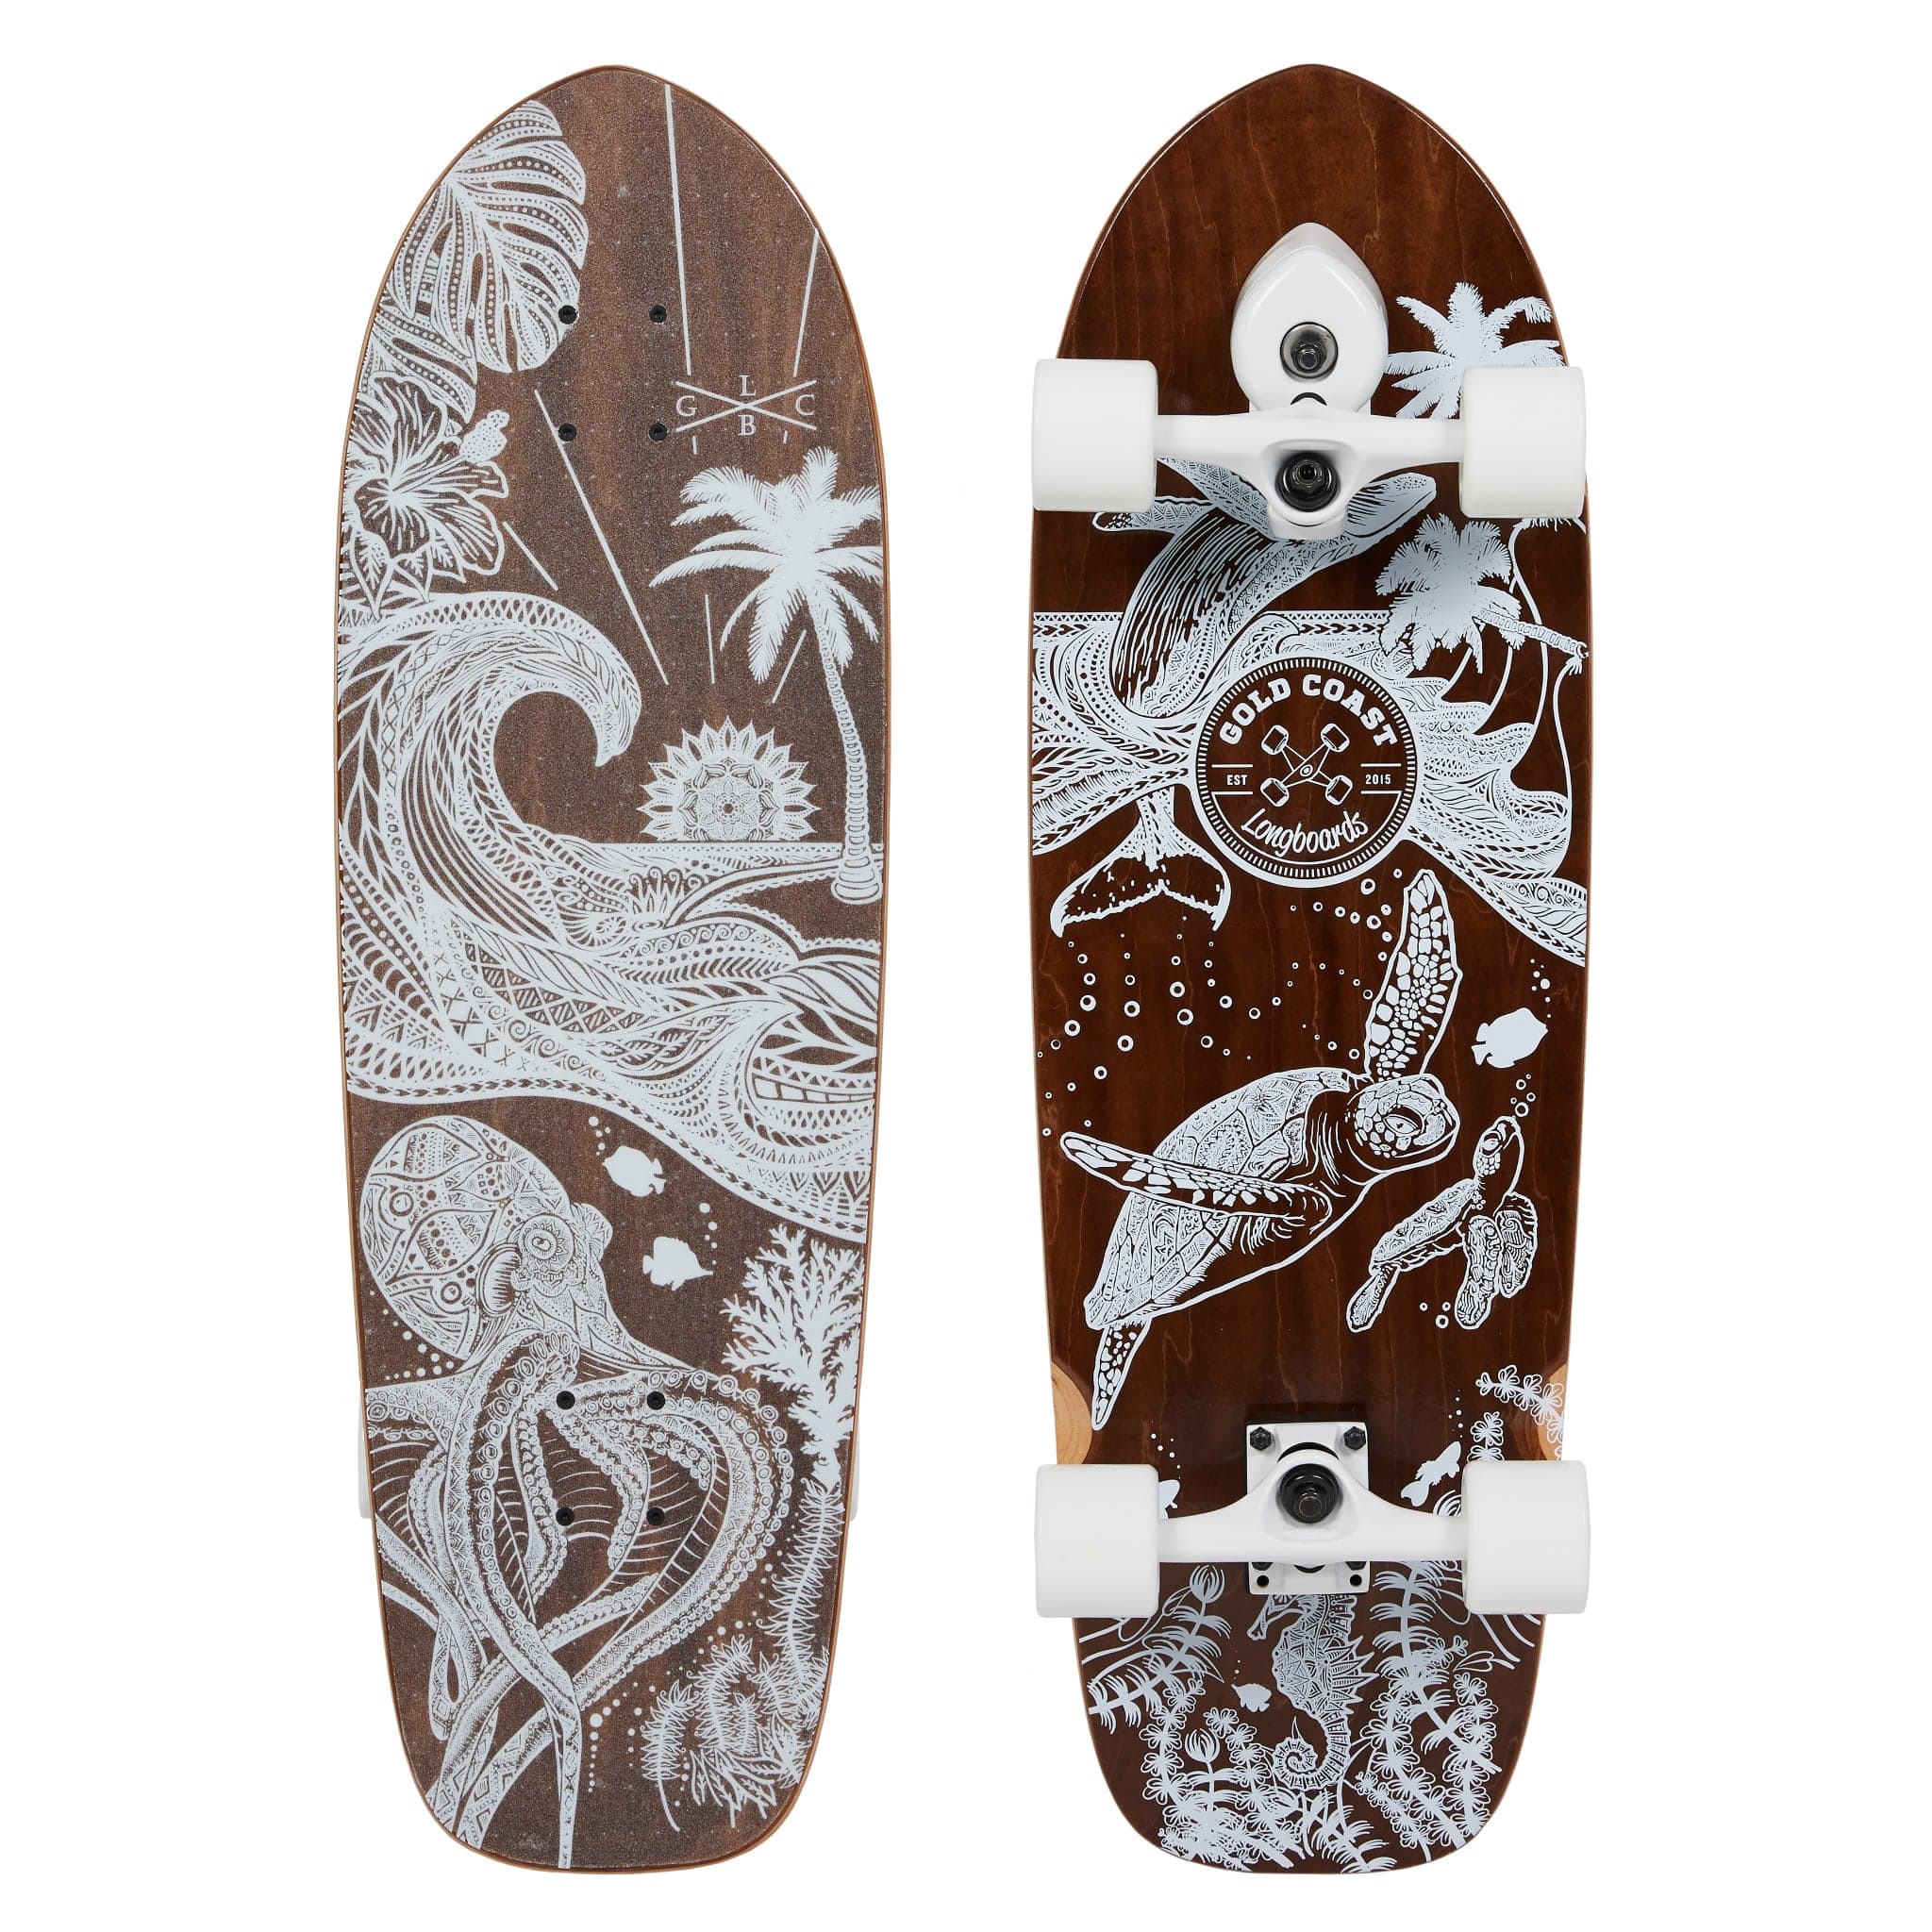
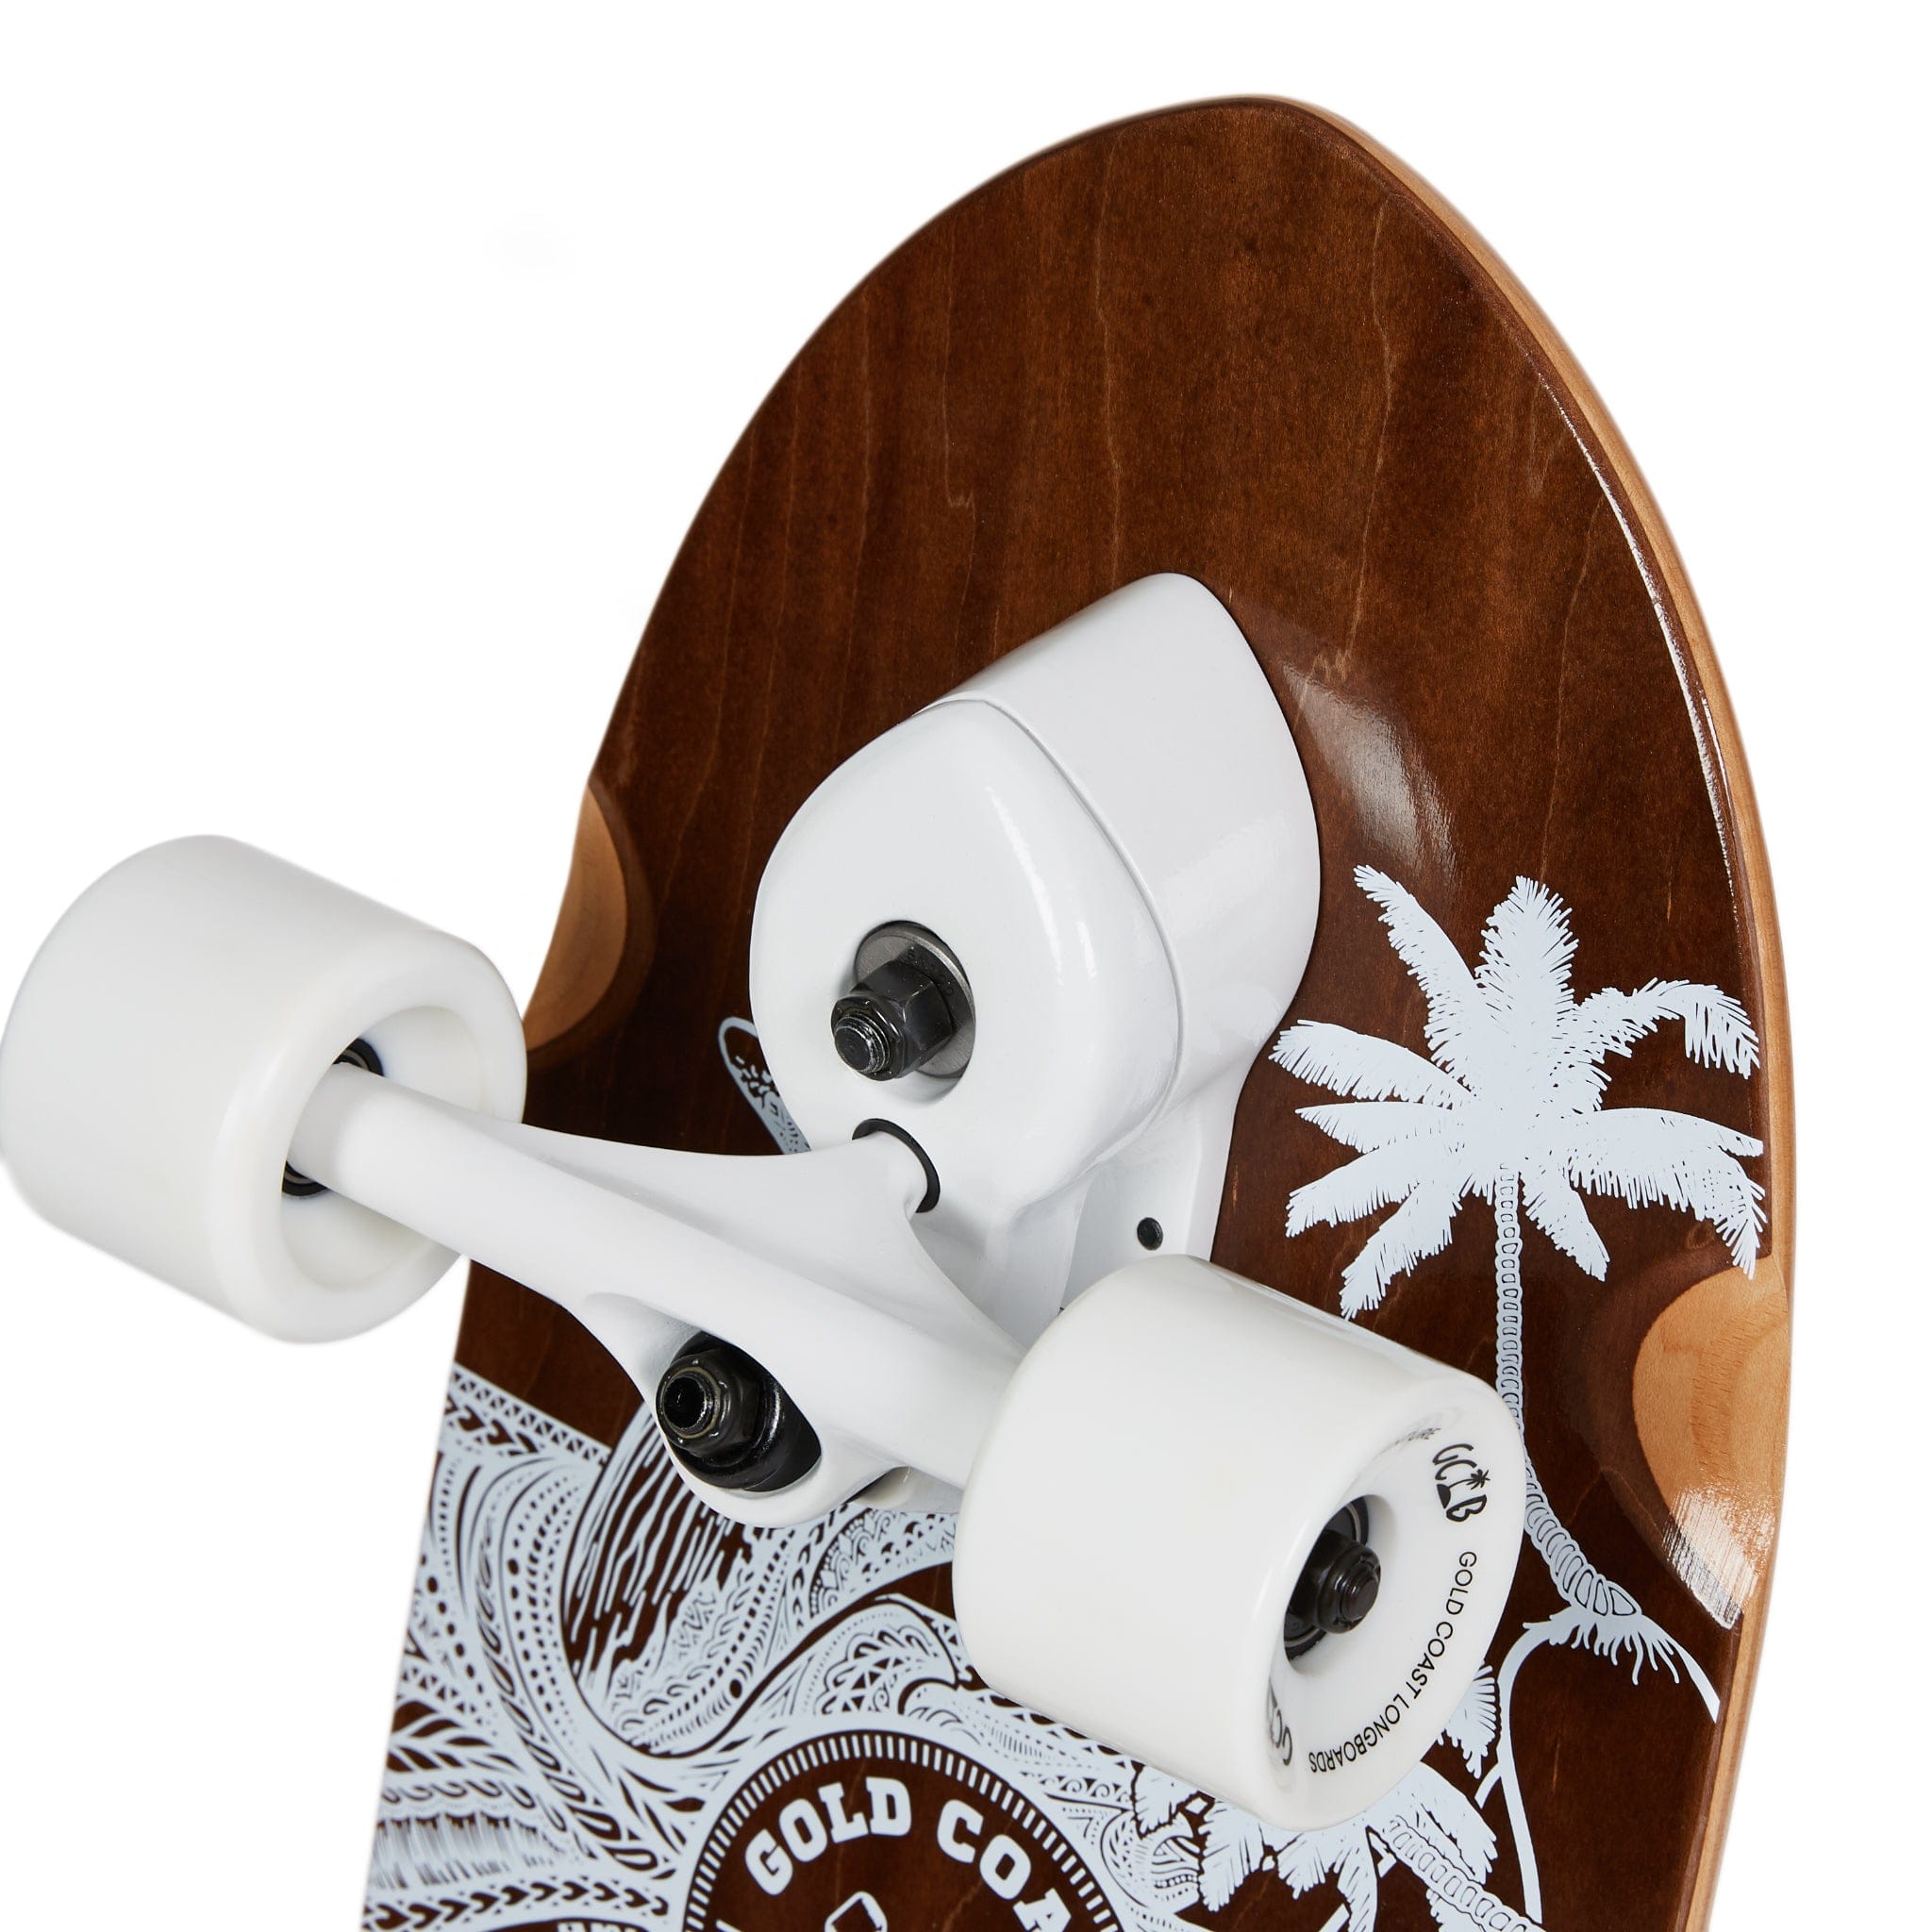
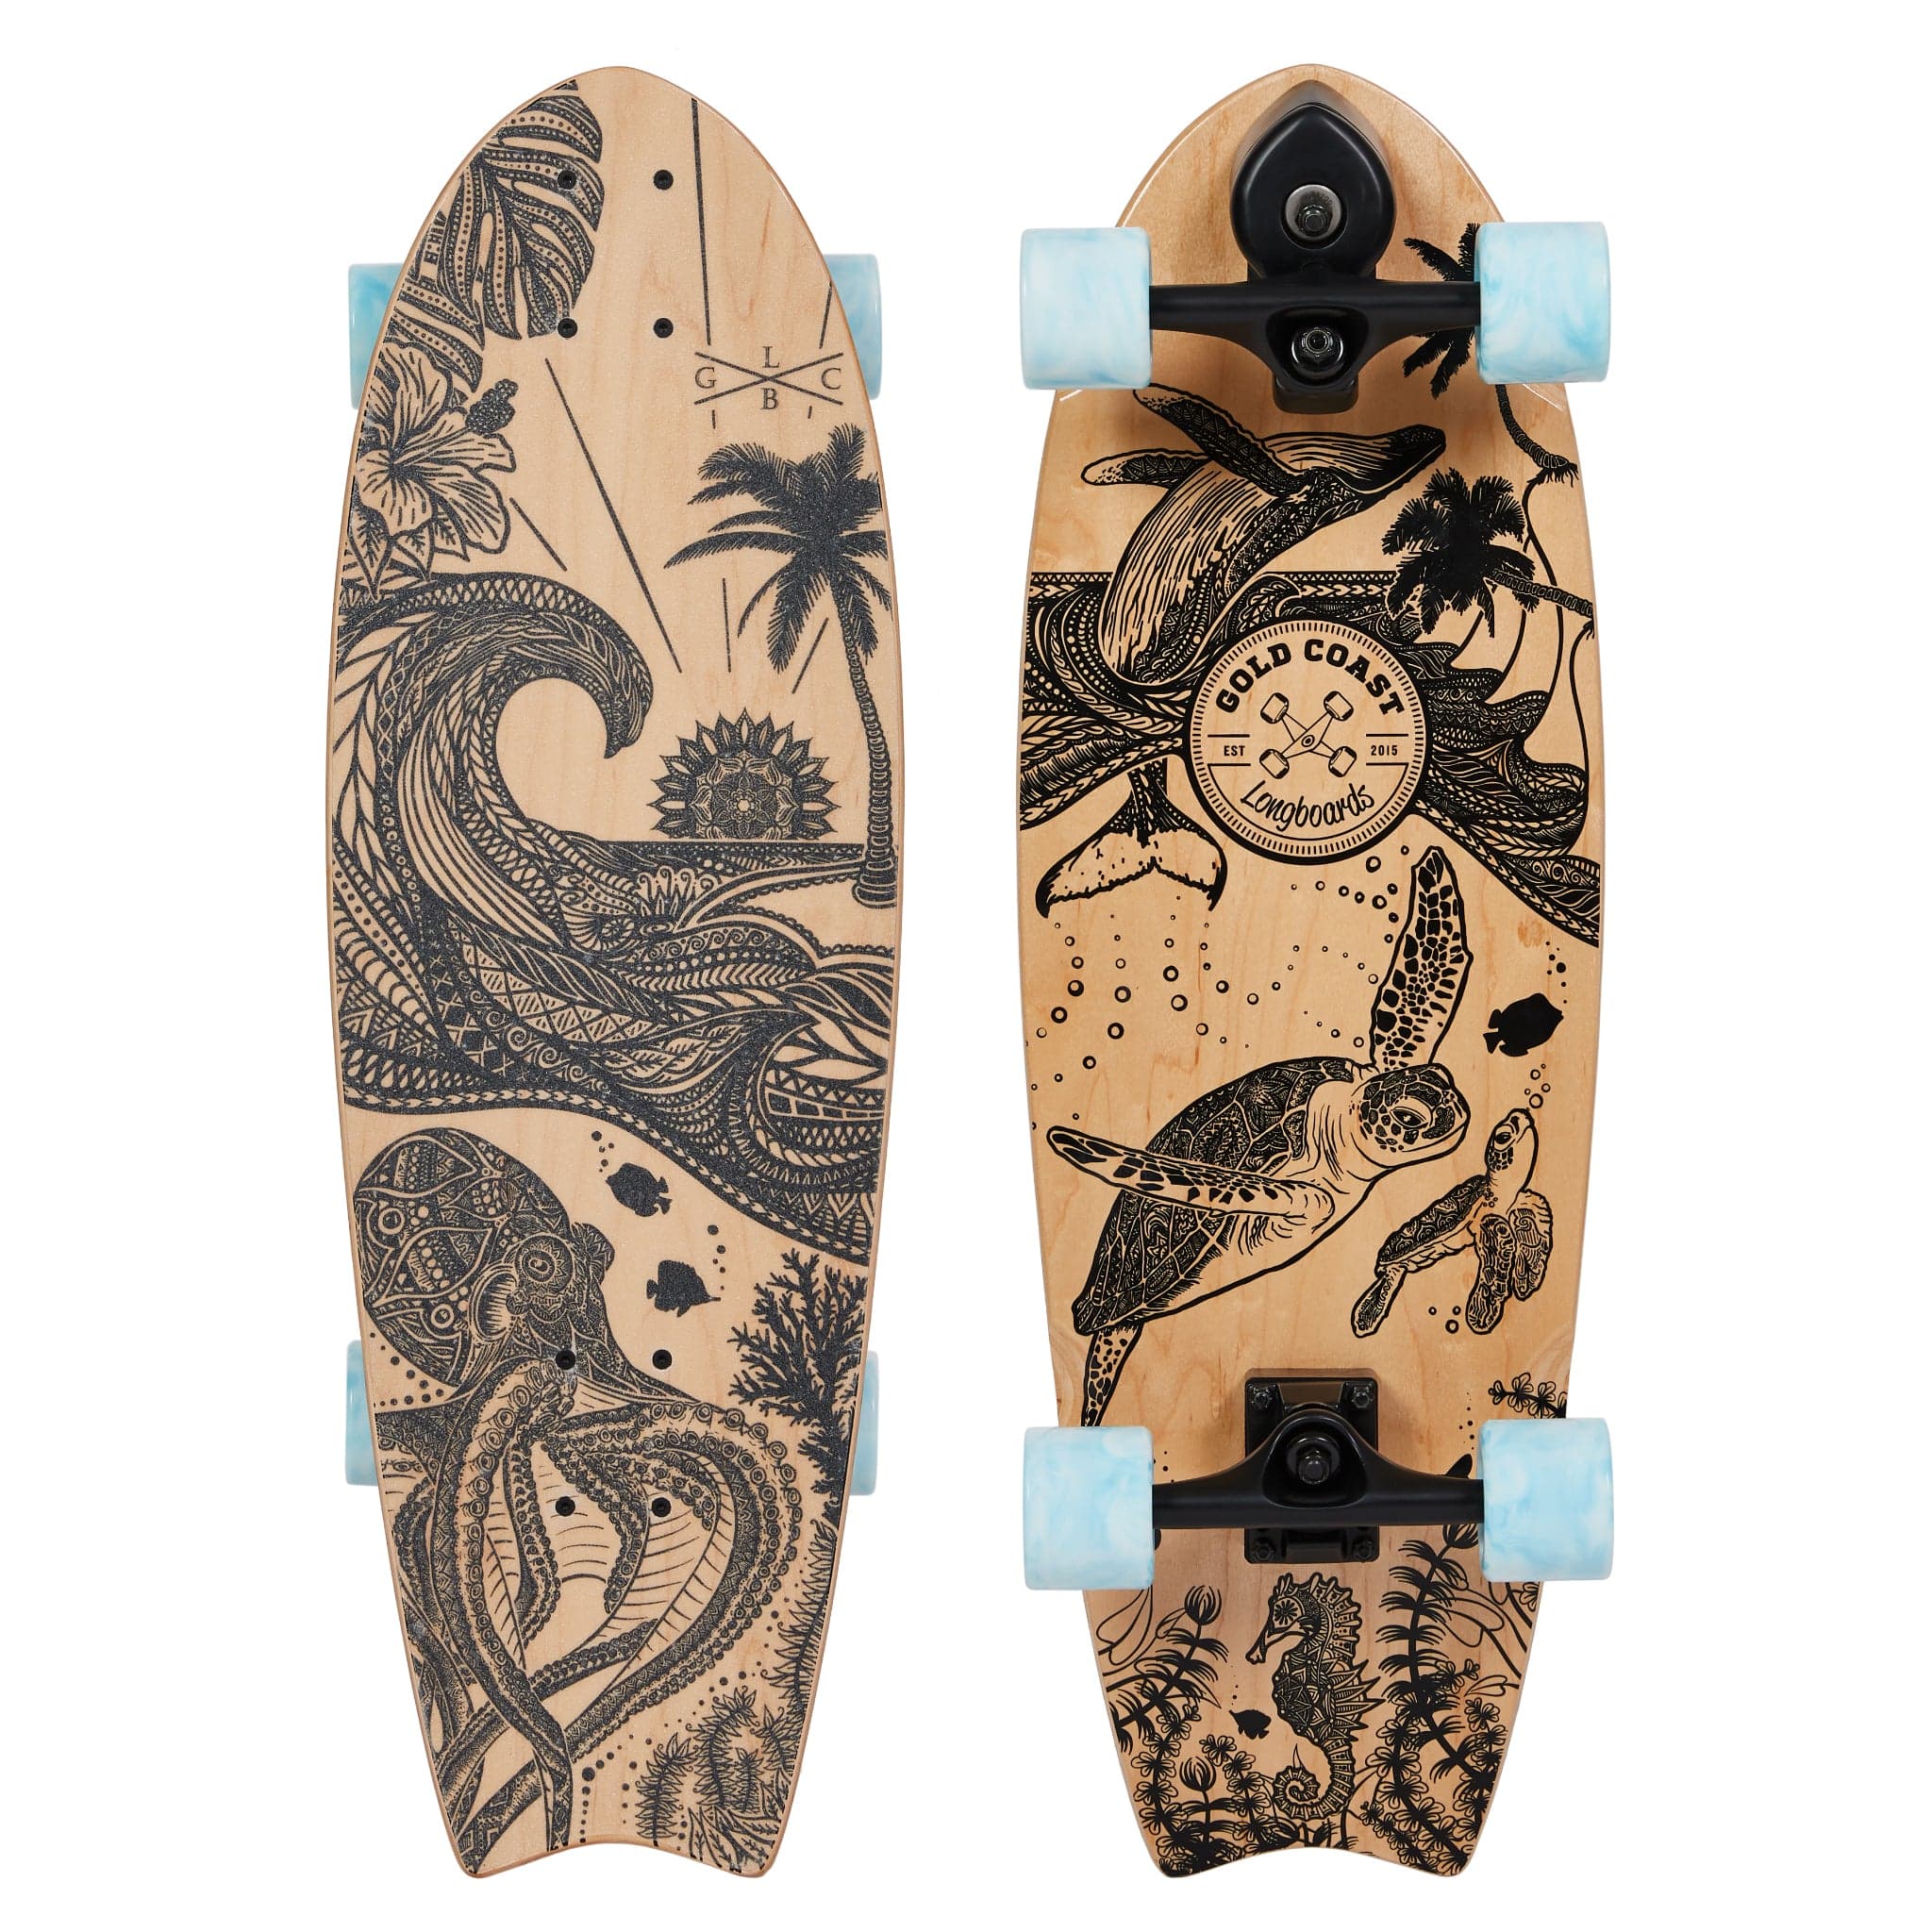
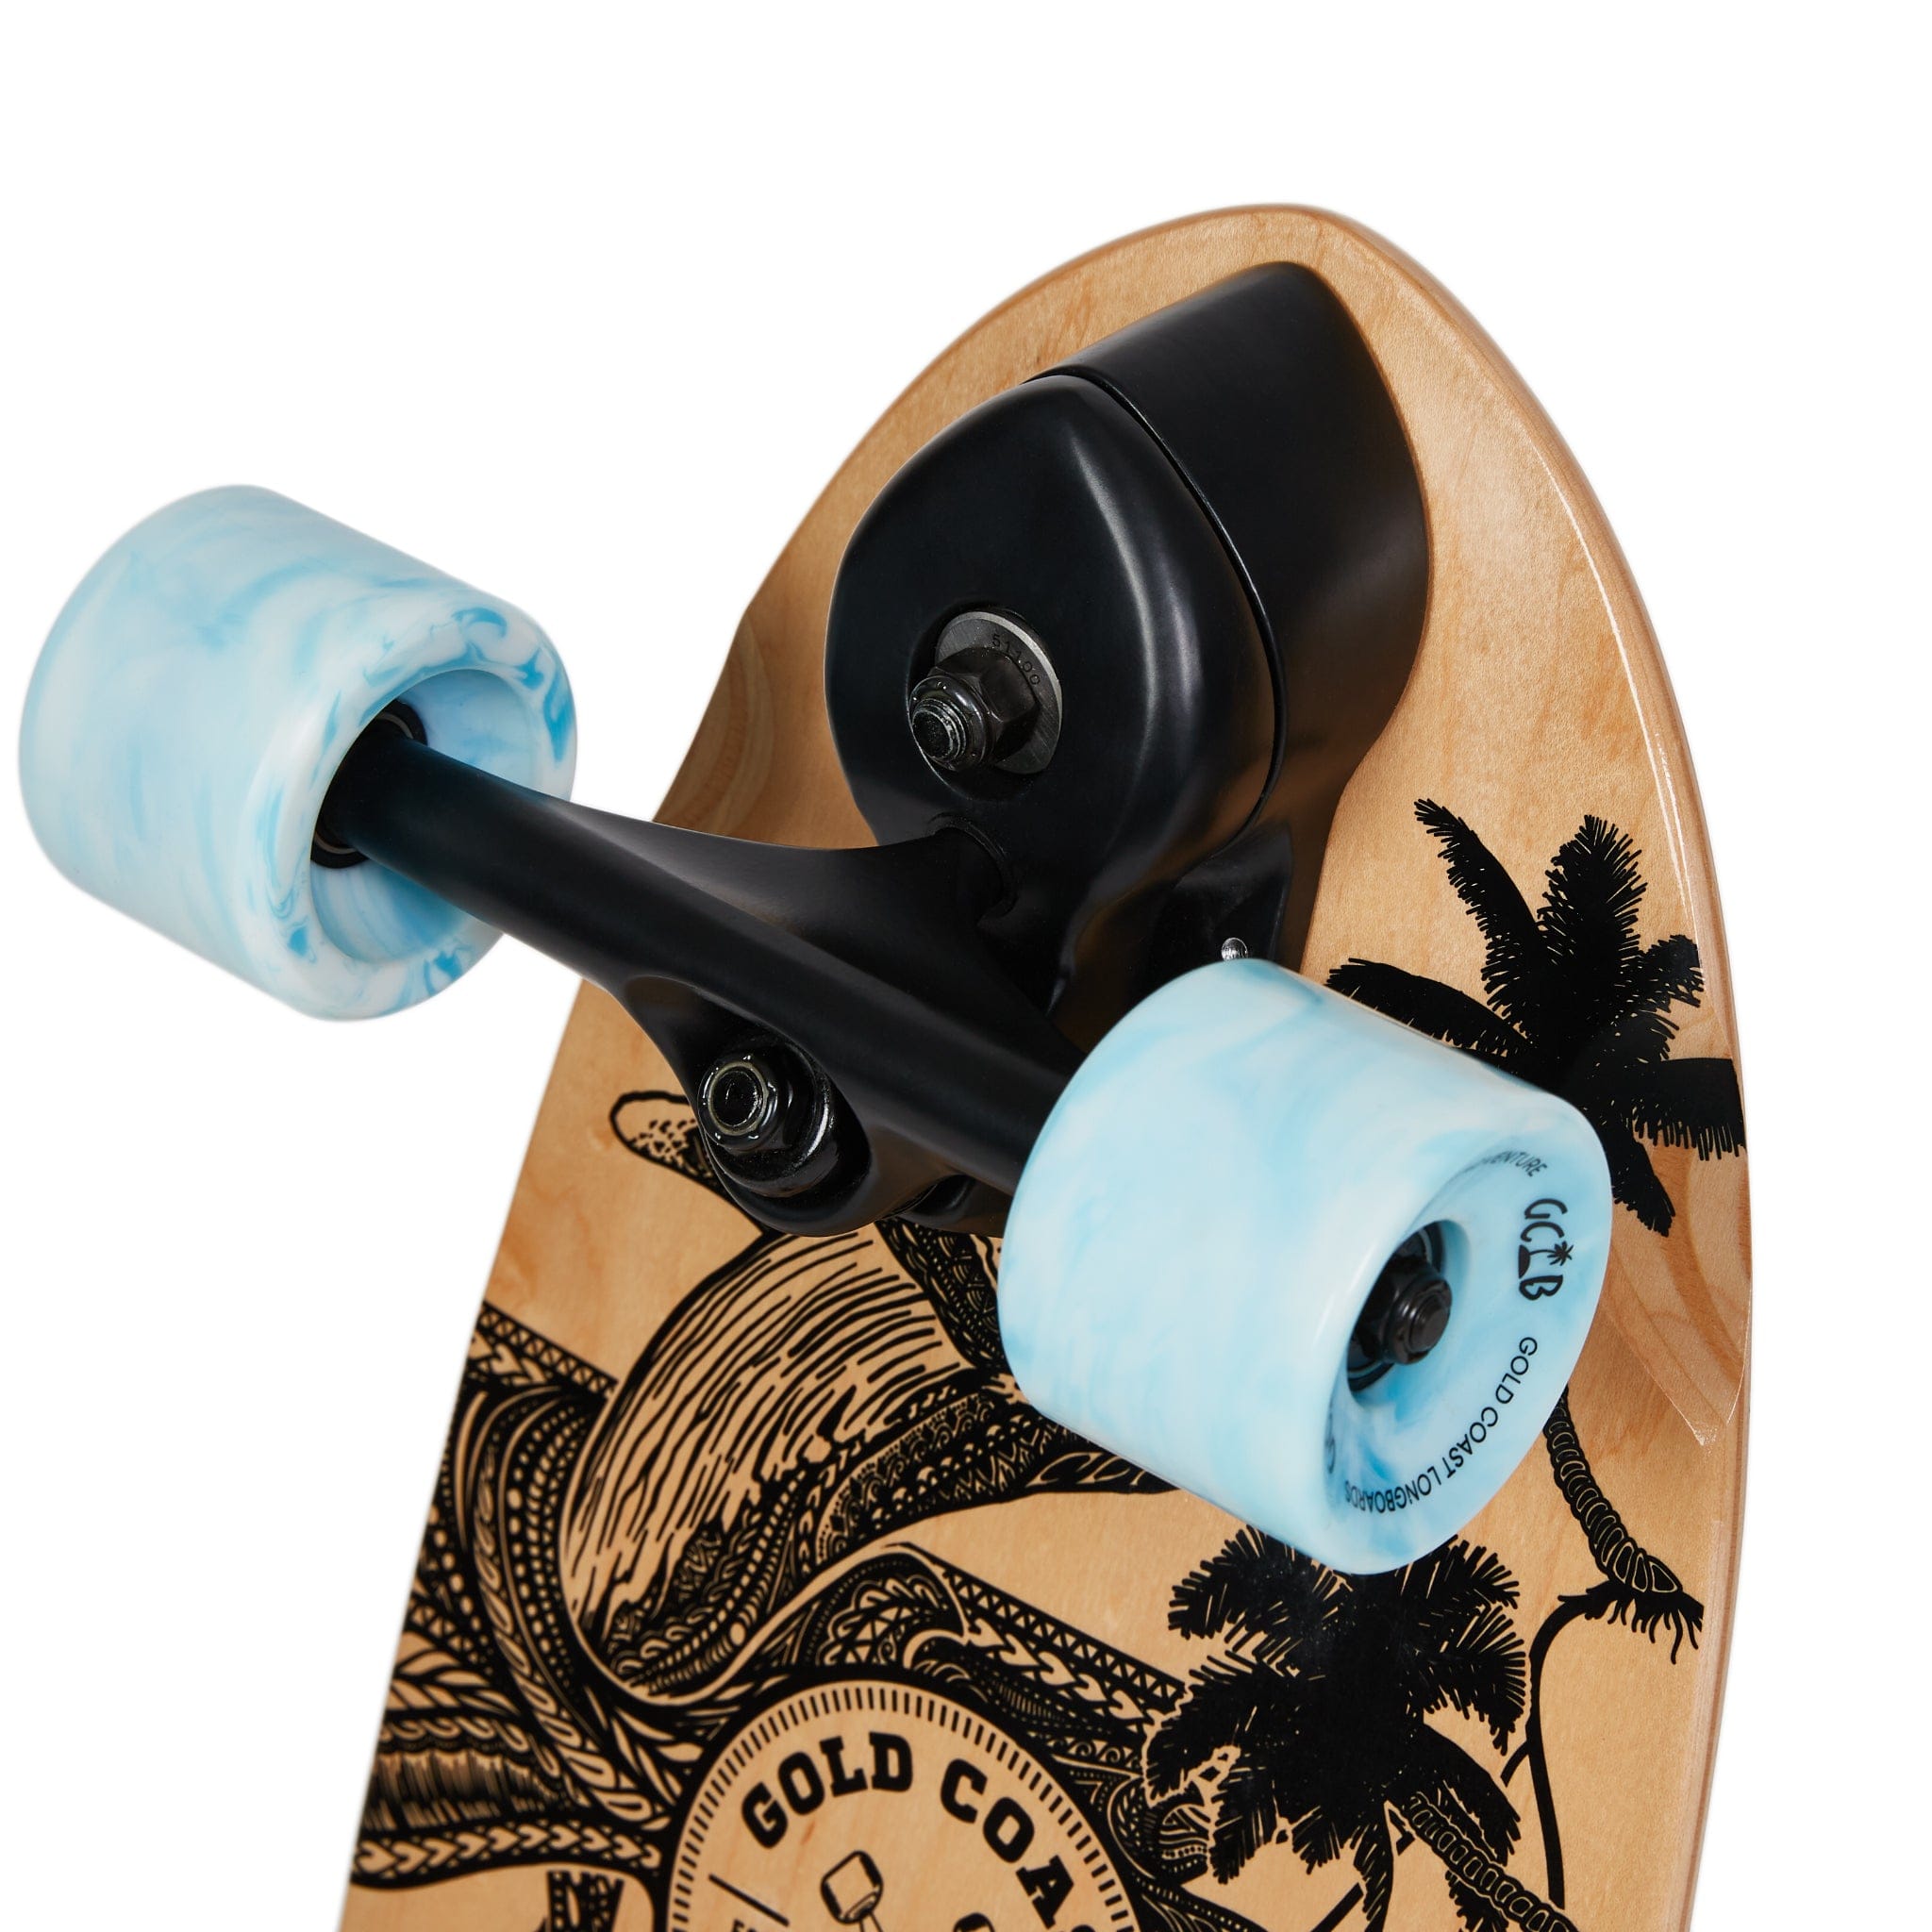
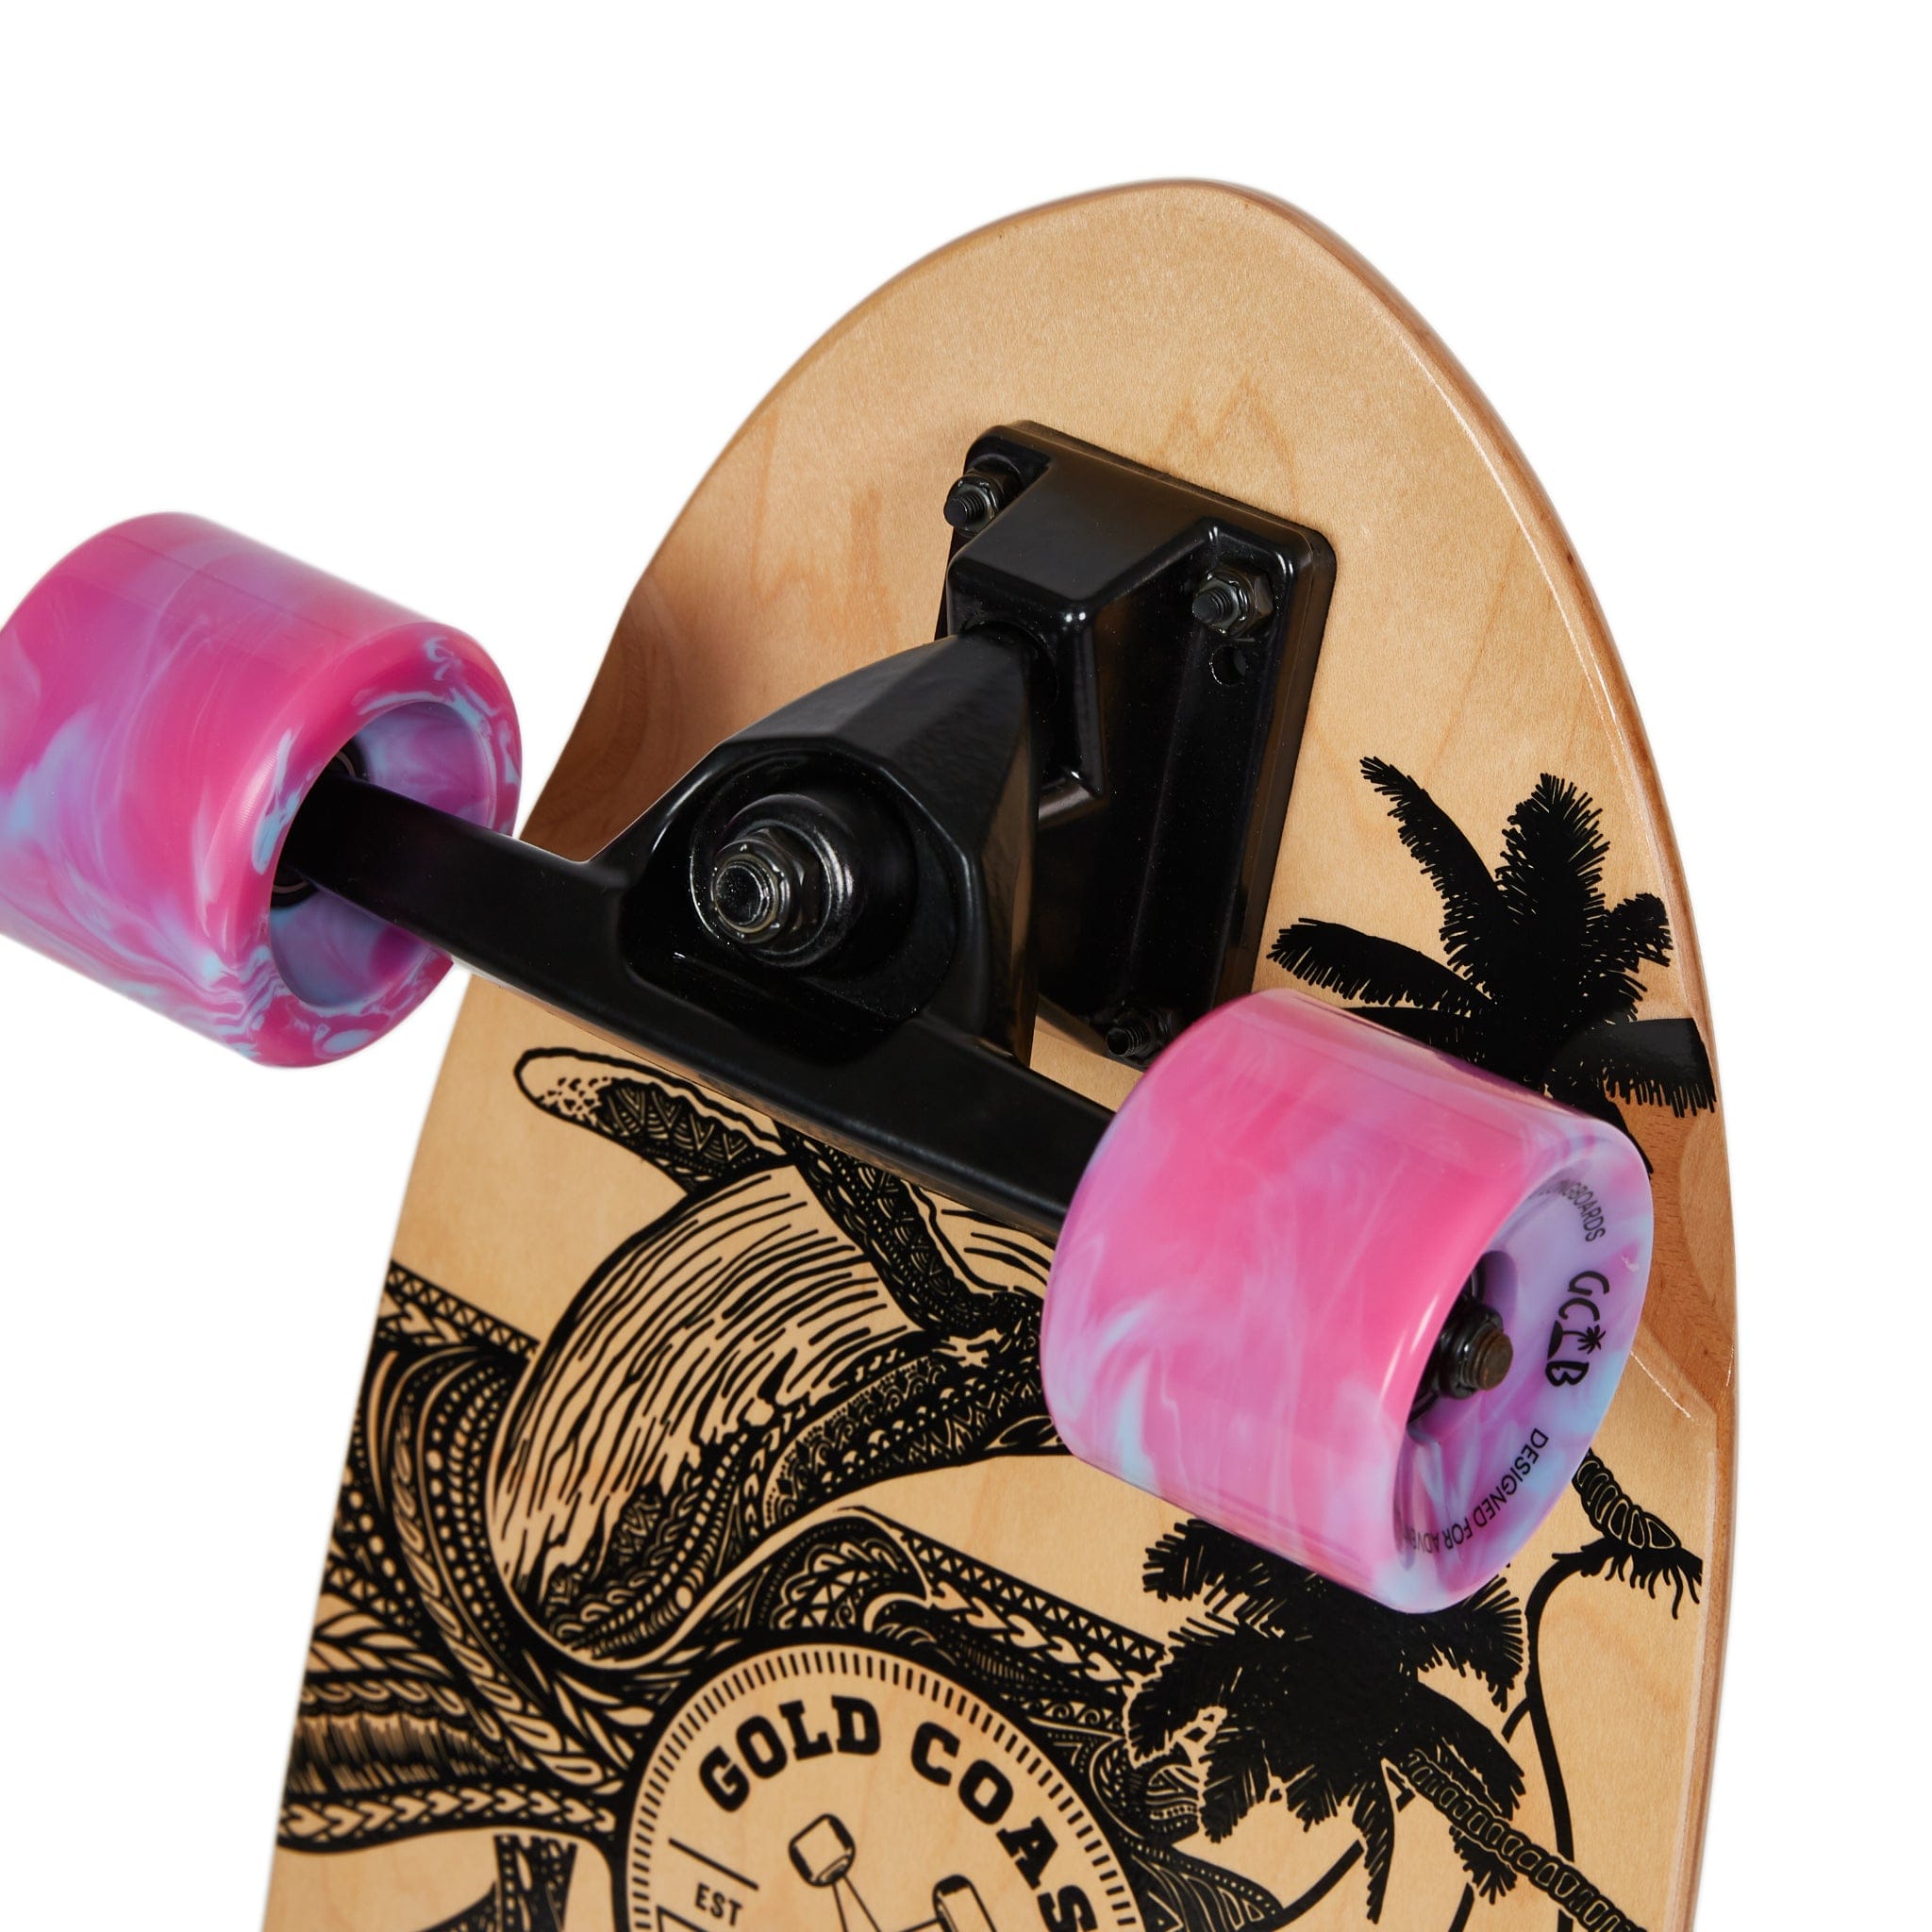
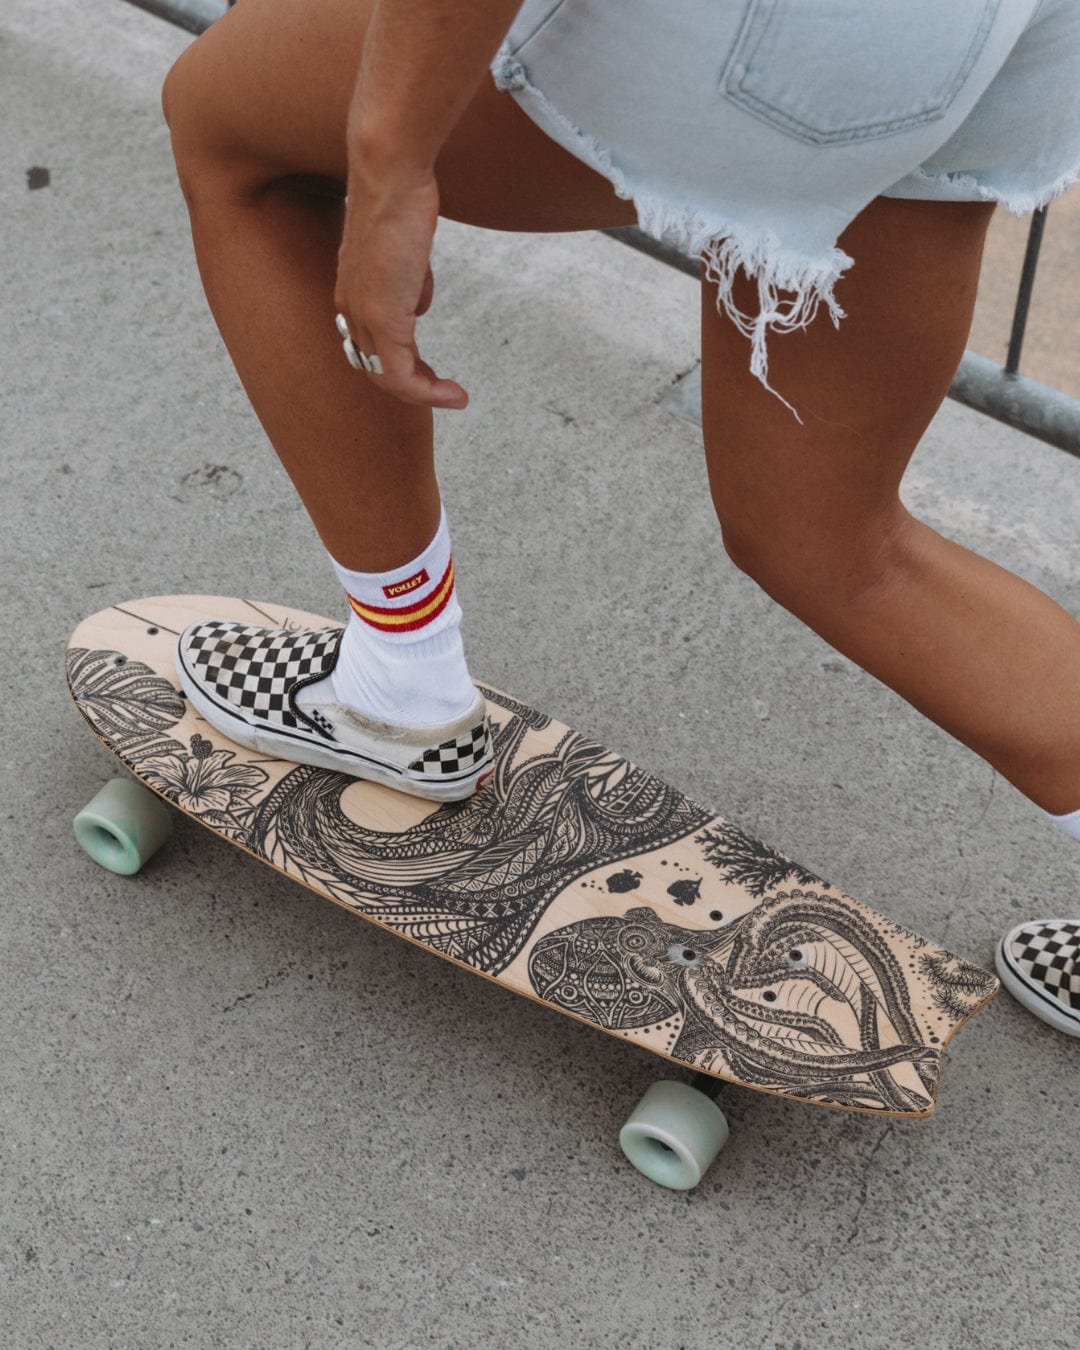
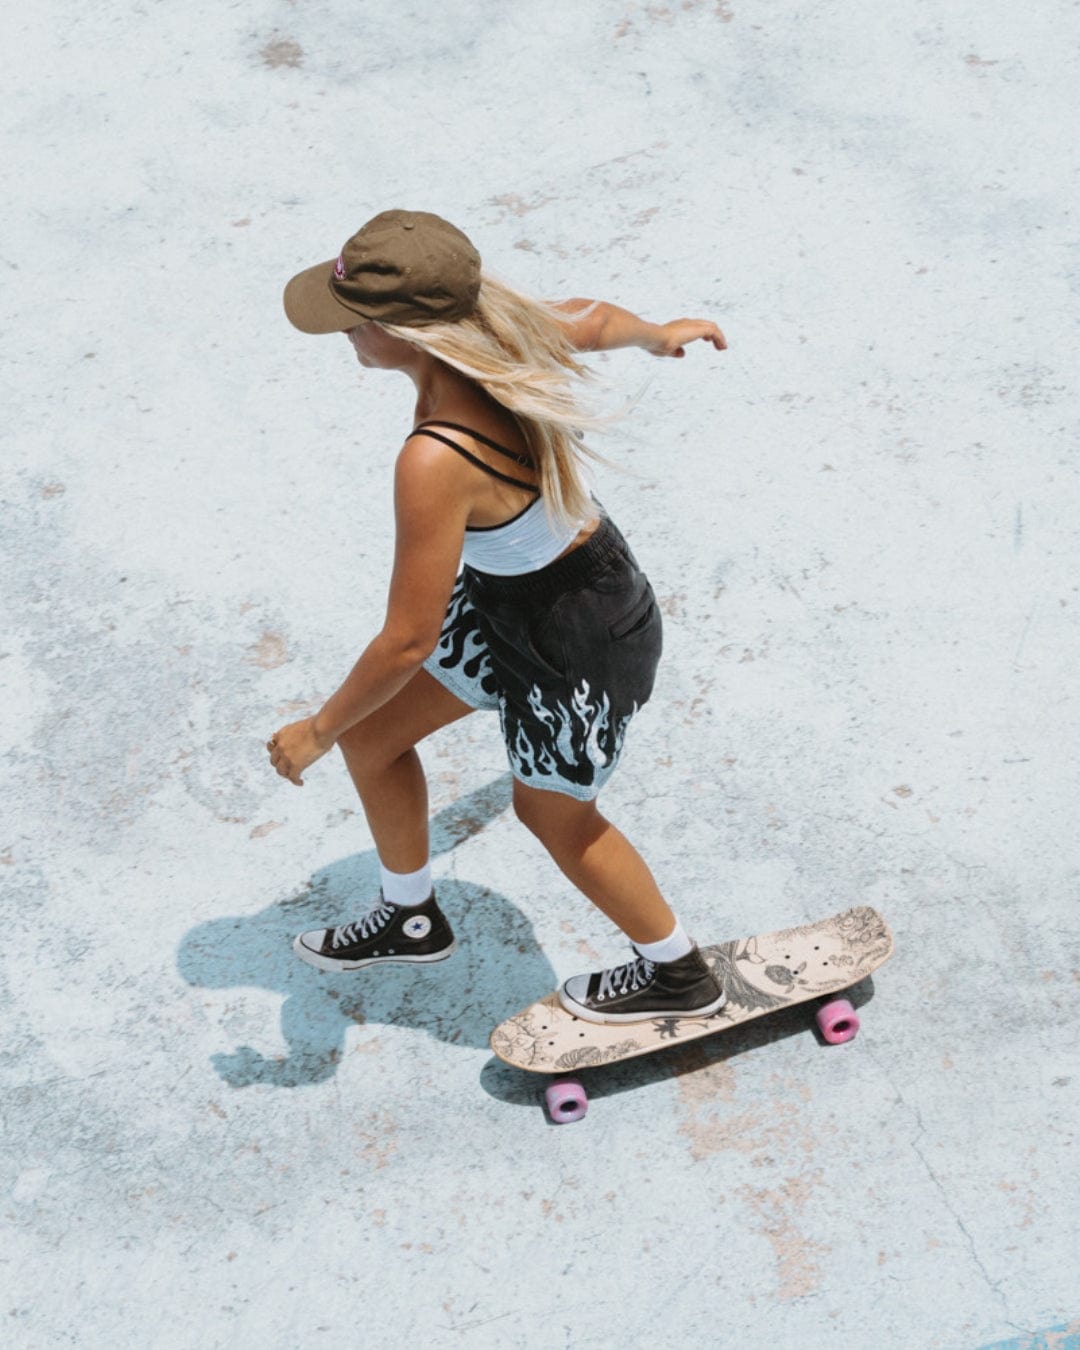
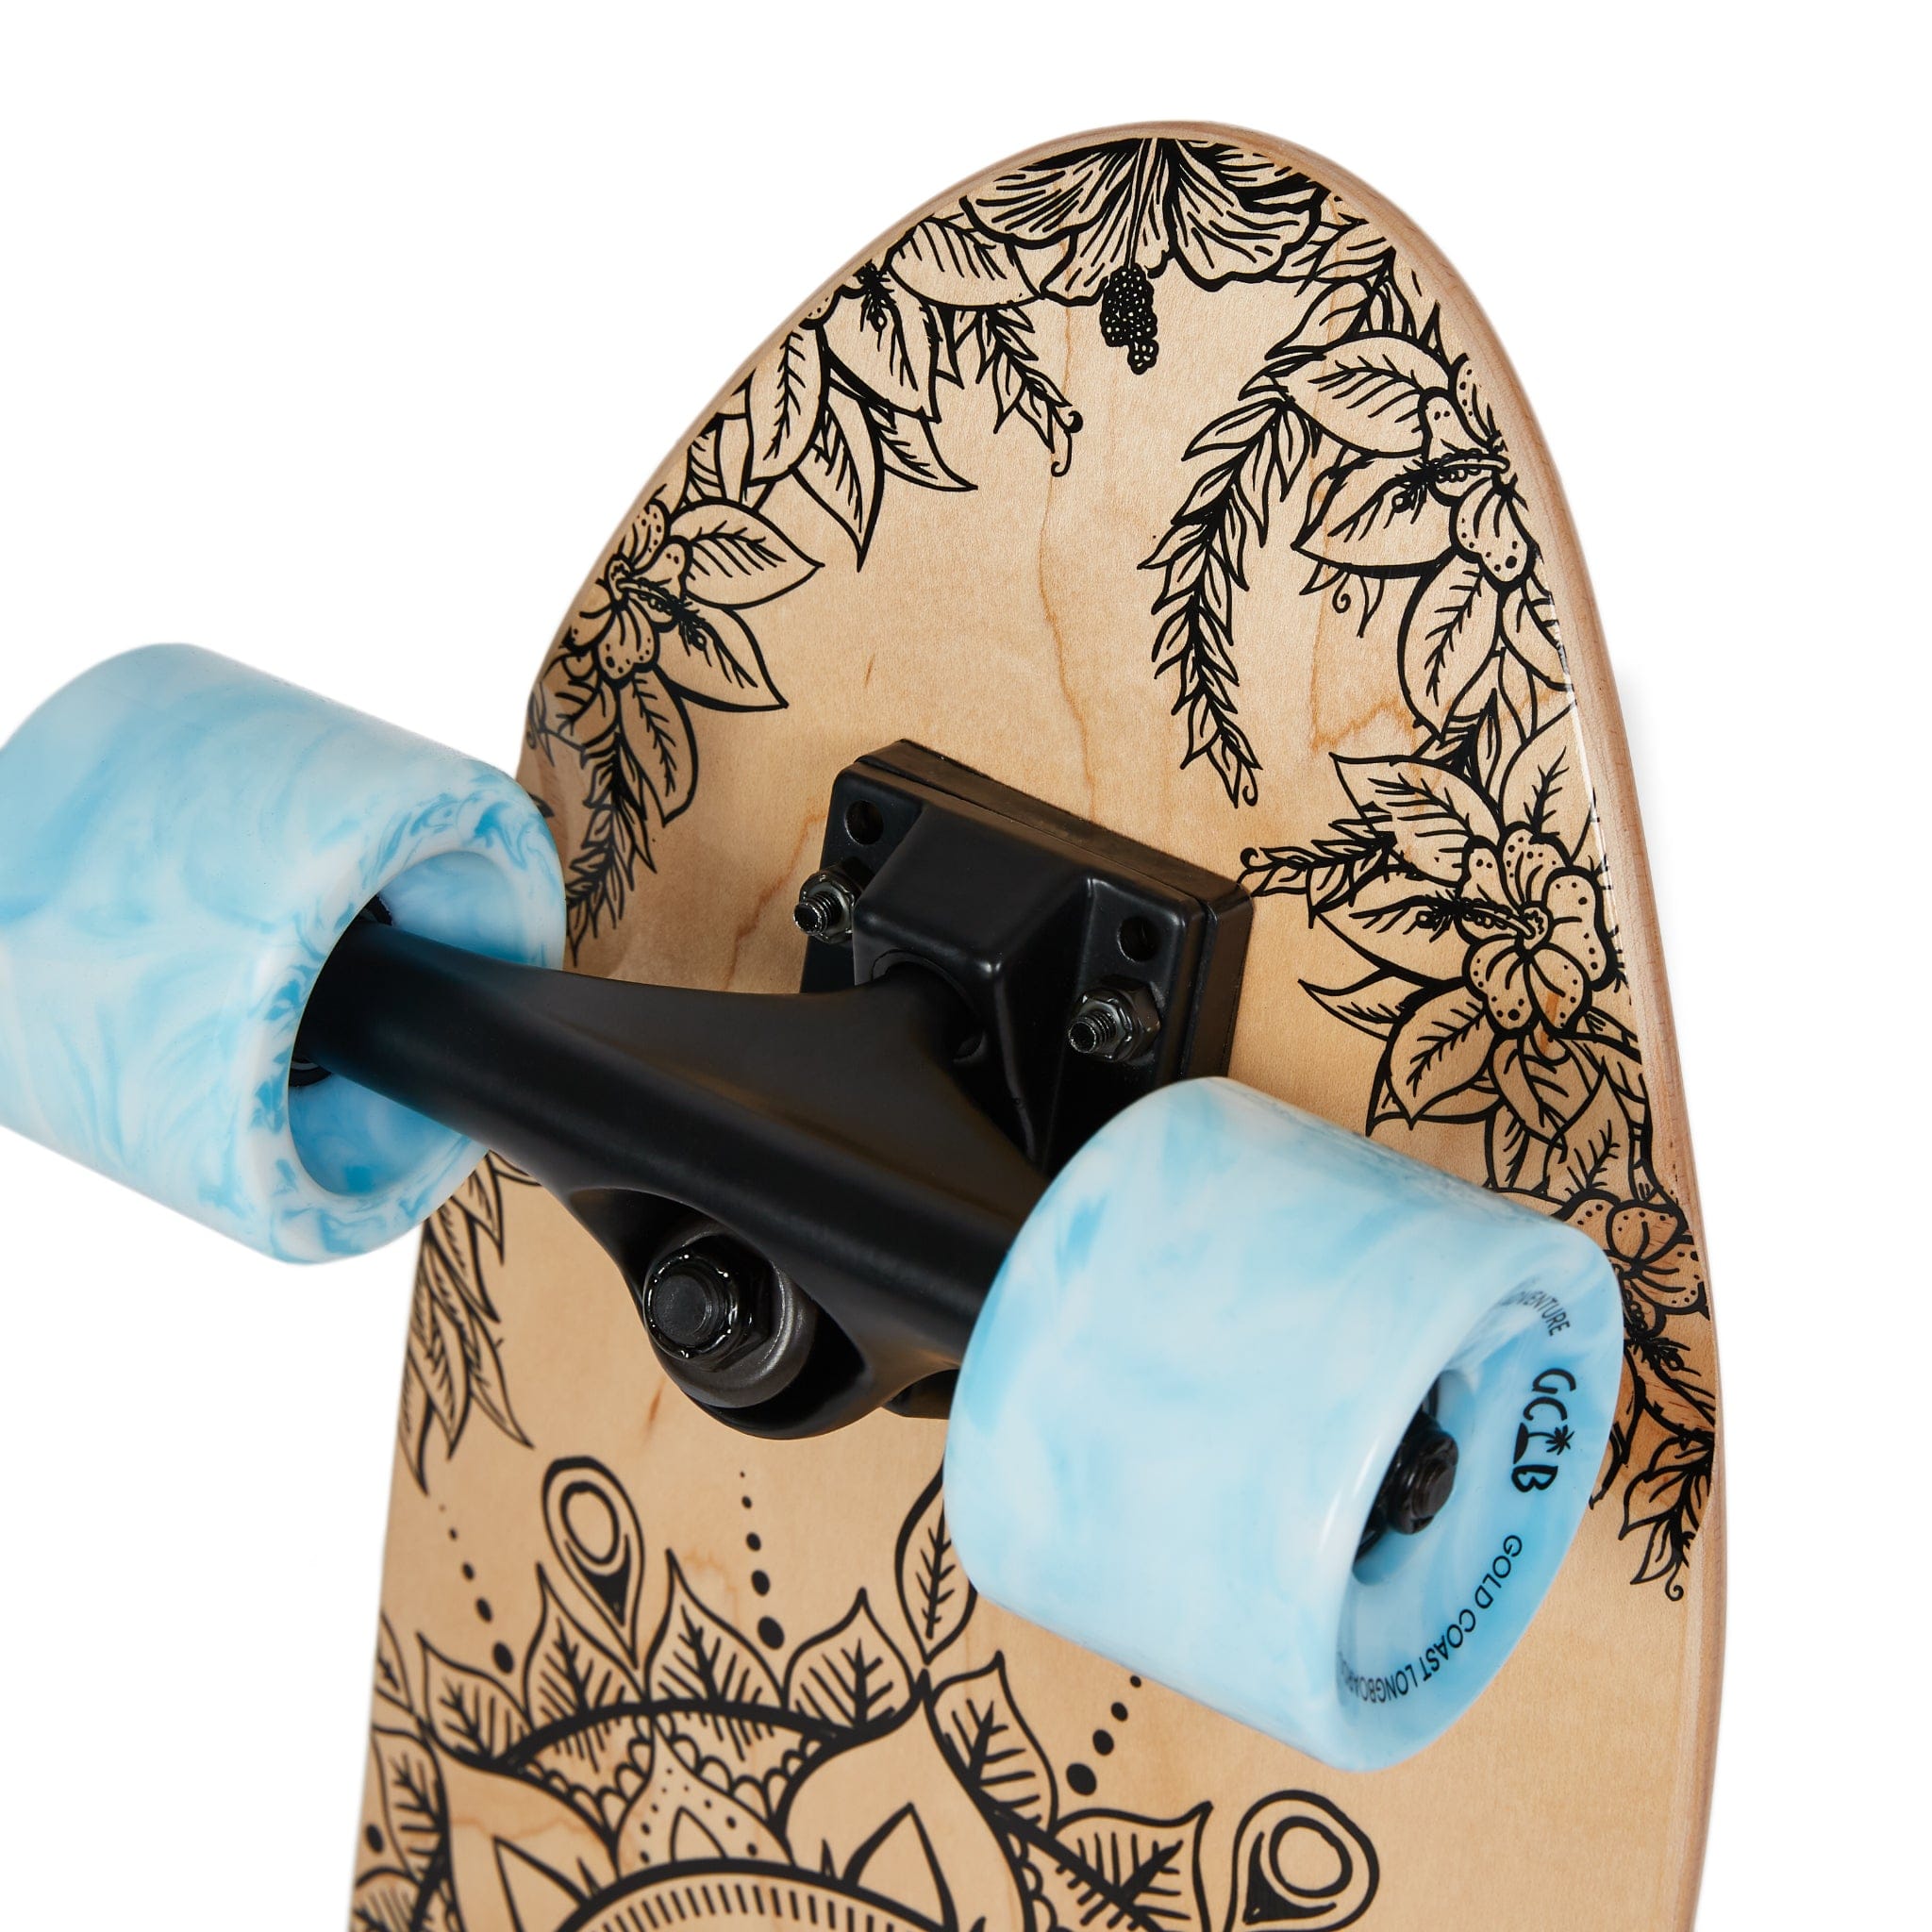
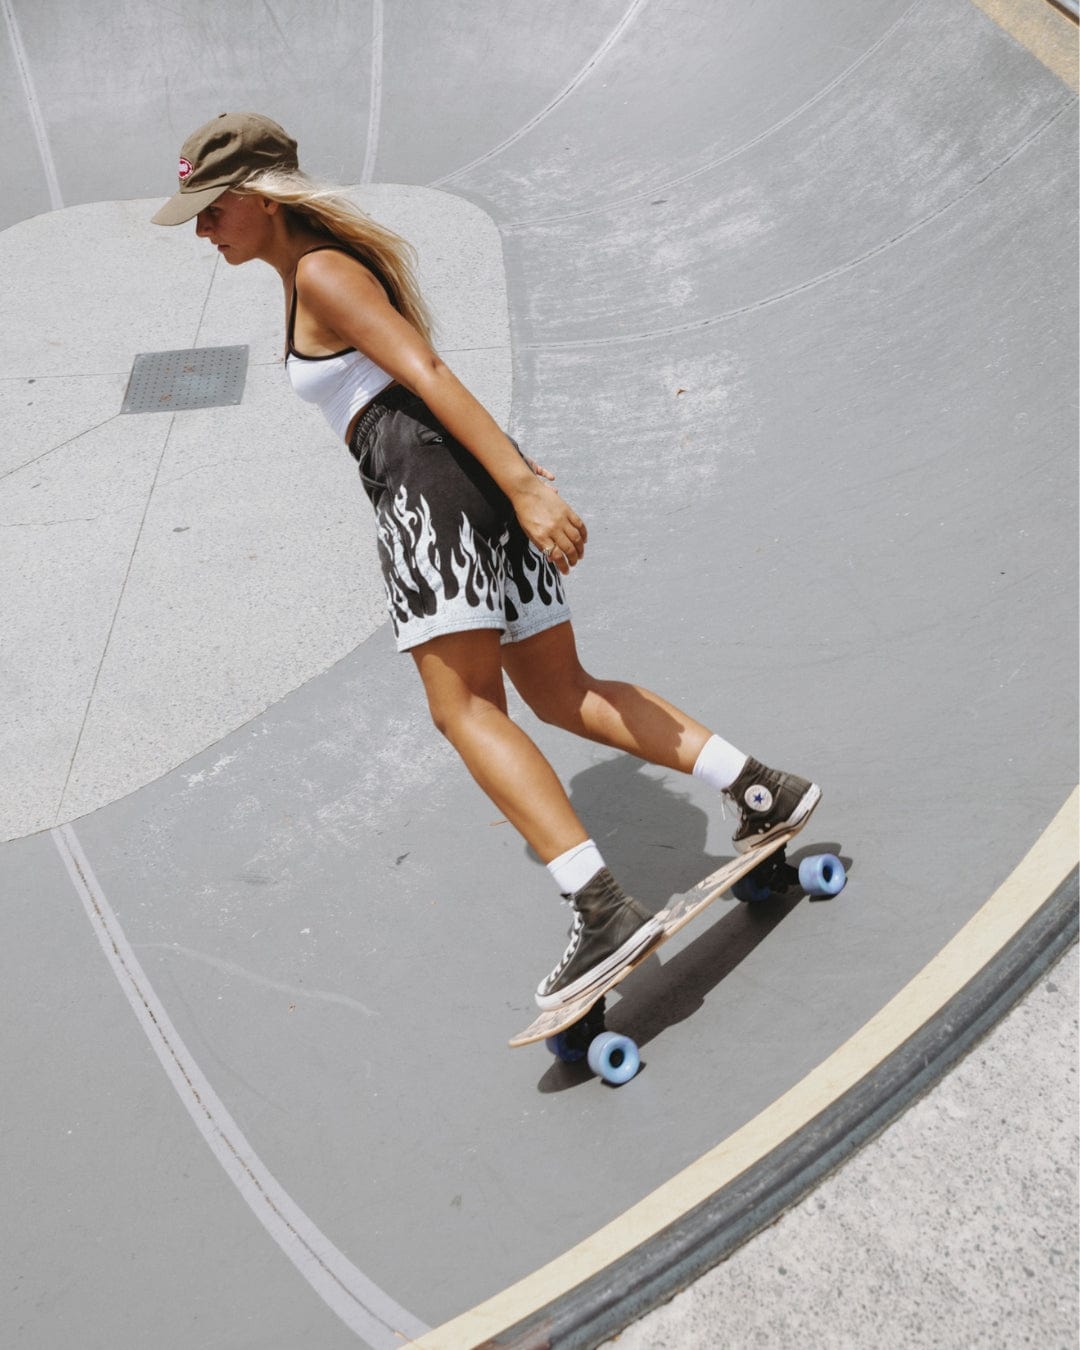
For surf-skate foot placement, use the front truck's inner mounting bolts as a starting reference: your front foot sits around or just behind them, not up on the nose. Keep both feet centred across the deck, with your back foot comfortably supported towards the rear. Exact placement varies with the deck and rider; stop and reset if you feel stretched or cramped.
Need more standing room? Our board size guide explains the GCLB options without turning your height into a one-size-fits-all answer.
2. Make one small push
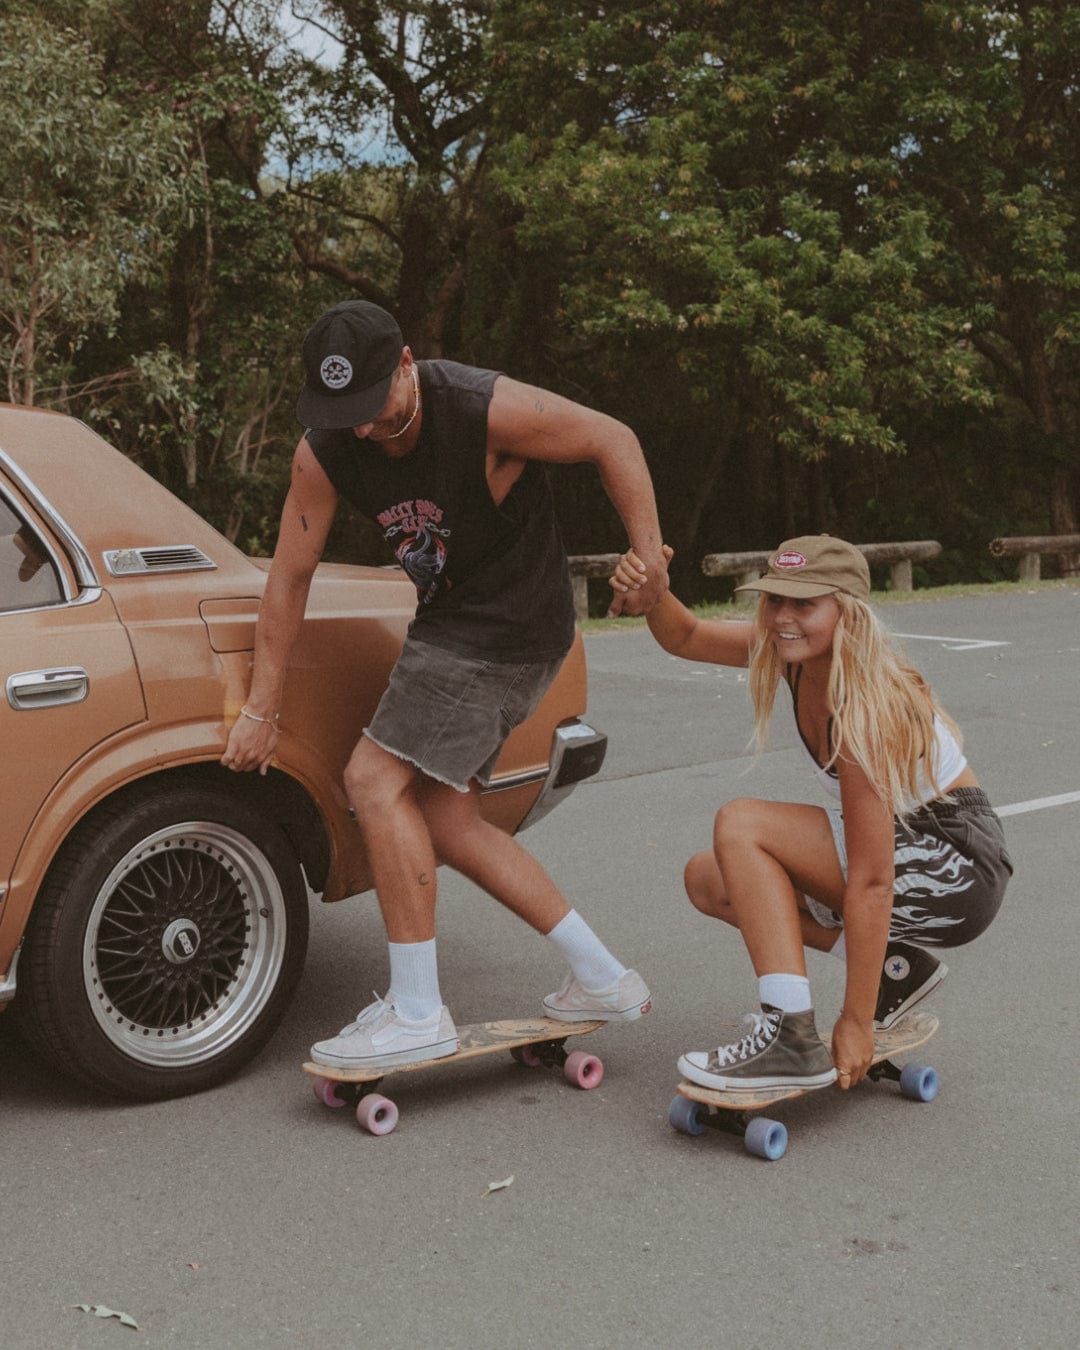
On your clear, level surface, keep the front foot on the board and the other on the ground beside it. Bend the supporting knee and make a gentle push with the rear foot. Let the board travel only a short distance.
As you settle into the roll, return the pushing foot to the deck and turn the front foot towards your riding stance. Keep the movements small. The goal is to place your feet calmly, not collect speed. The Skateboard GB beginner guide illustrates the basic push and foot repositioning.
3. Learn the stop before adding speed
Practise foot braking from a very slow roll: turn your front foot towards the nose, balance over it, and lower your pushing foot alongside the board and gently bring its sole into contact with the ground. Increase contact gradually until you stop. Do not stamp down suddenly.
That one-foot balance can take practice, particularly on a responsive surf skate. If you cannot lower the foot without losing control, pause and work on it with a coach. Do not add a hill to make starting easier.
A purposeful stop is your checkpoint before more ambitious riding. Decathlon's beginner guidance also puts speed control, stopping and gentle turns ahead of more challenging terrain.
4. Link gentle turns
Once pushing and stopping feel controlled, try a shallow turn with both feet on the board. Apply a little pressure towards your toes, then try the heel side on a separate pass. The board responds to that change in pressure; you do not need to force a sharp turn.
Build towards broad, easy curves in your clear practice space. Finish each short run with the stop you have practised. Treat a tighter turn as a later skill, not a test you have to pass today.

5. Get a feel for pumping
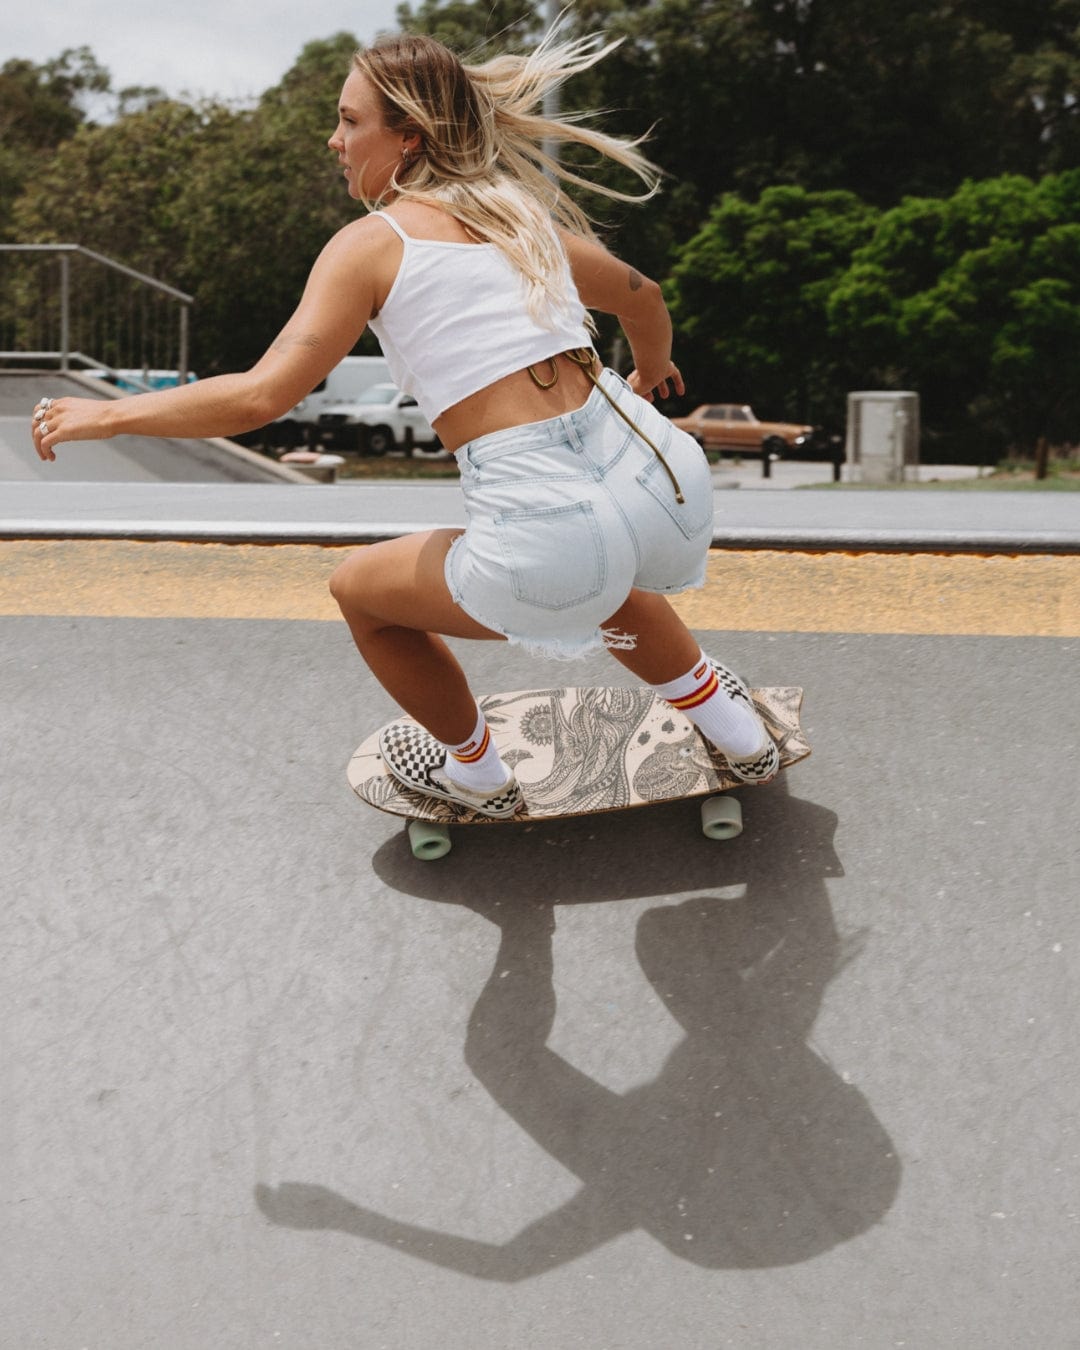
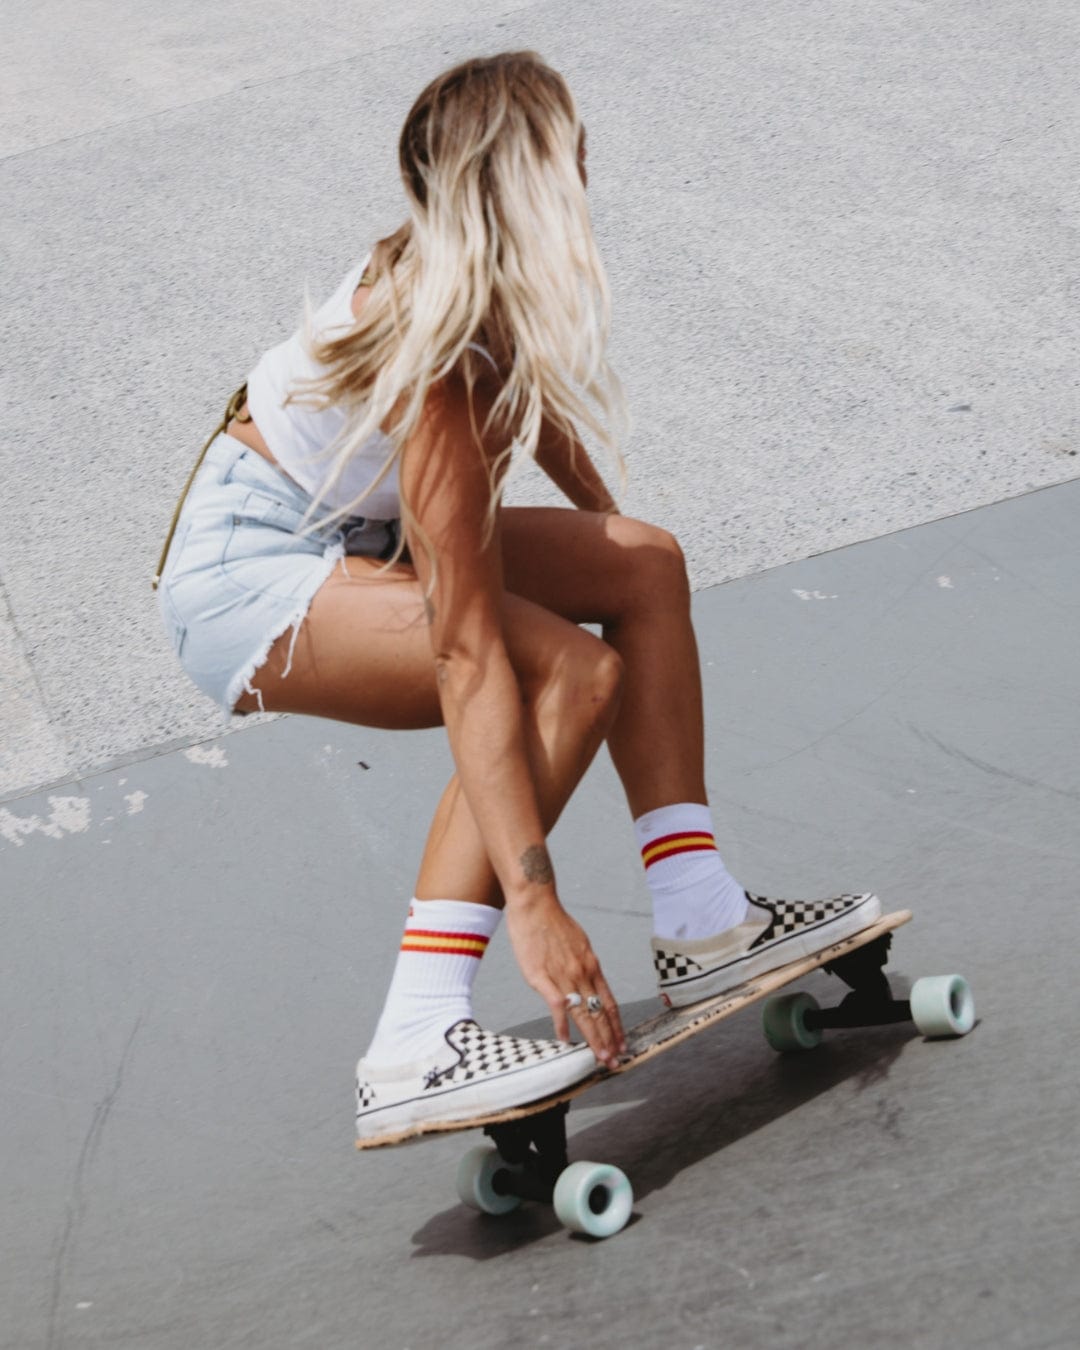
Pumping combines changes in rail pressure with knee movement and coordinated upper-body motion to generate momentum. It is more than rapidly twisting the front truck.
Begin with a gentle push and the easy turns you already know. Keep the knees soft, and explore a small bend-and-rise rhythm as you change direction. Make the movement smooth before trying to make it powerful. The useful first result might simply be a short sequence that feels connected.
For a demonstrated breakdown, Steve Palmer's beginner pumping tutorial separates foot placement, rail pressure and knee movement. Watch the movement as well as reading the cues; personalised feedback is more useful than forcing a motion that feels awkward.
A good first-session finish
You can step on deliberately, make a small push and stop where you intended. If that is today's progress, keep it. There is no need to turn every practice into a pumping session.
Common beginner questions
Do I need to surf first?
No. You can learn the board skills for their own sake. If surfing is your goal, our guide to what skating can contribute to surfing explains the distinction between land practice and time in the water.
Should I change trucks if pumping feels difficult?
Do not assume the hardware is the problem. First check your stance, practice surface and technique. For the differences between GCLB's two systems, read Gravity vs Velocity. Follow guidance for your exact system before making adjustments.
How long does it take to learn?
There is no useful universal deadline. Judge your next step by what you can control, not how long someone else's video took. If the same difficulty keeps coming back, book a lesson rather than repeating it faster.
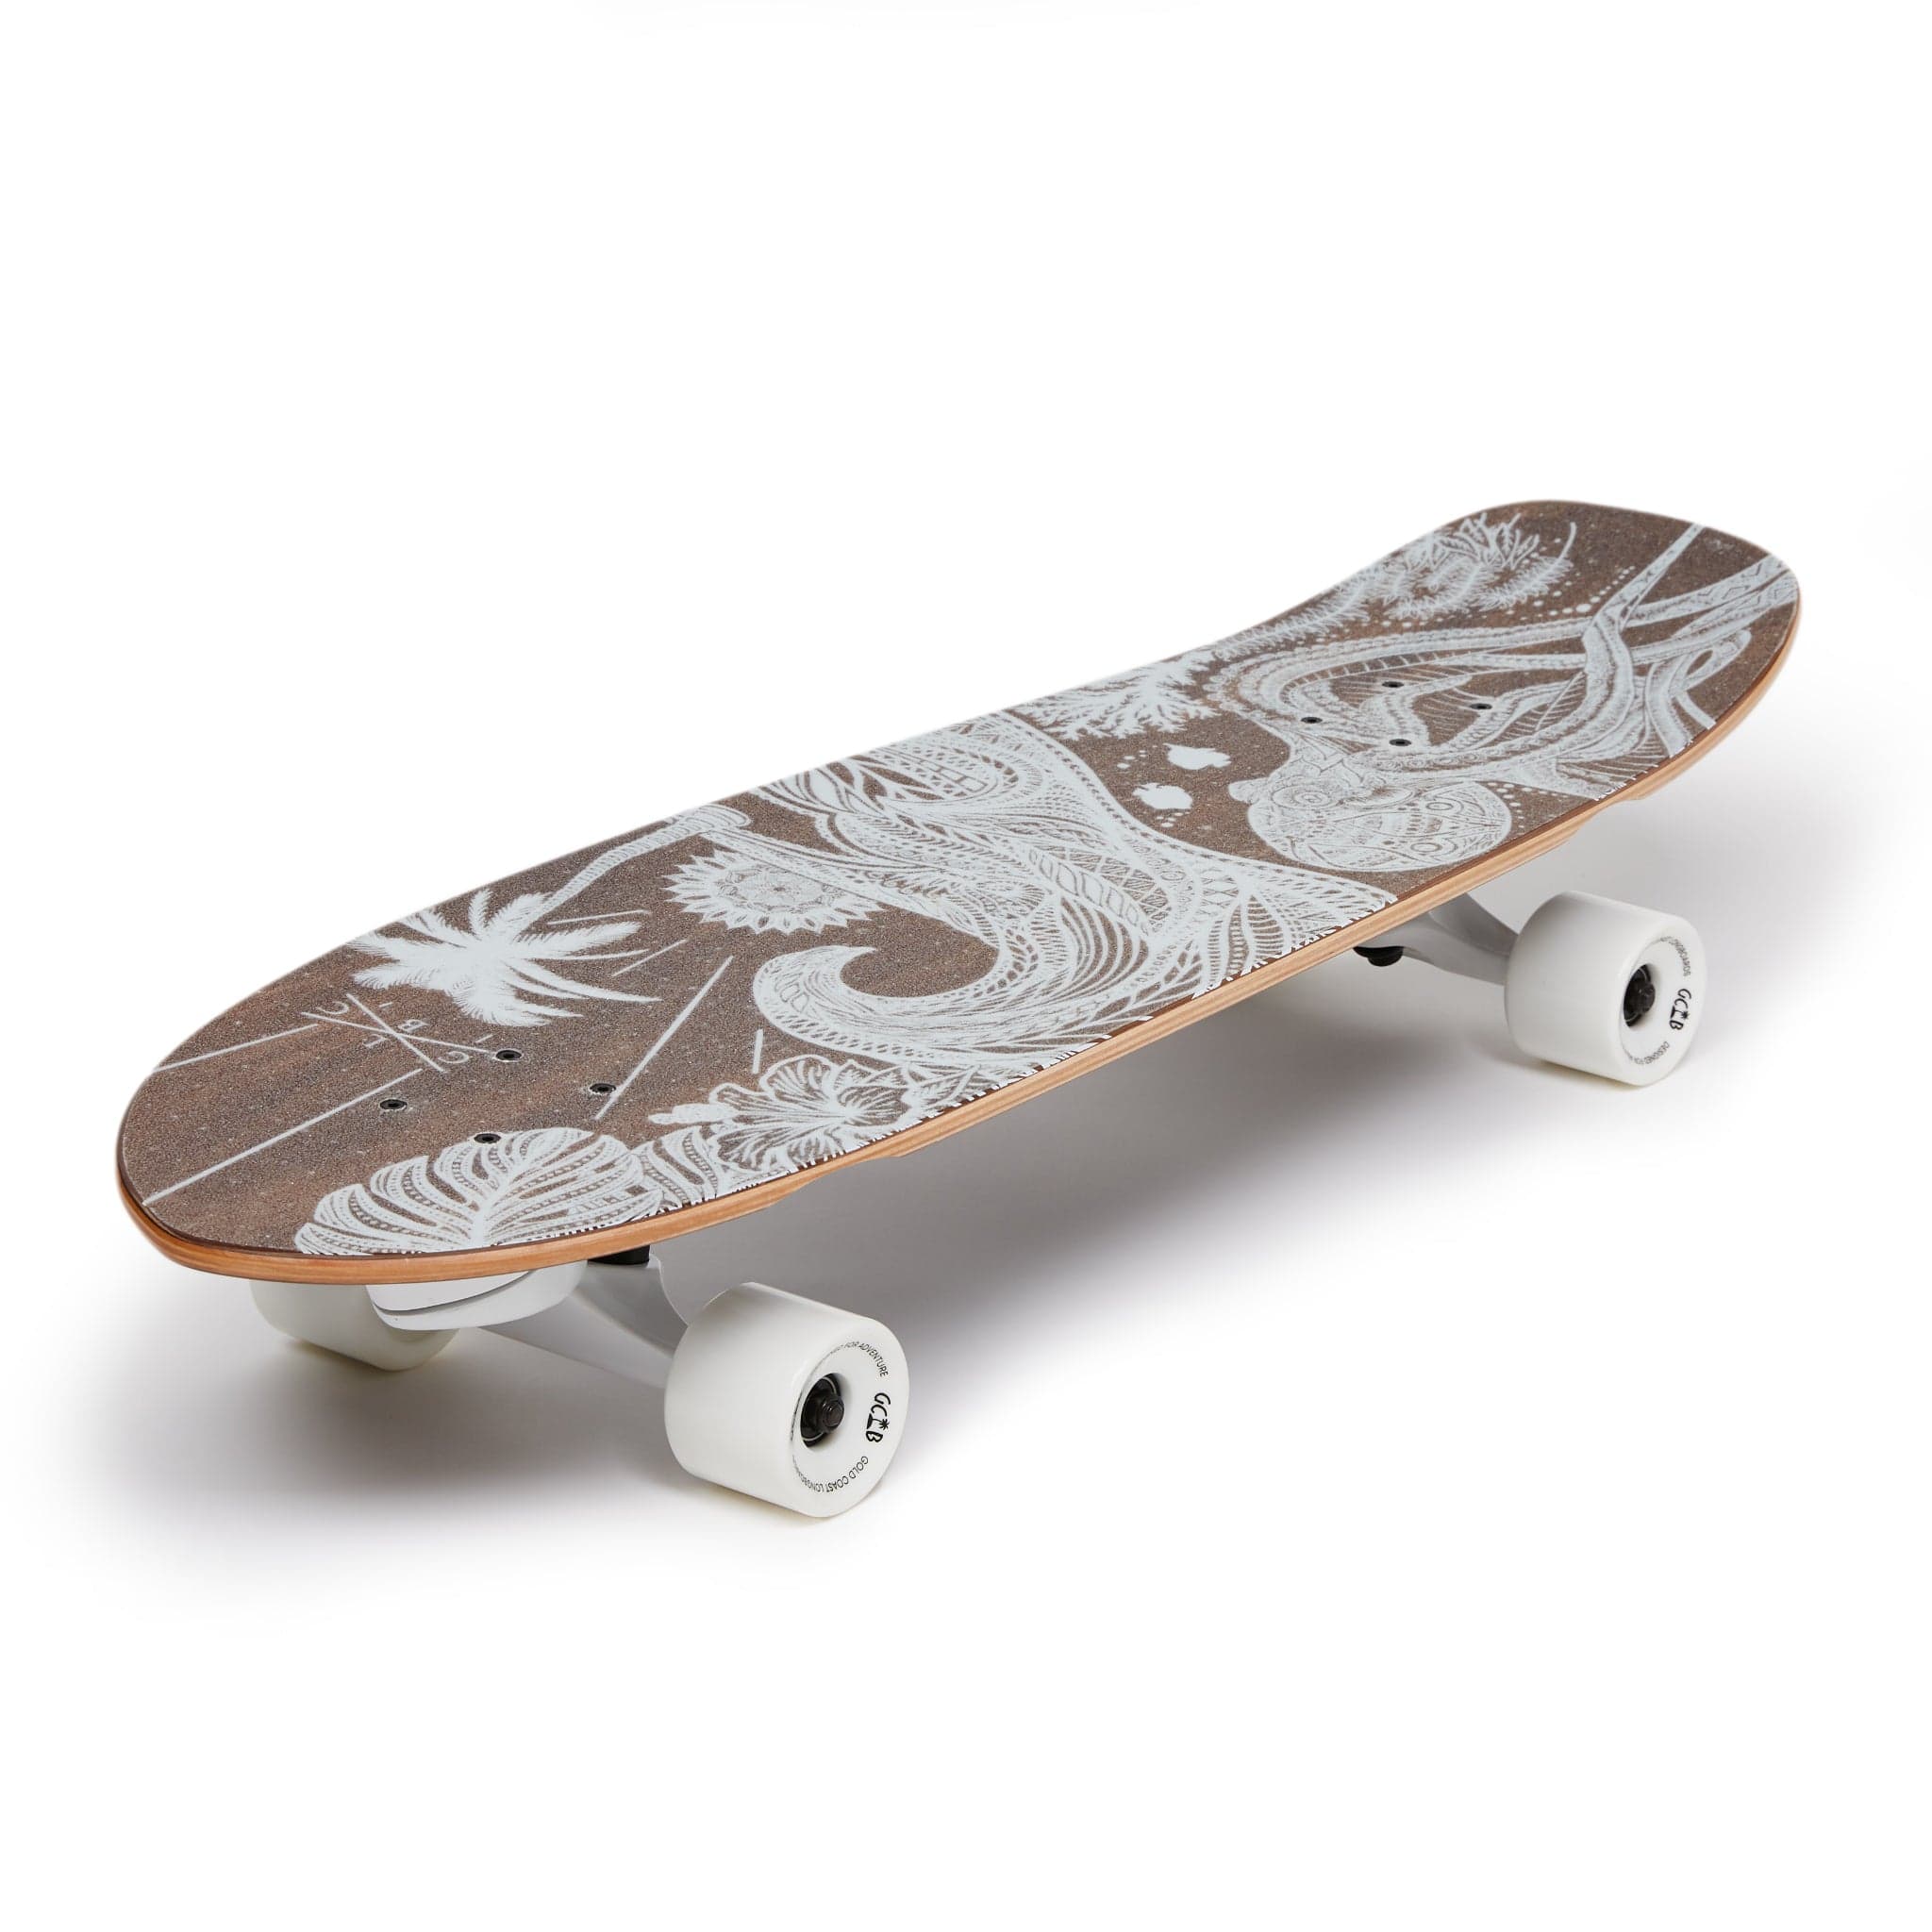
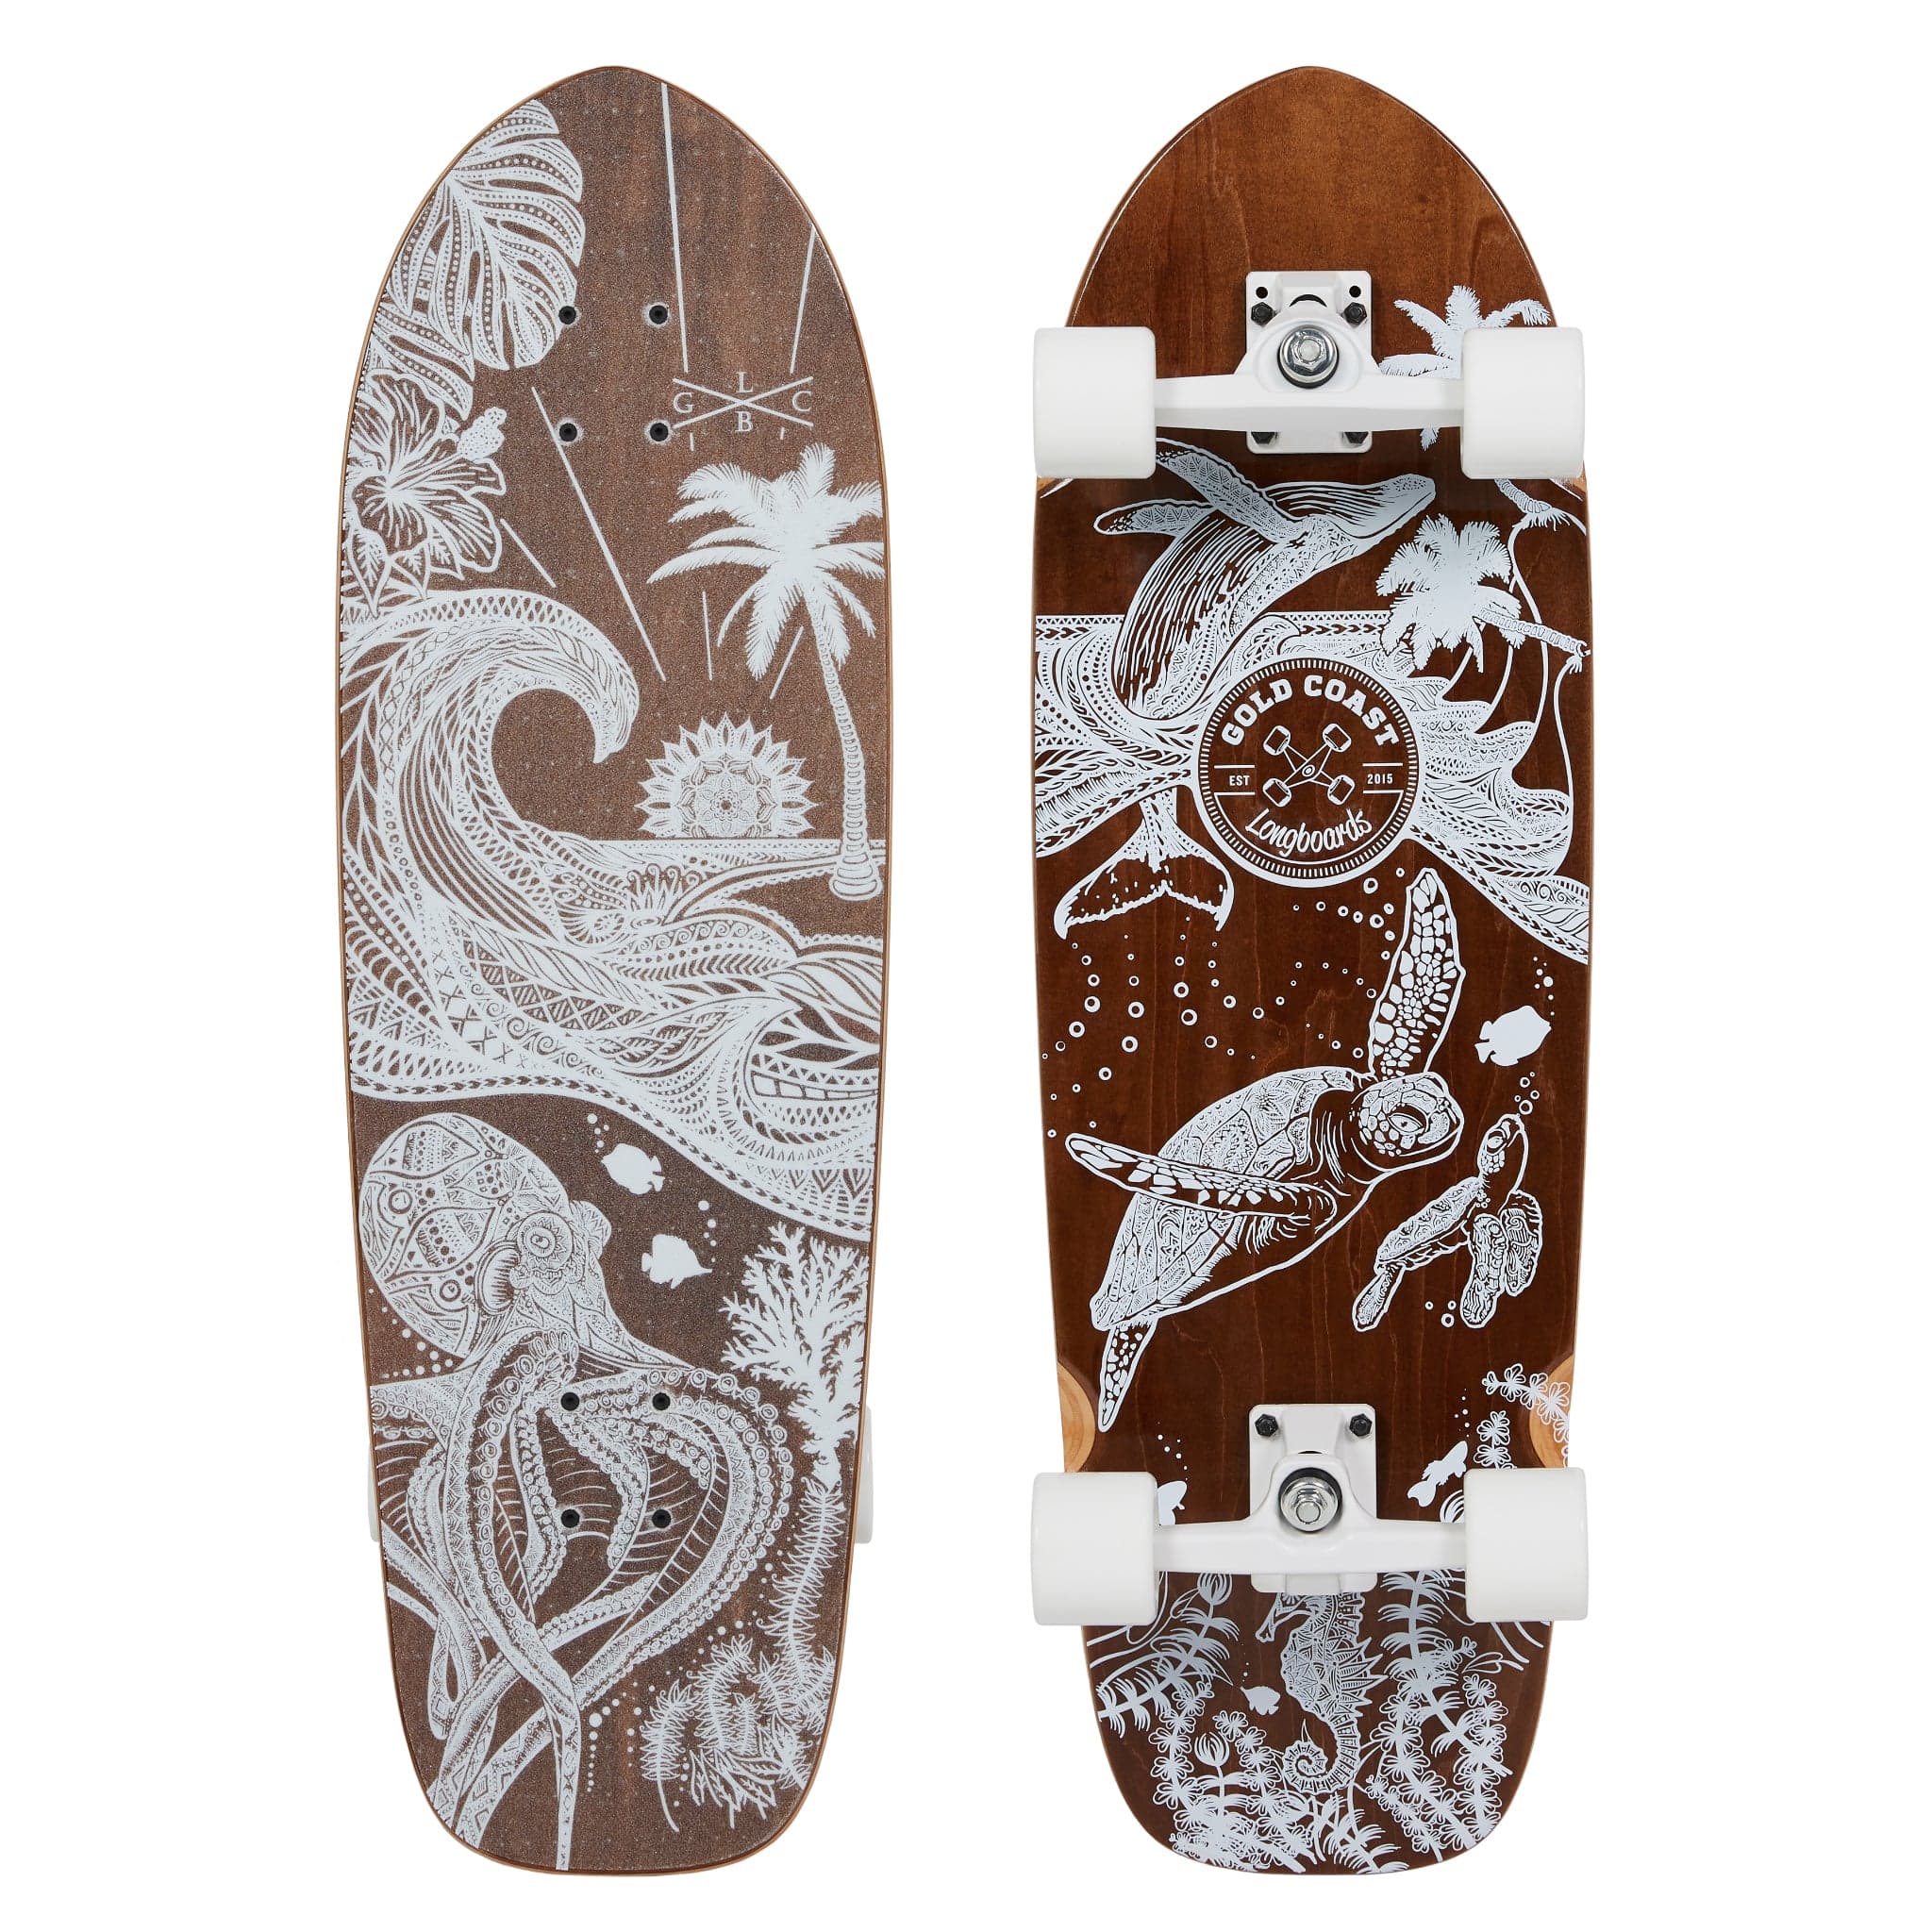
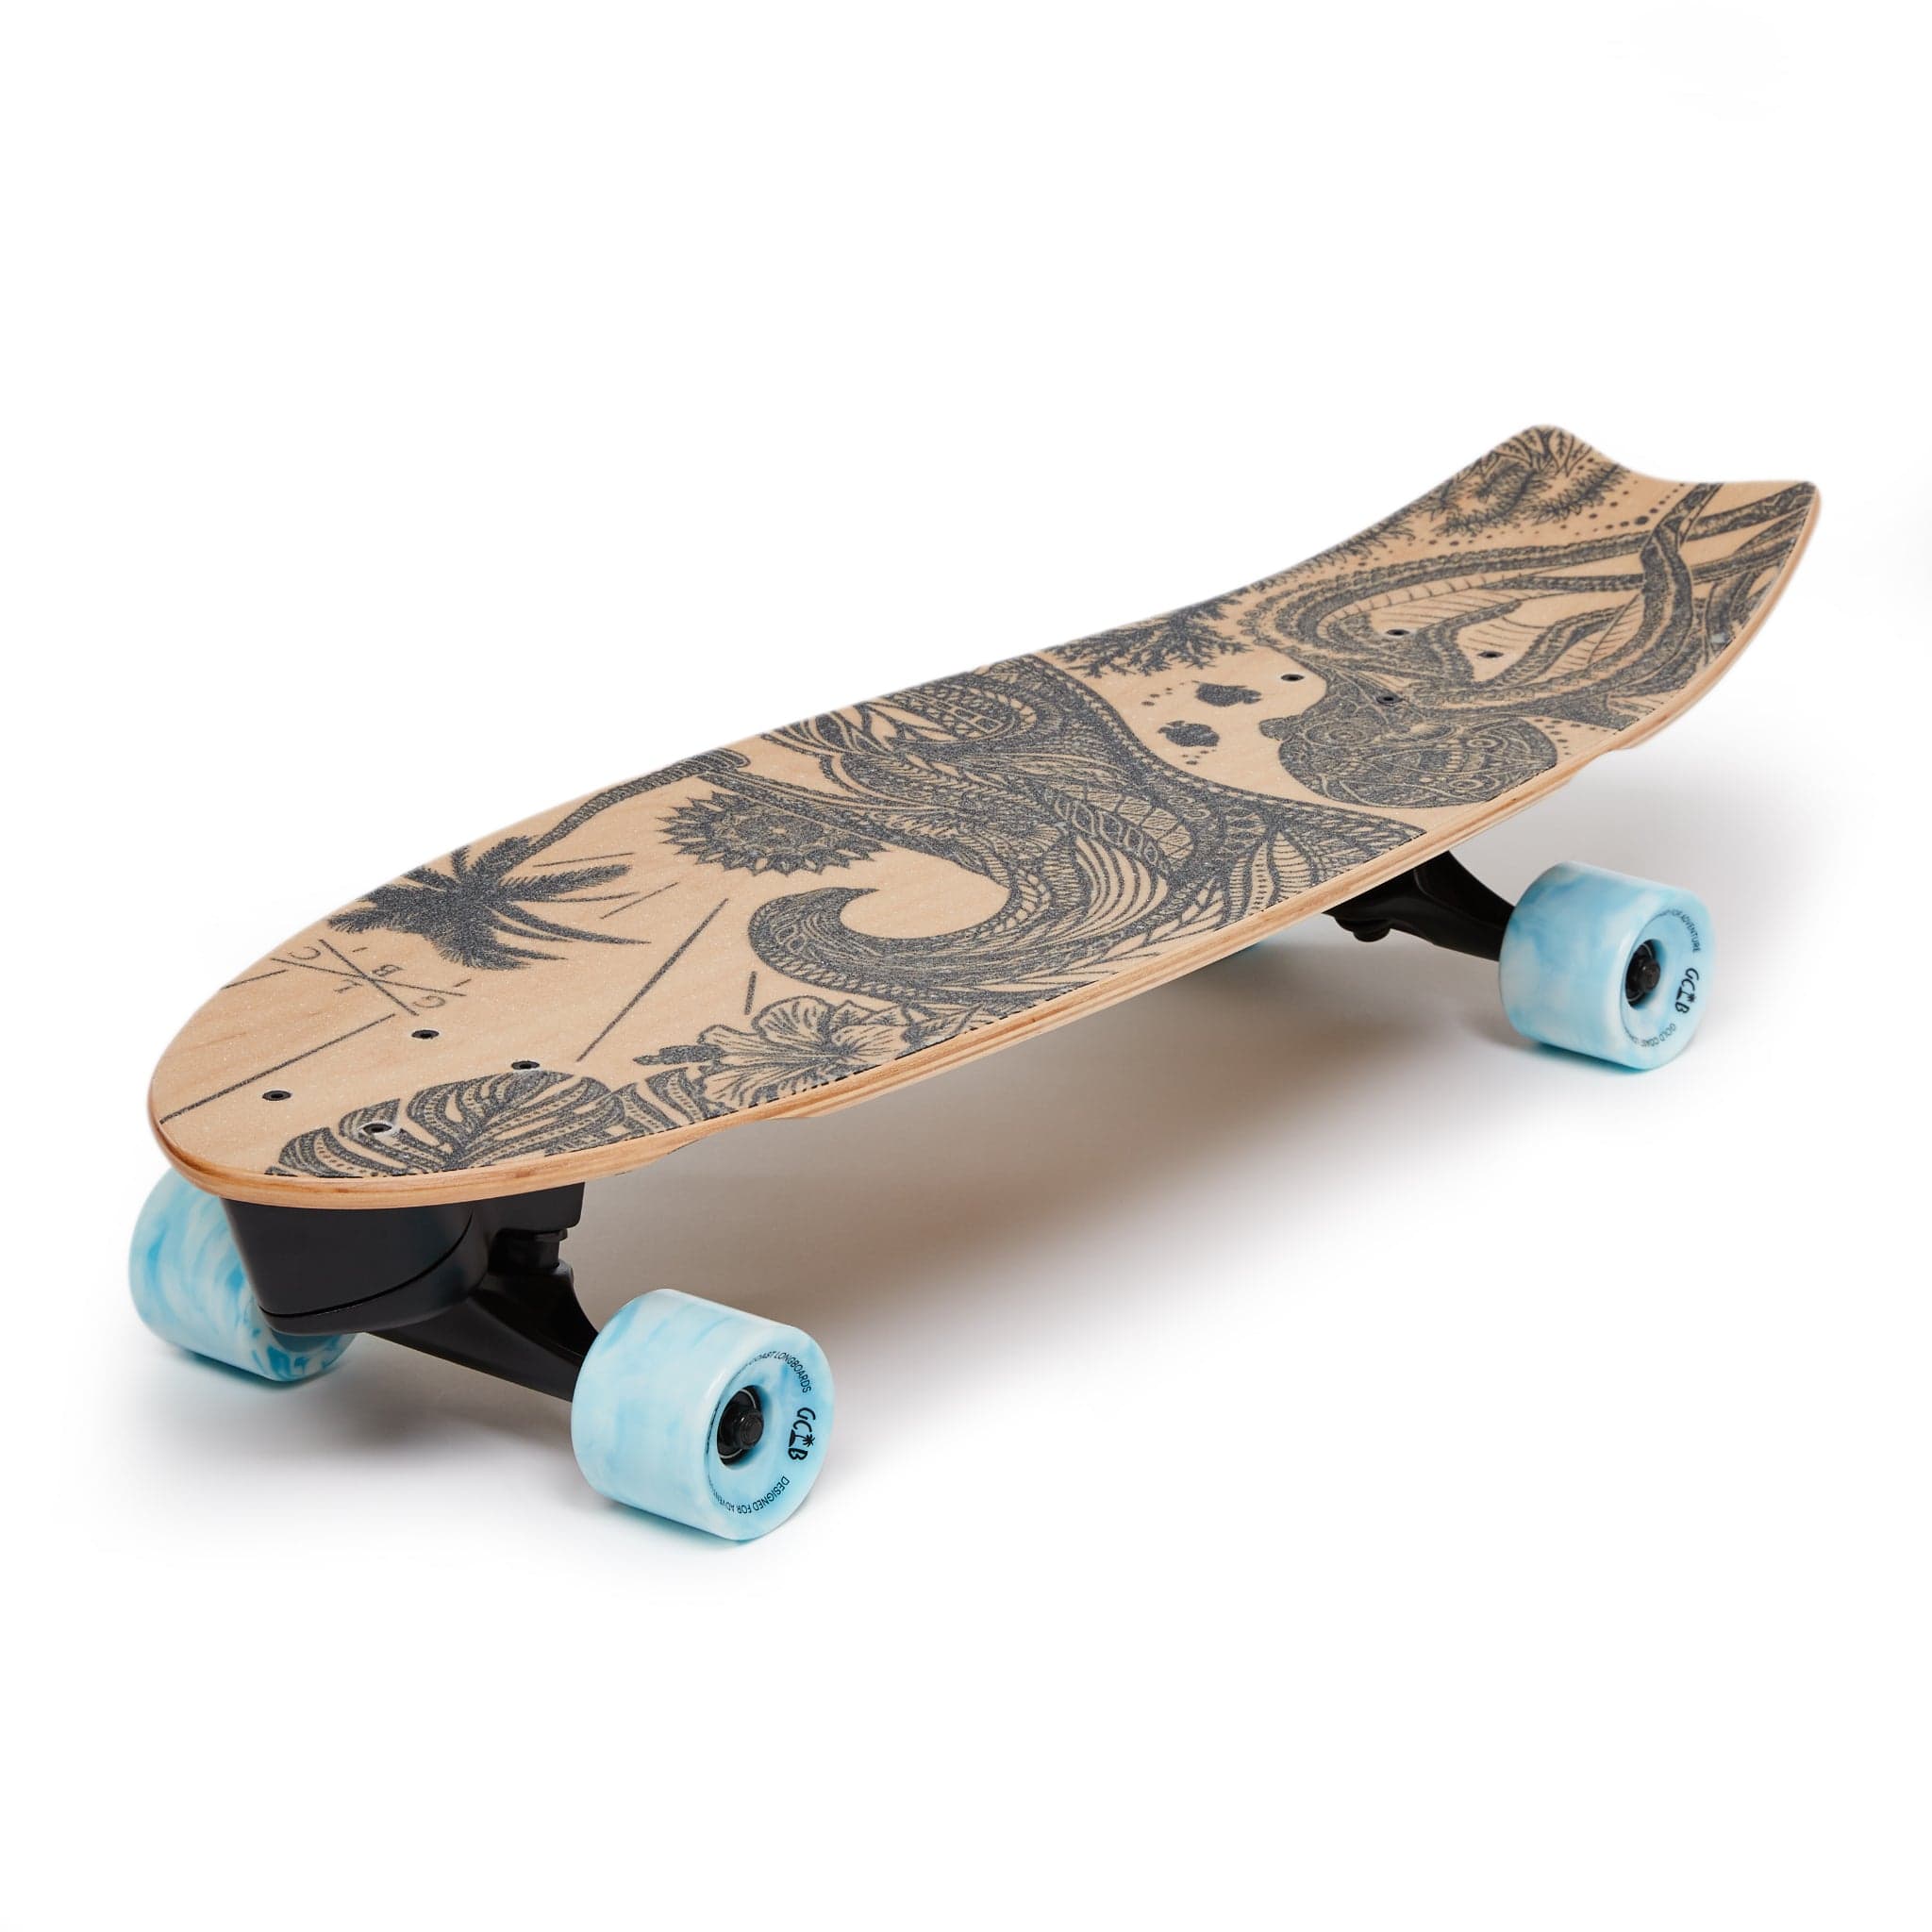
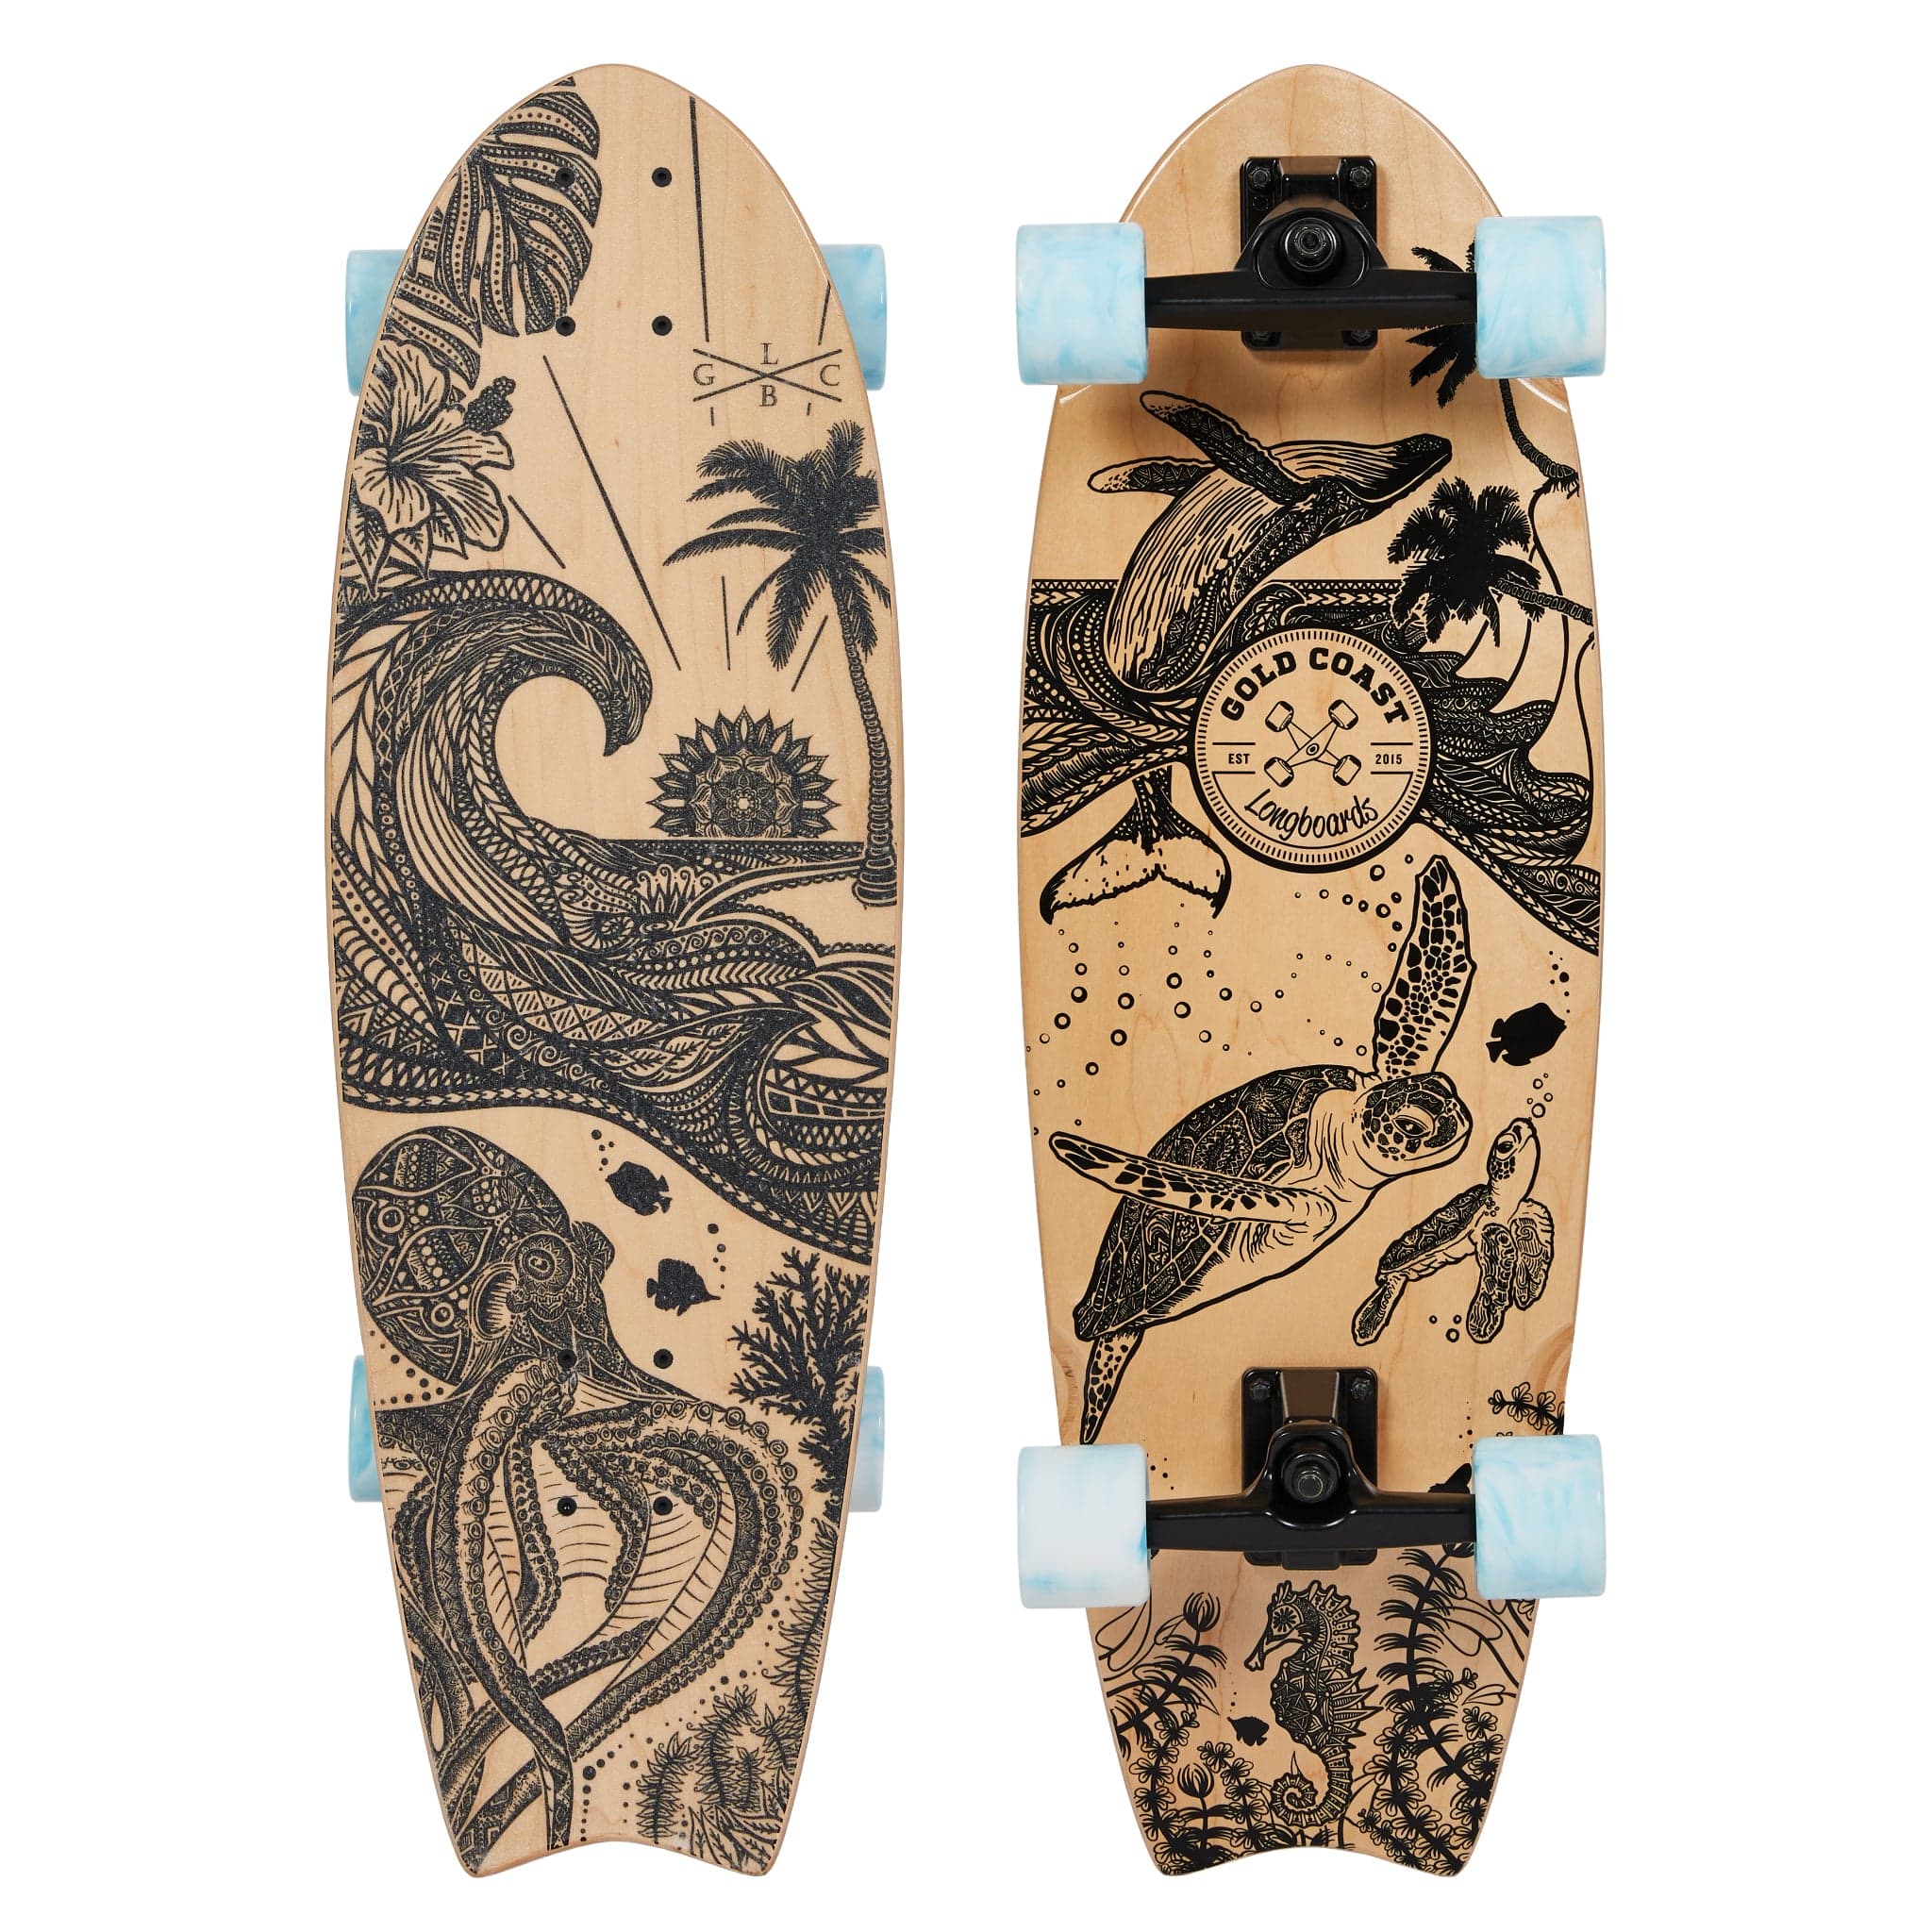
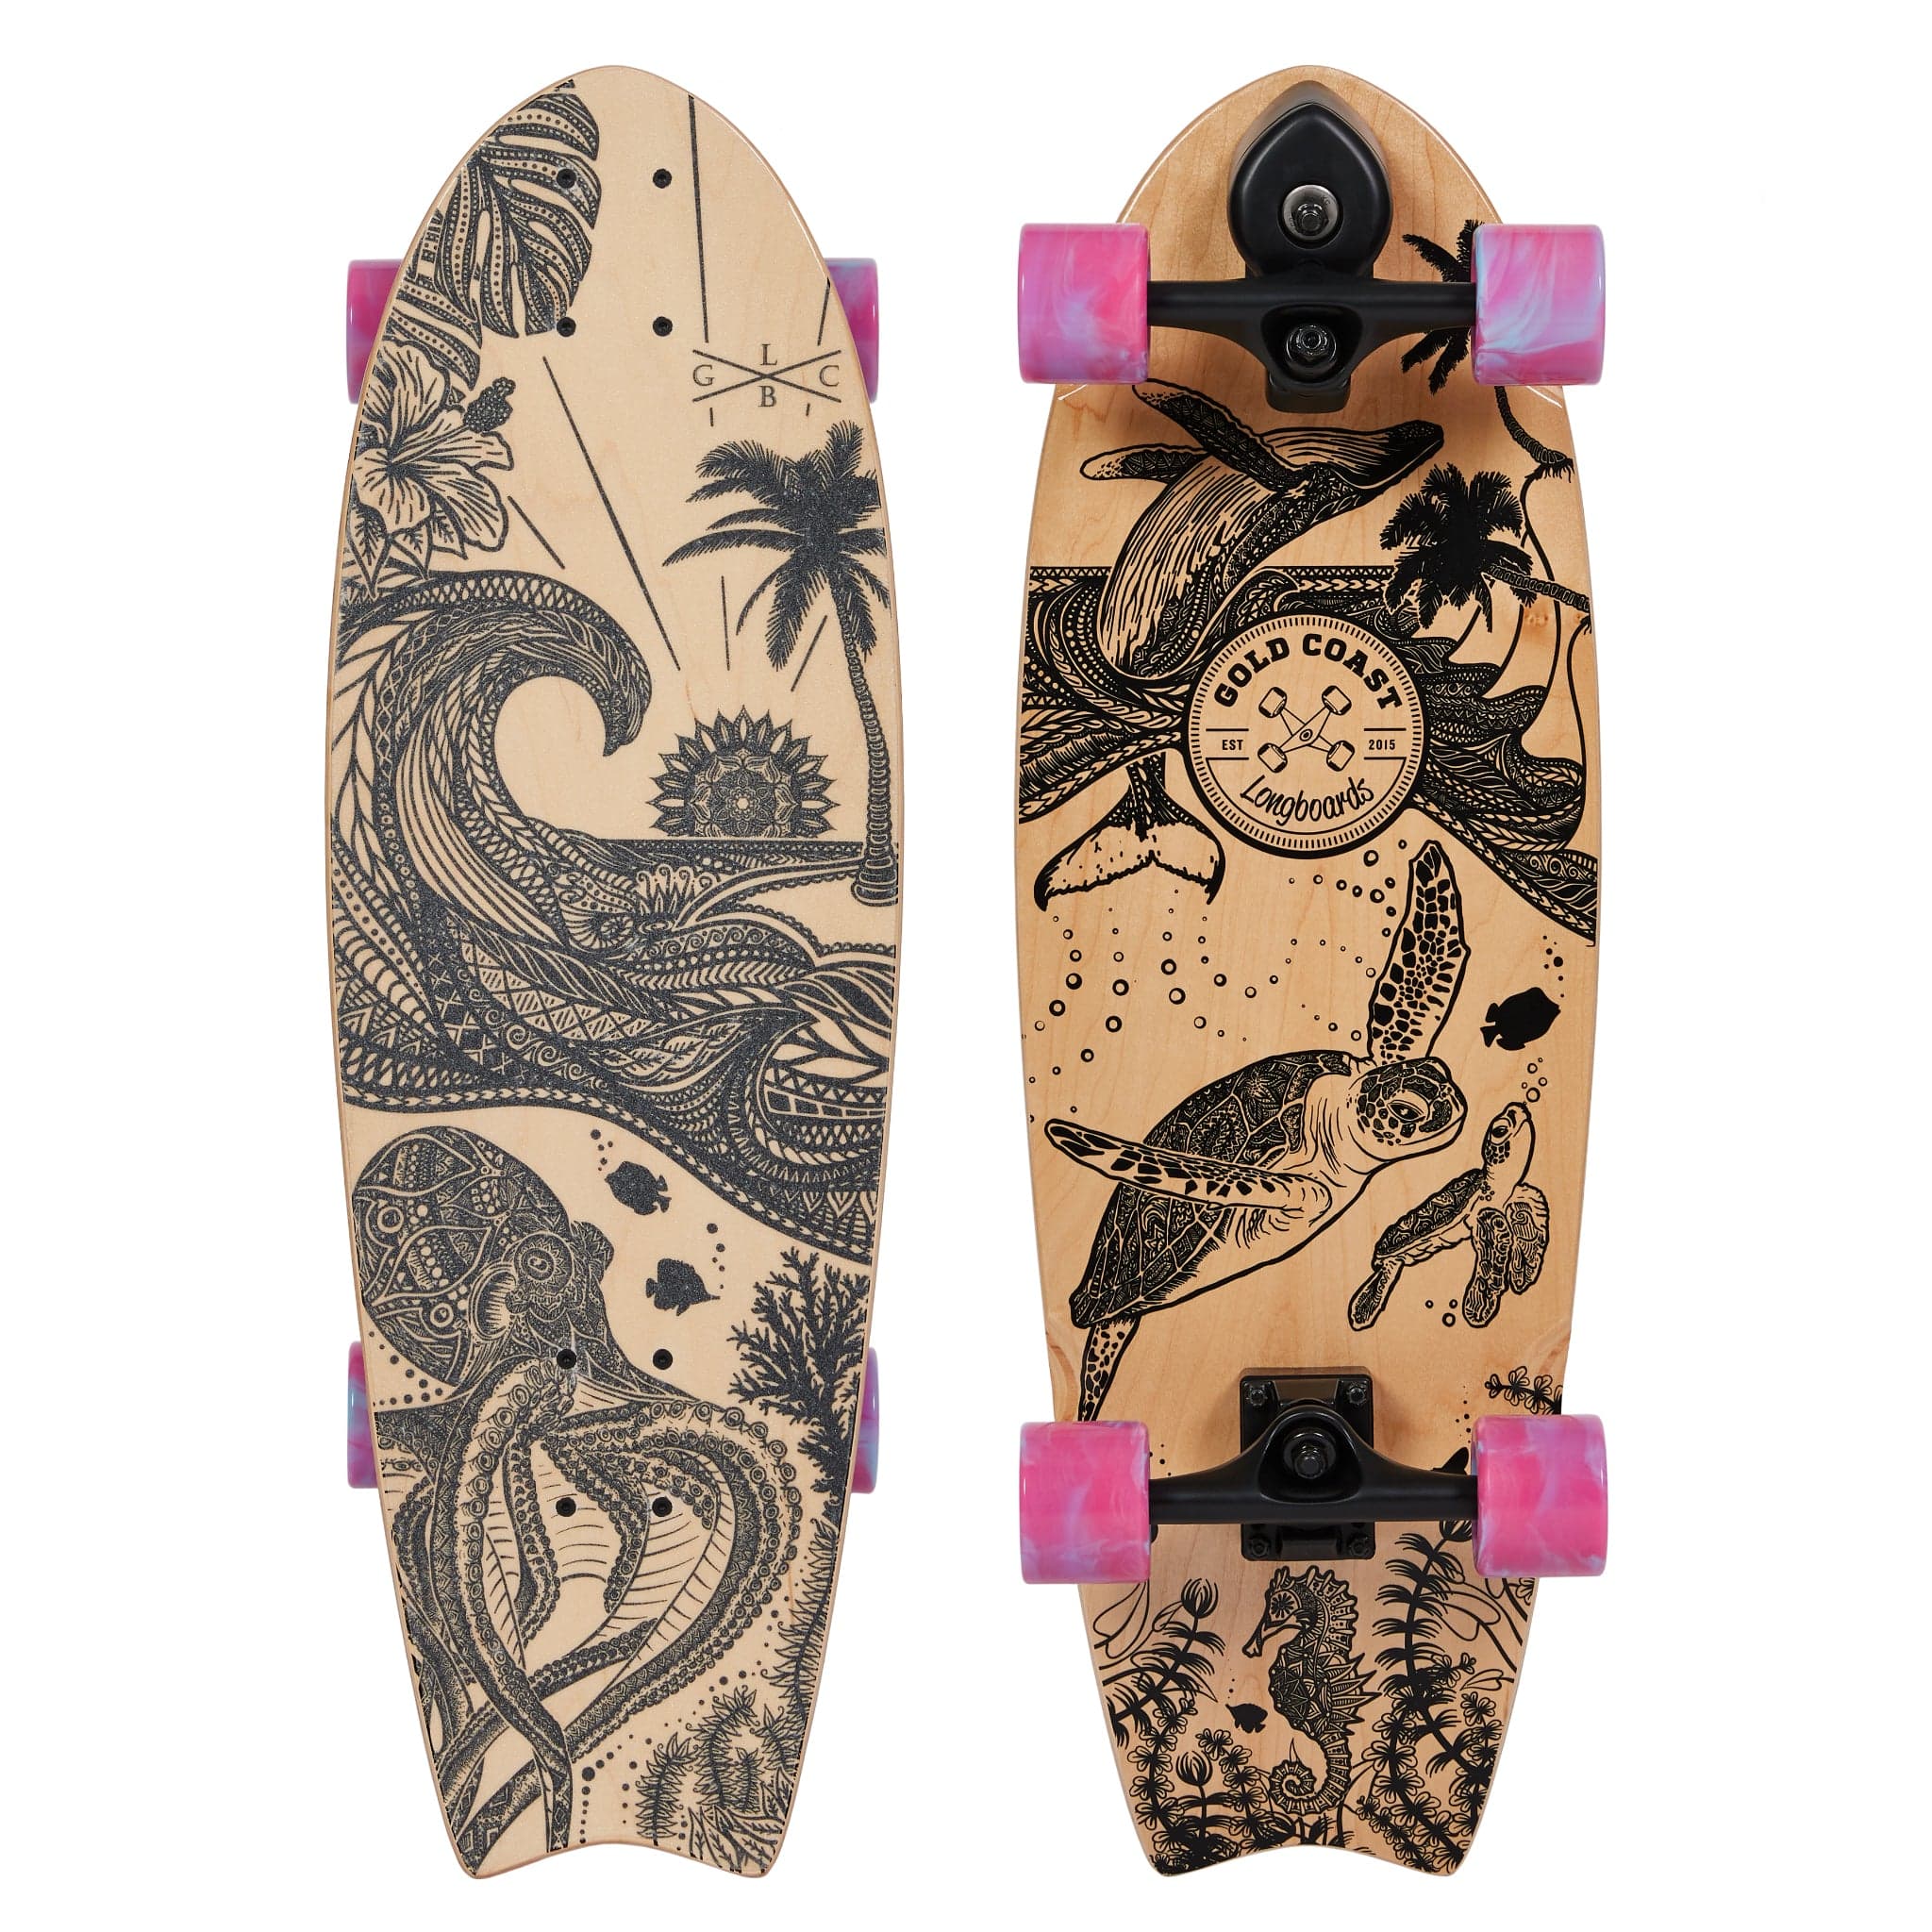
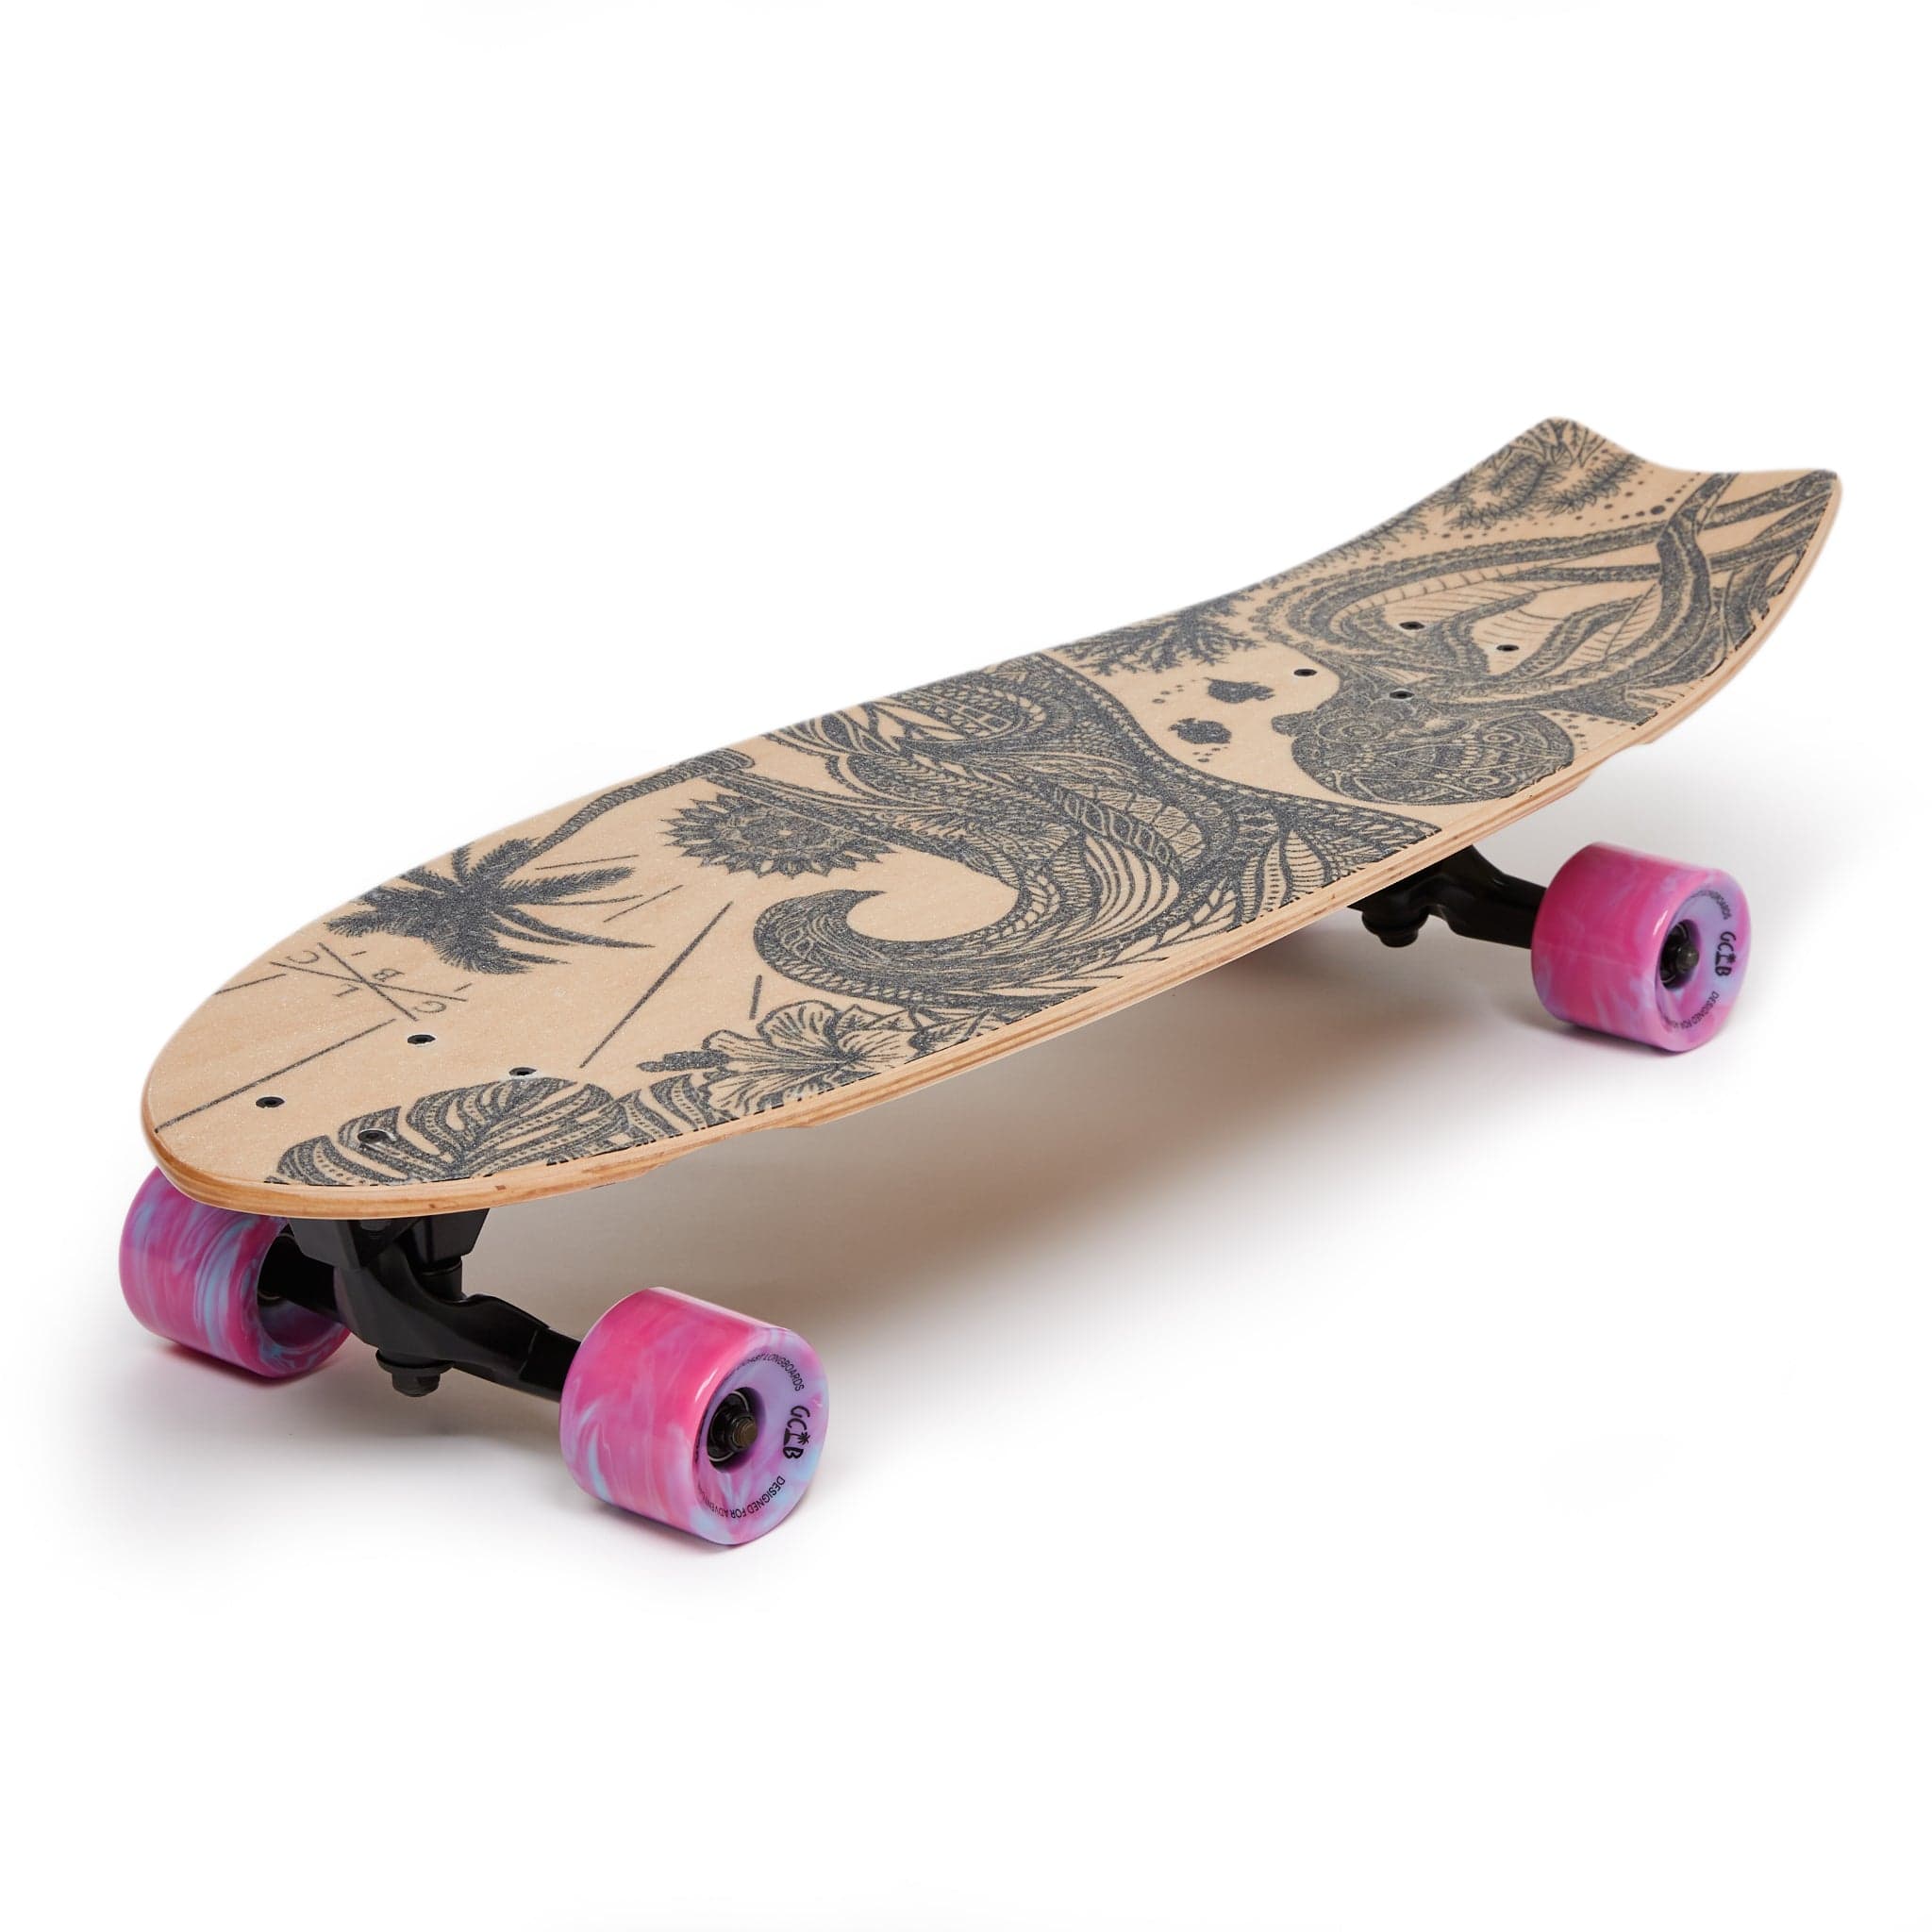
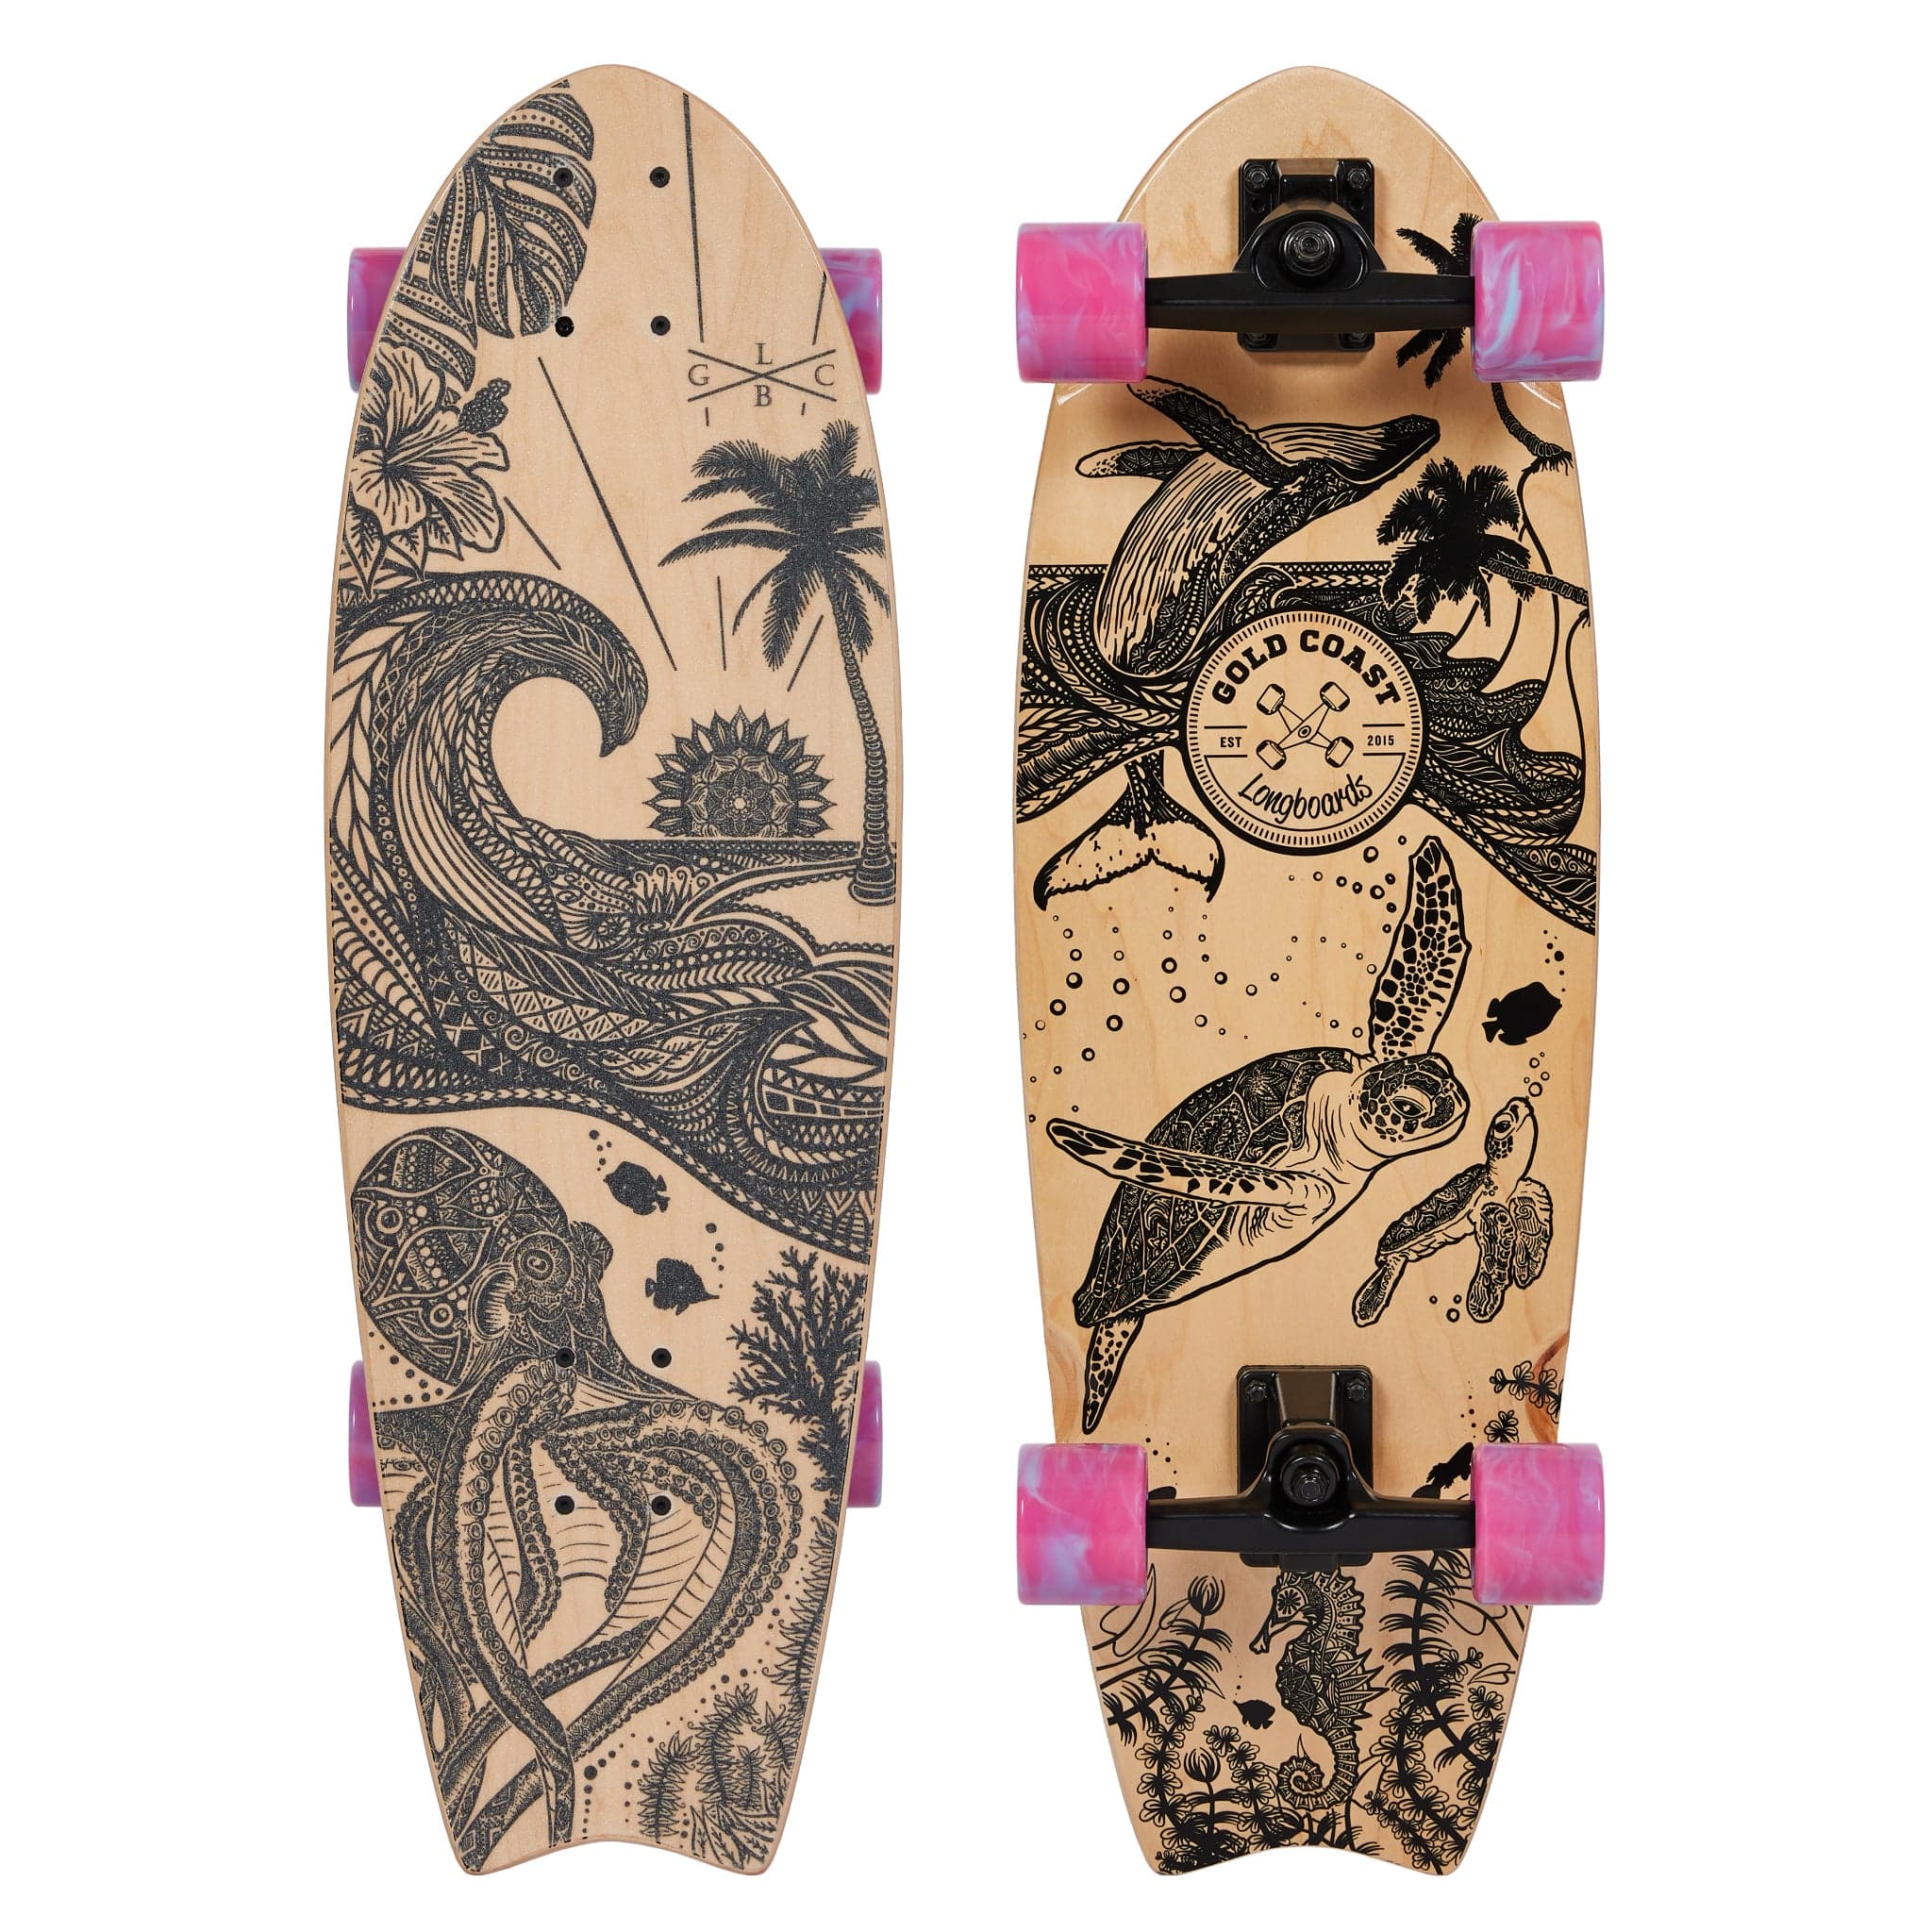
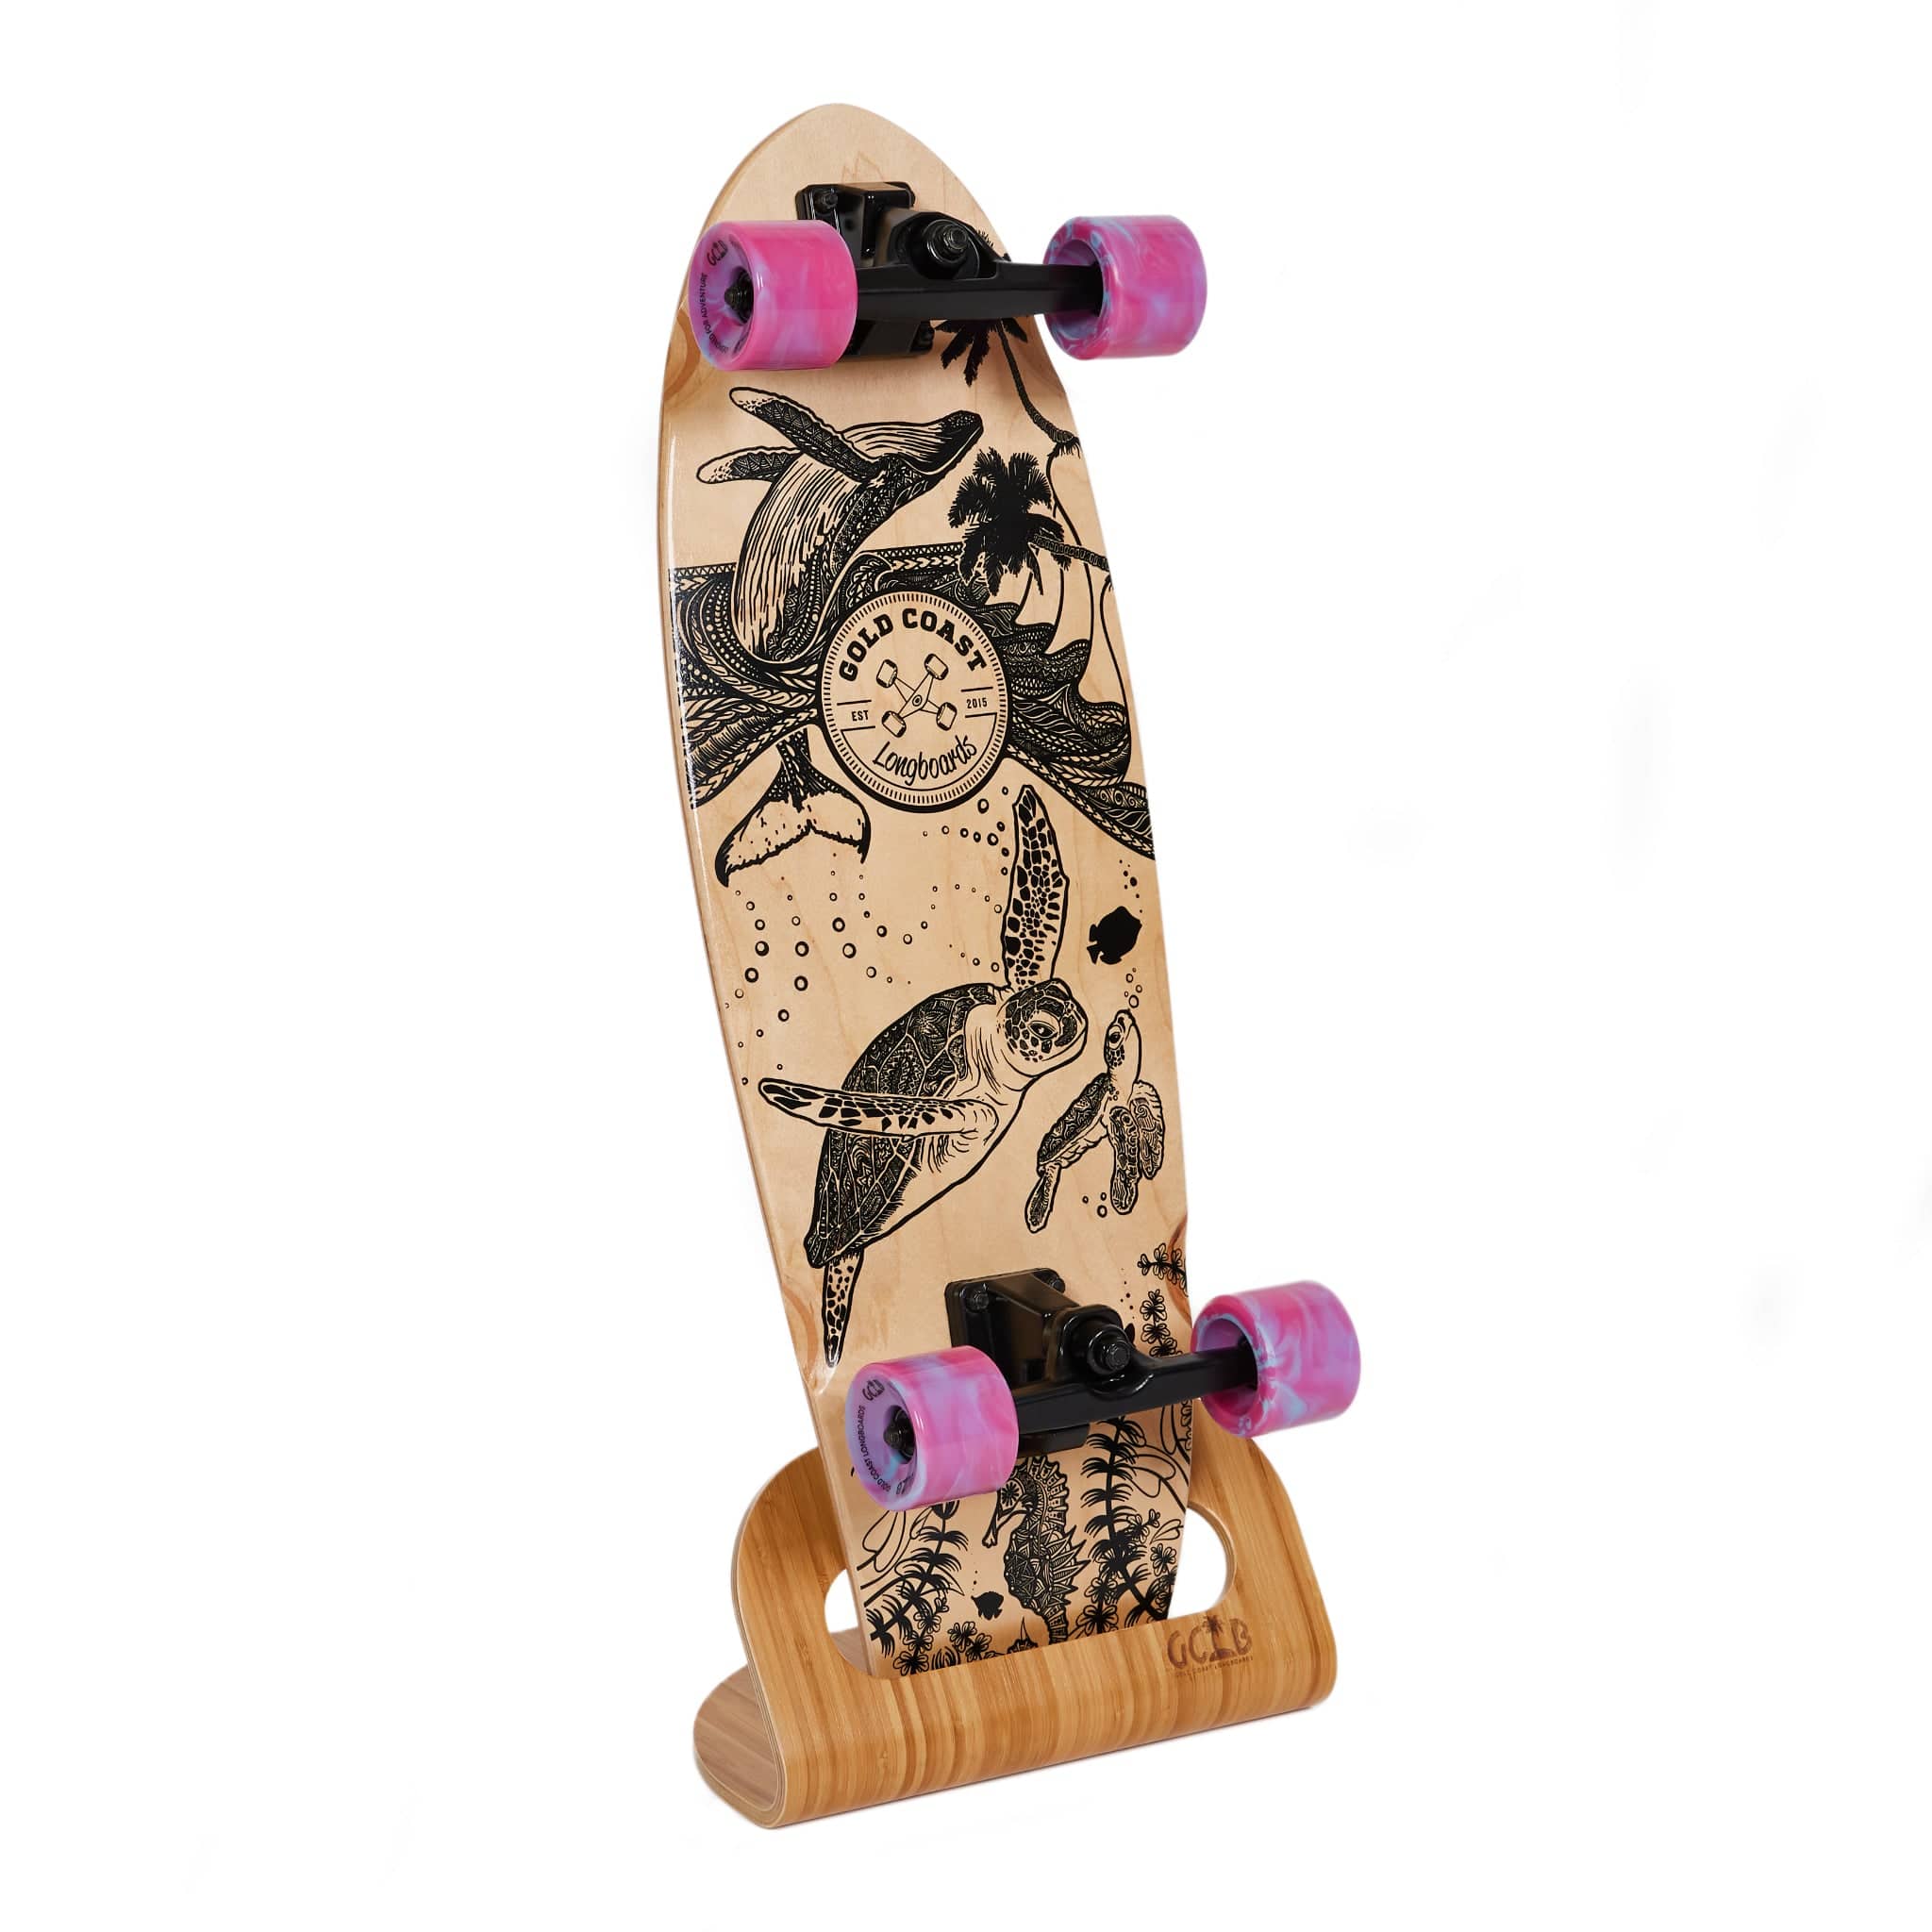
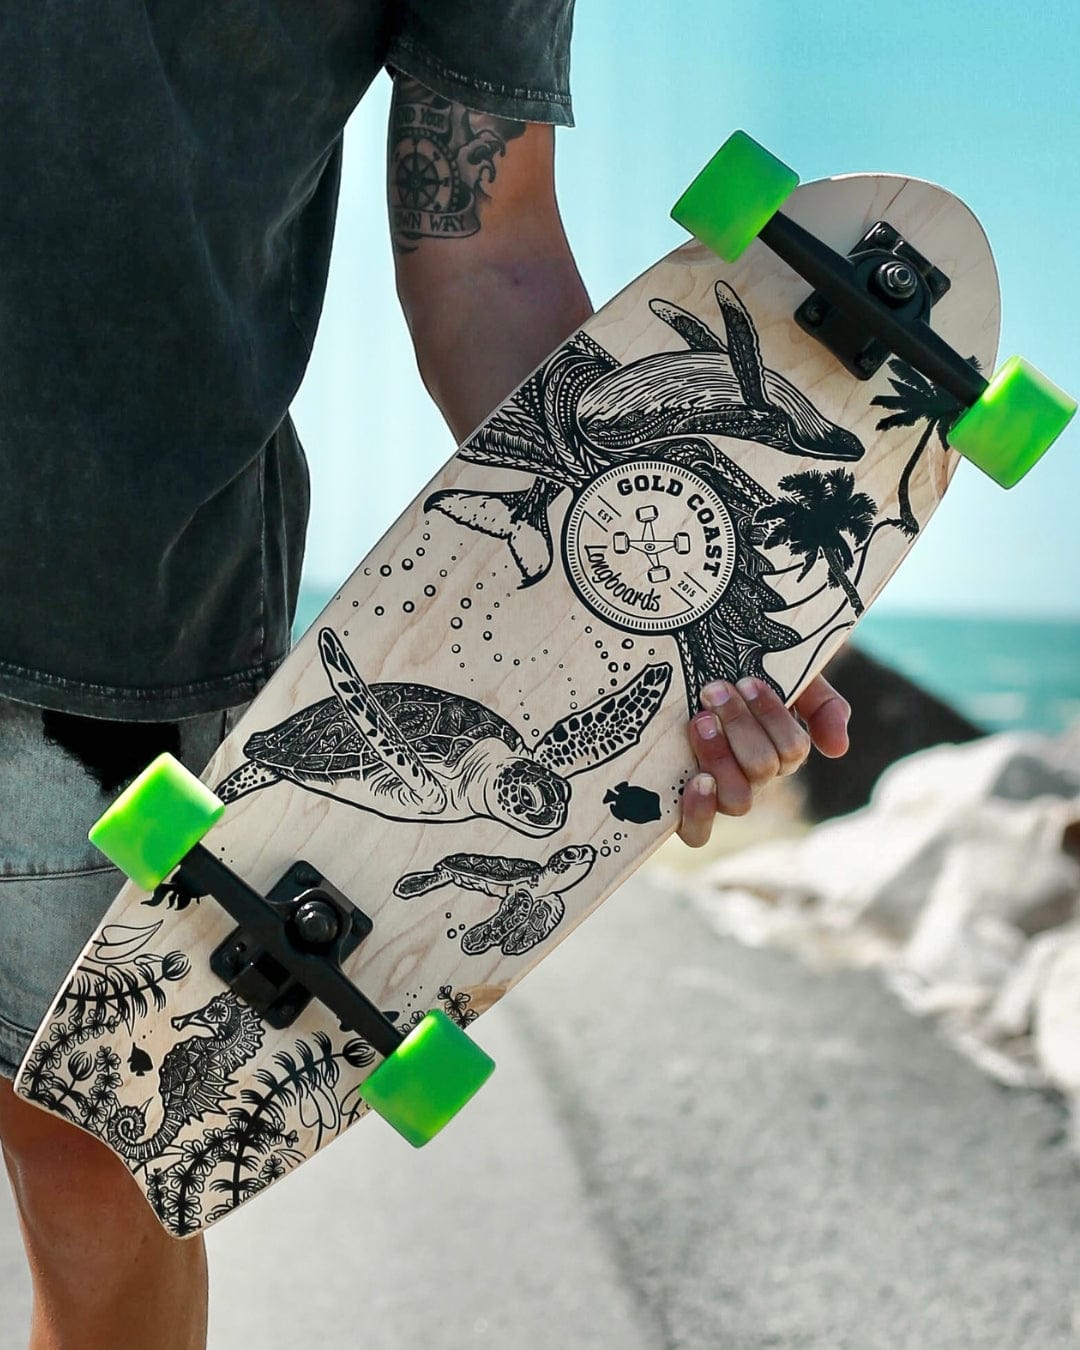
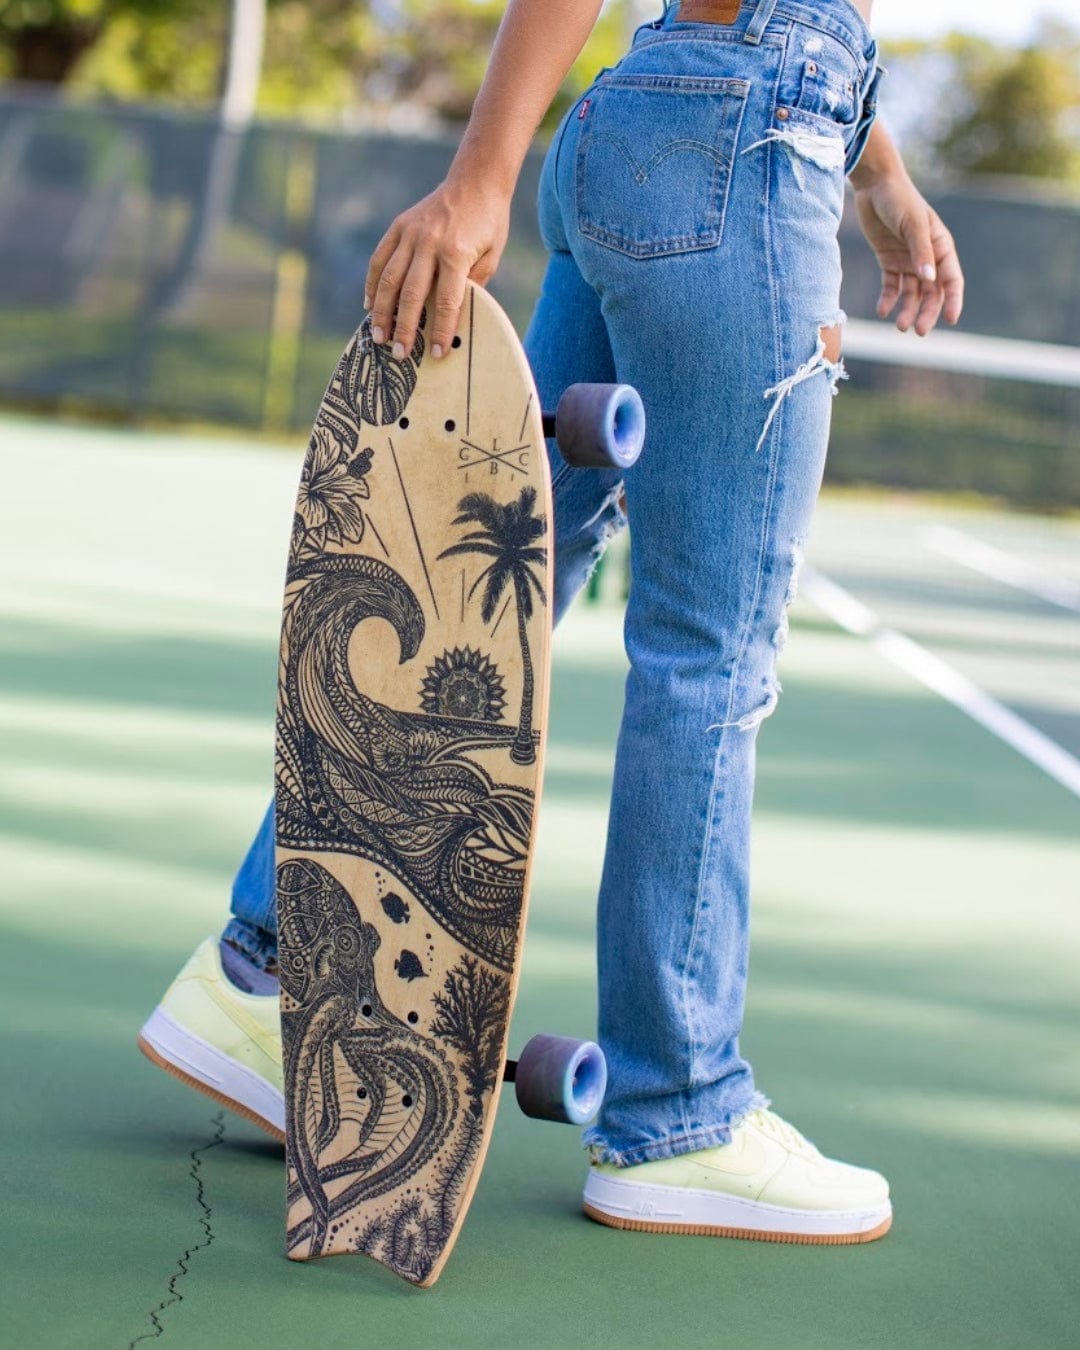
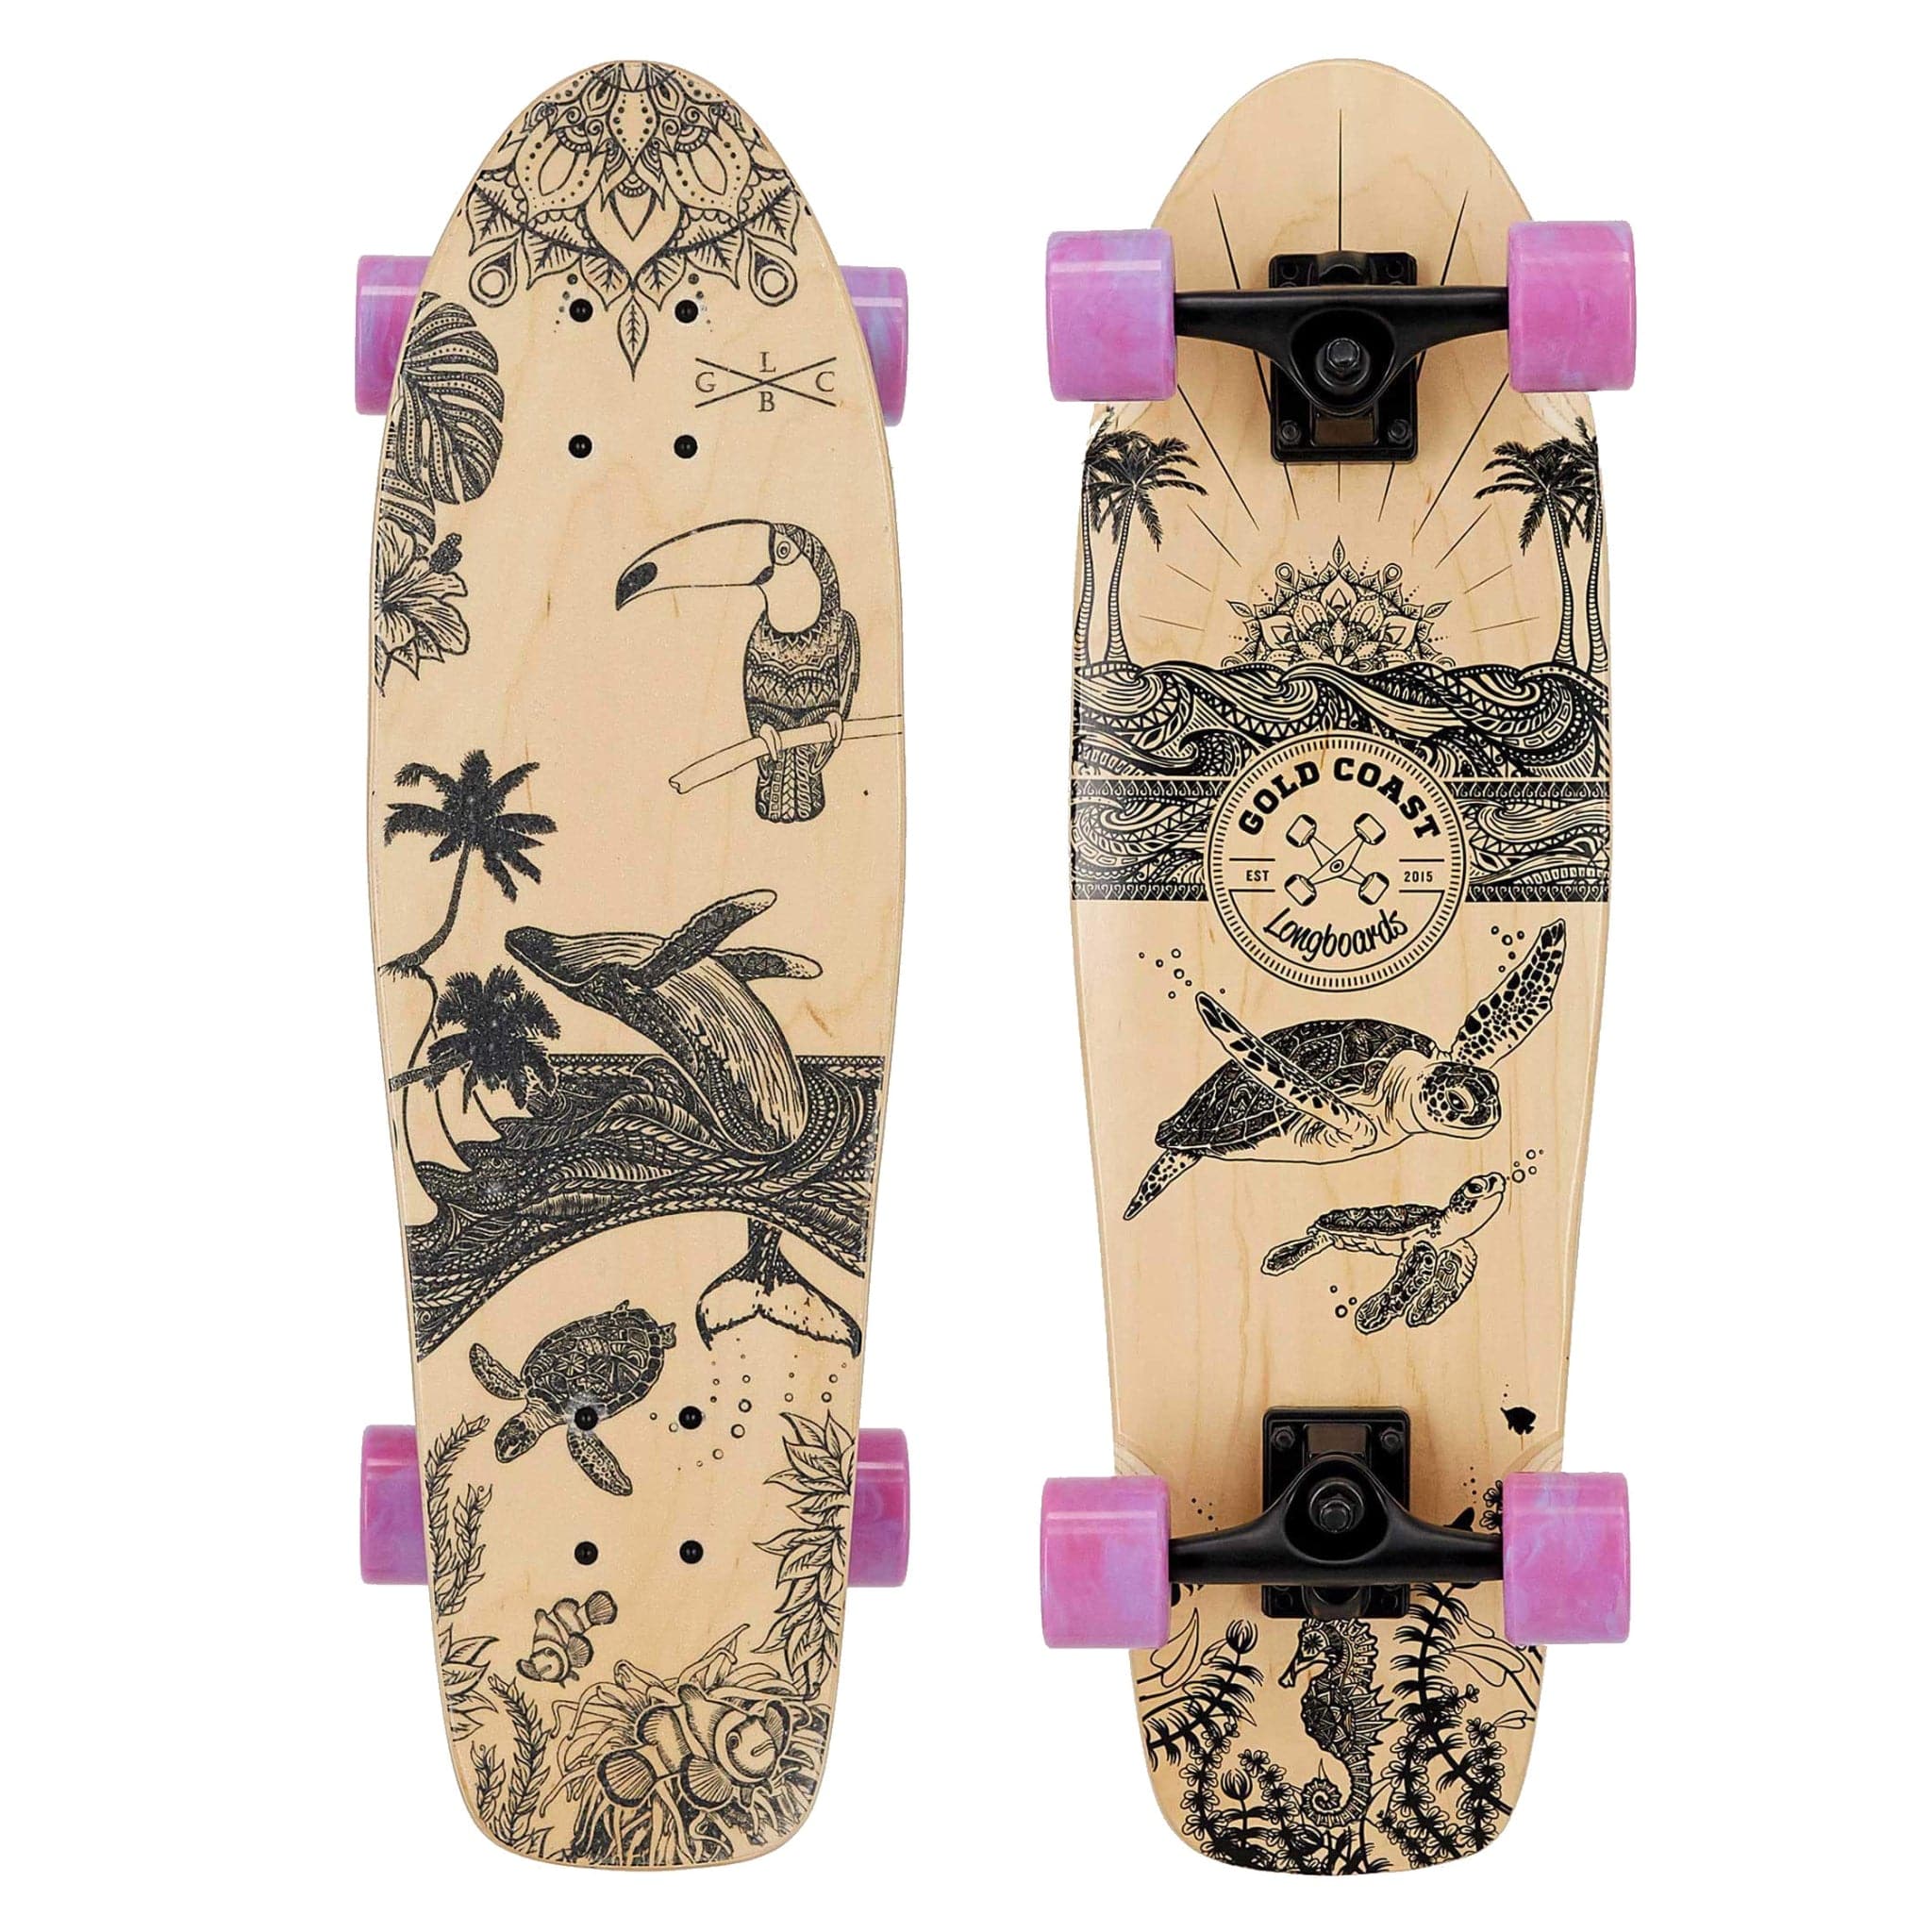
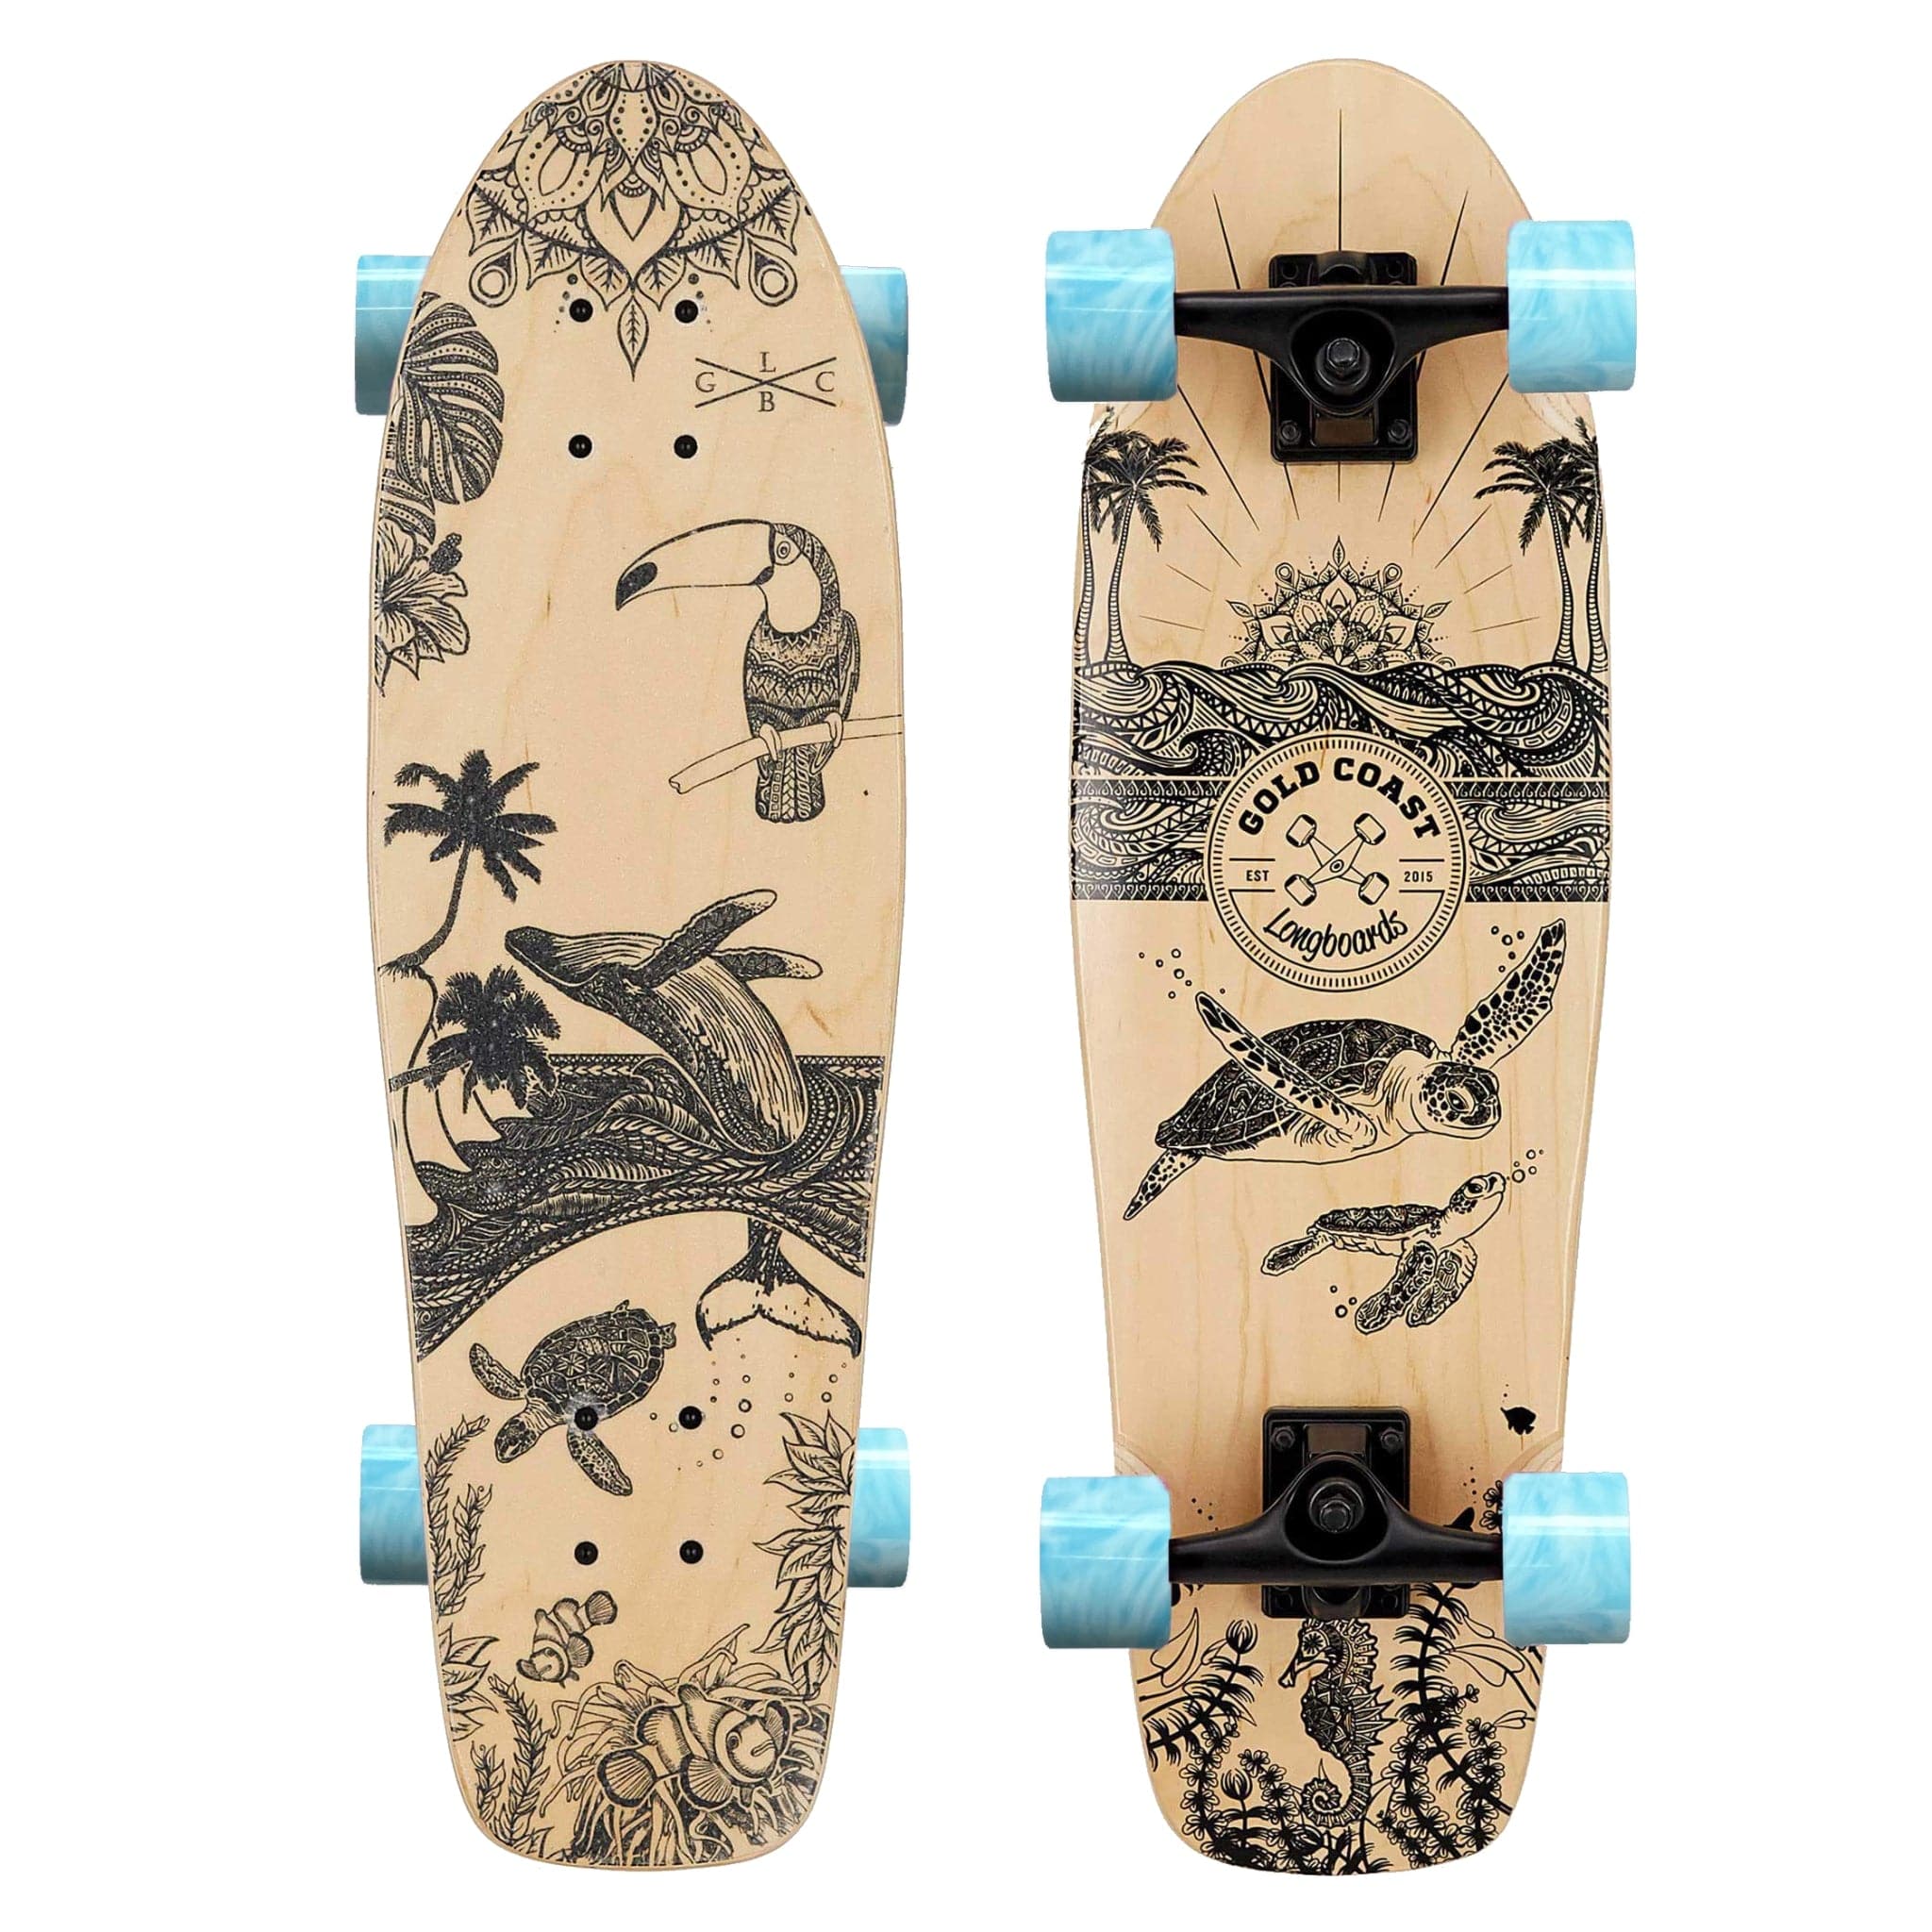
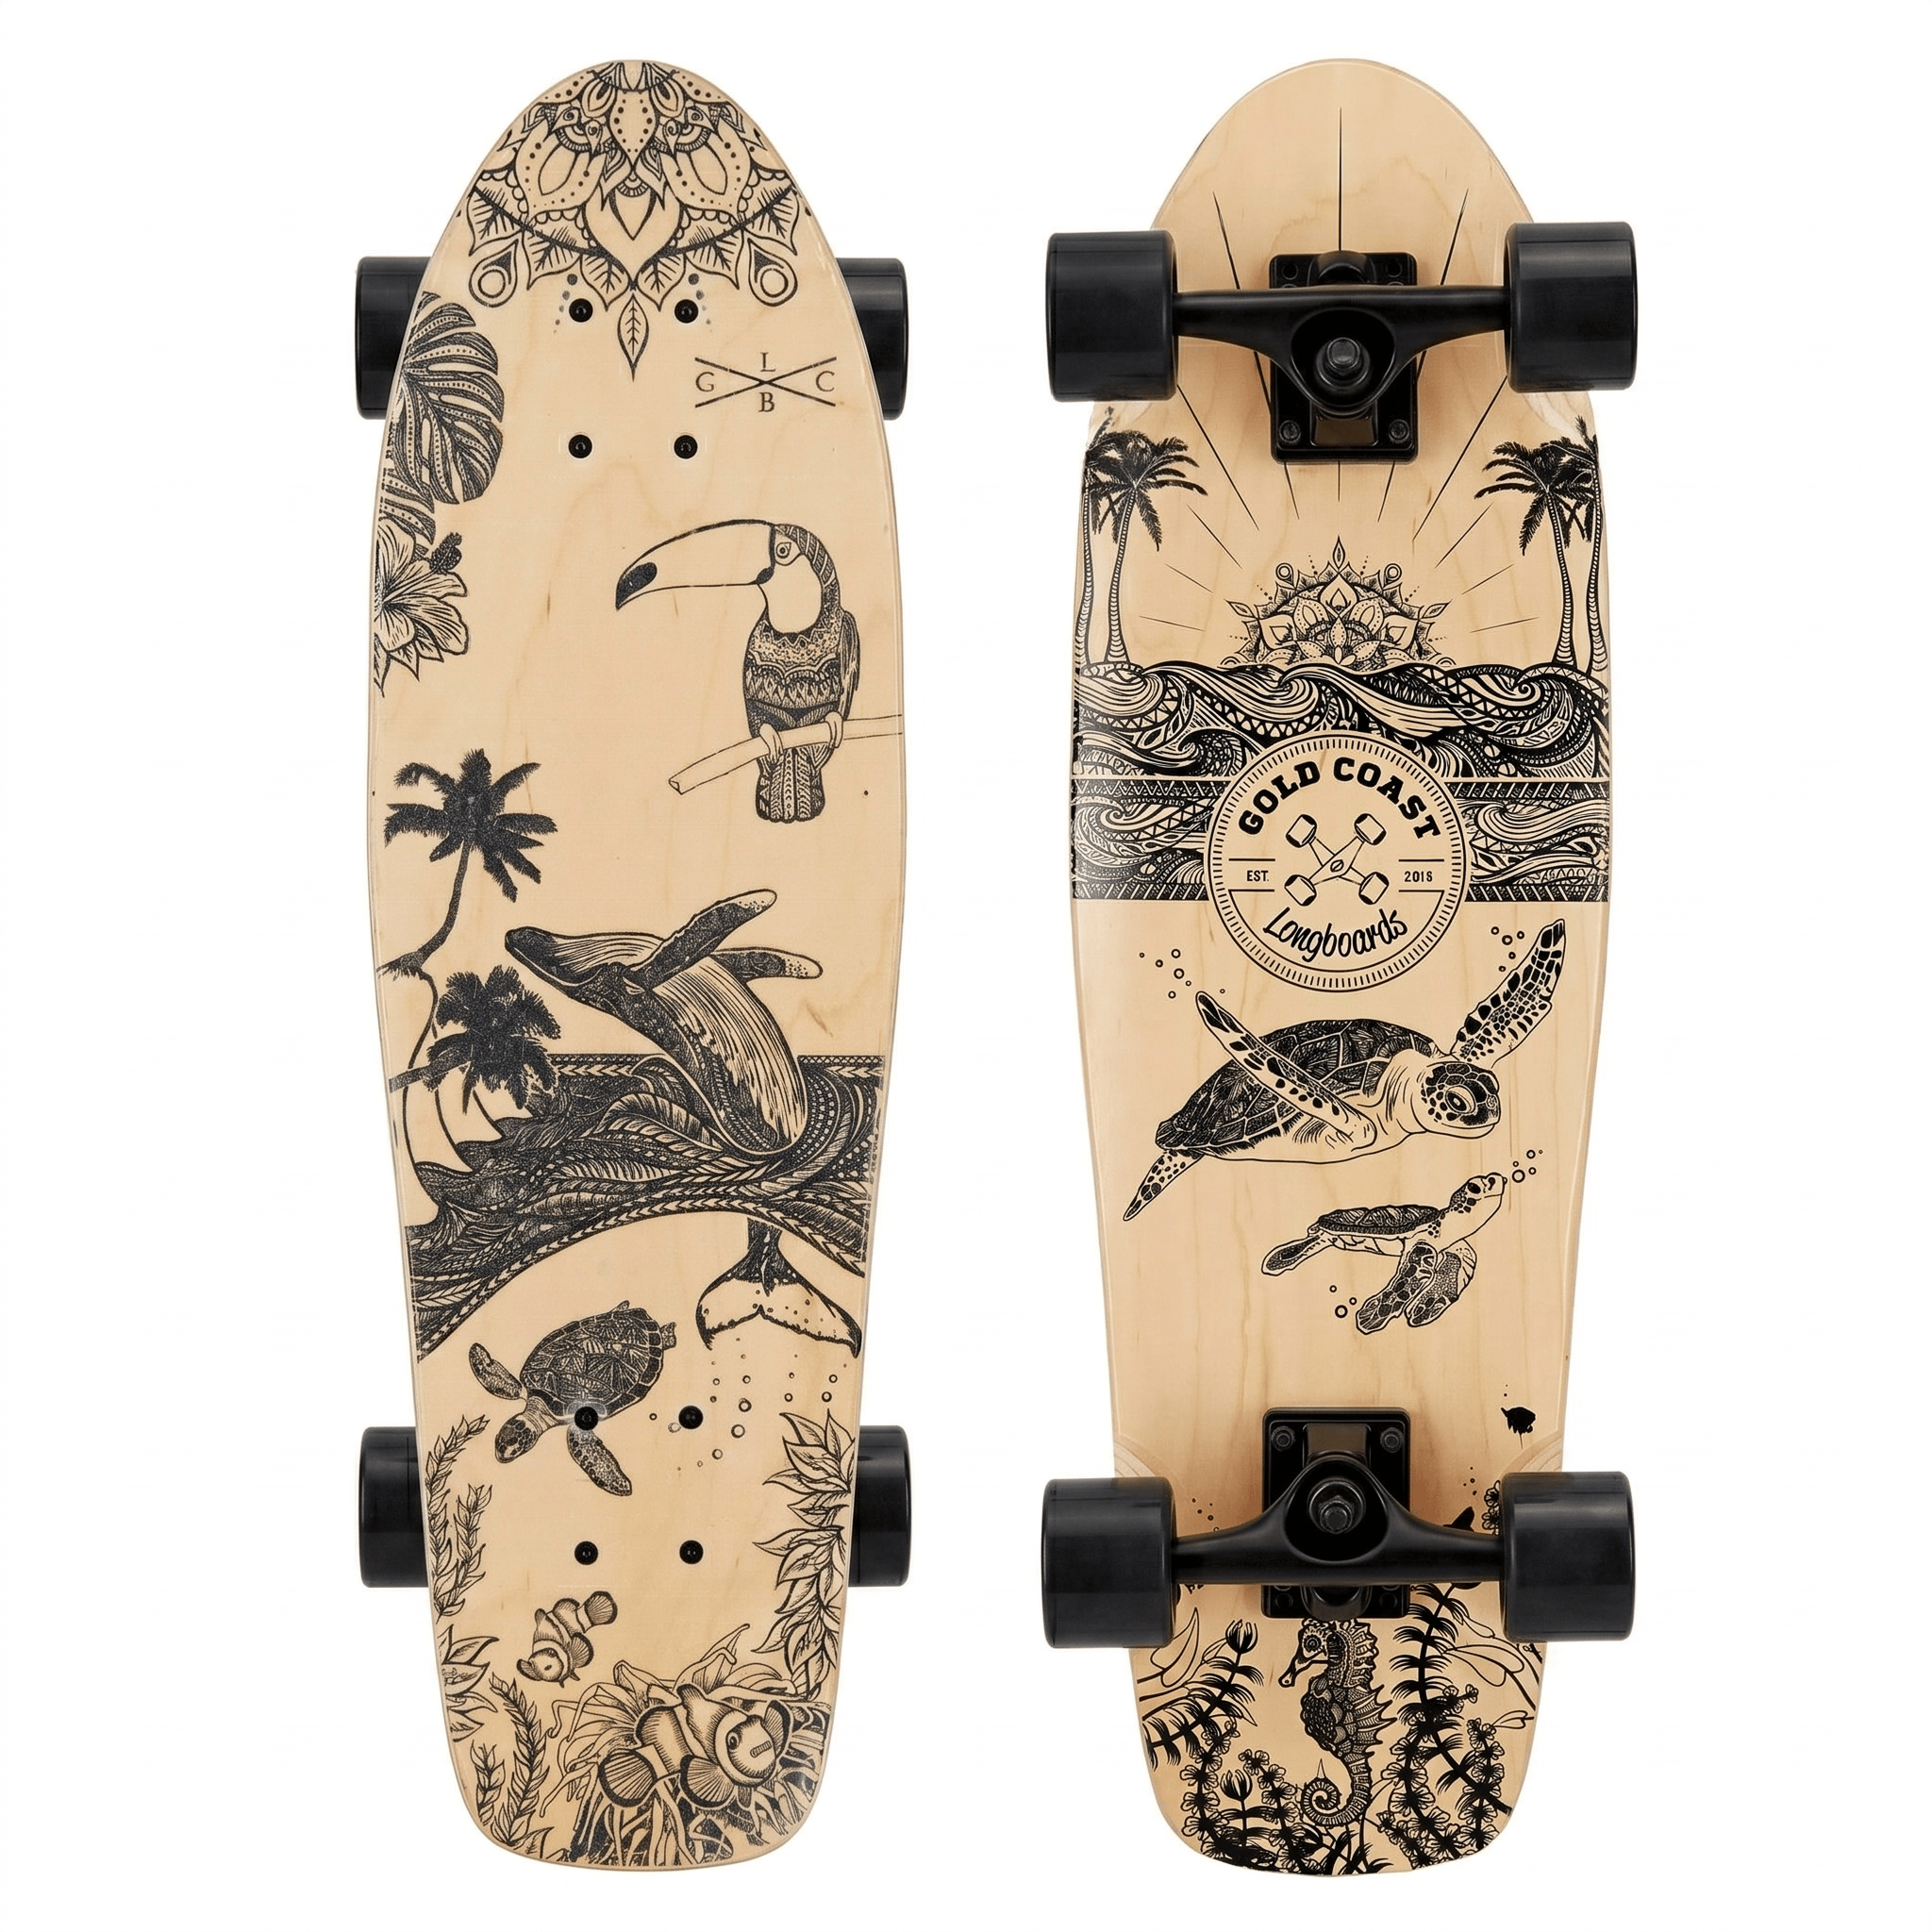
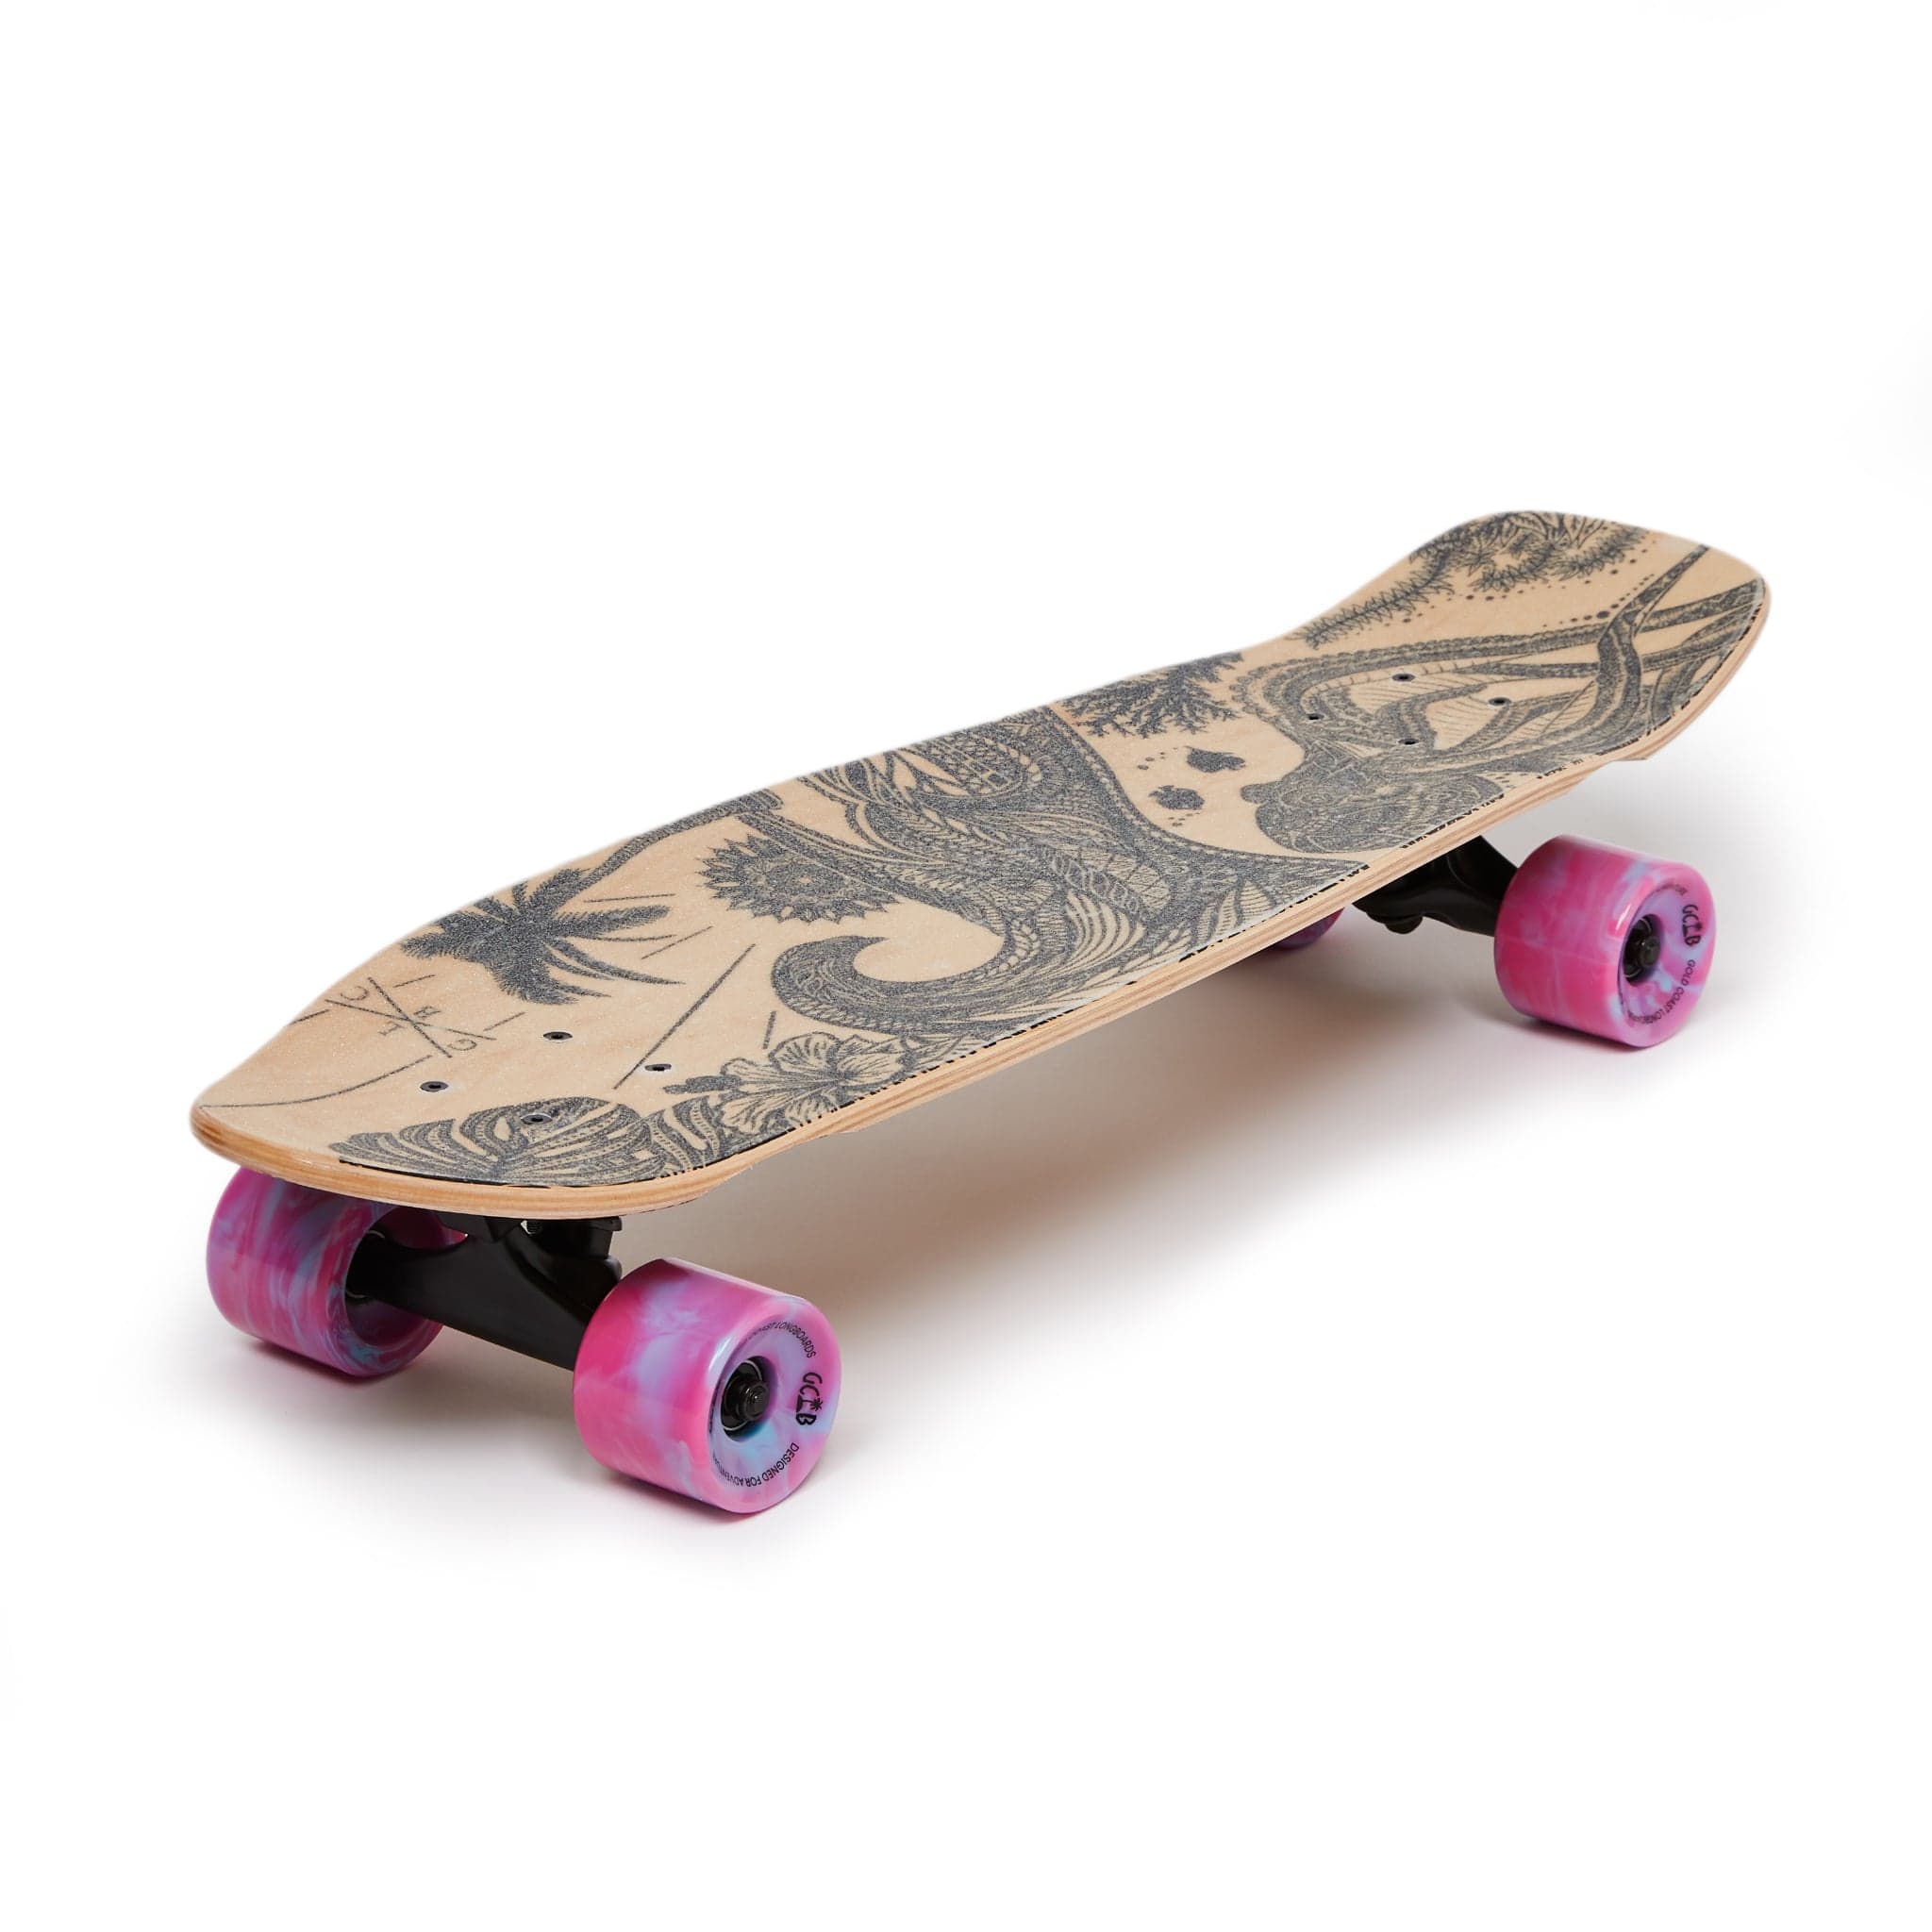
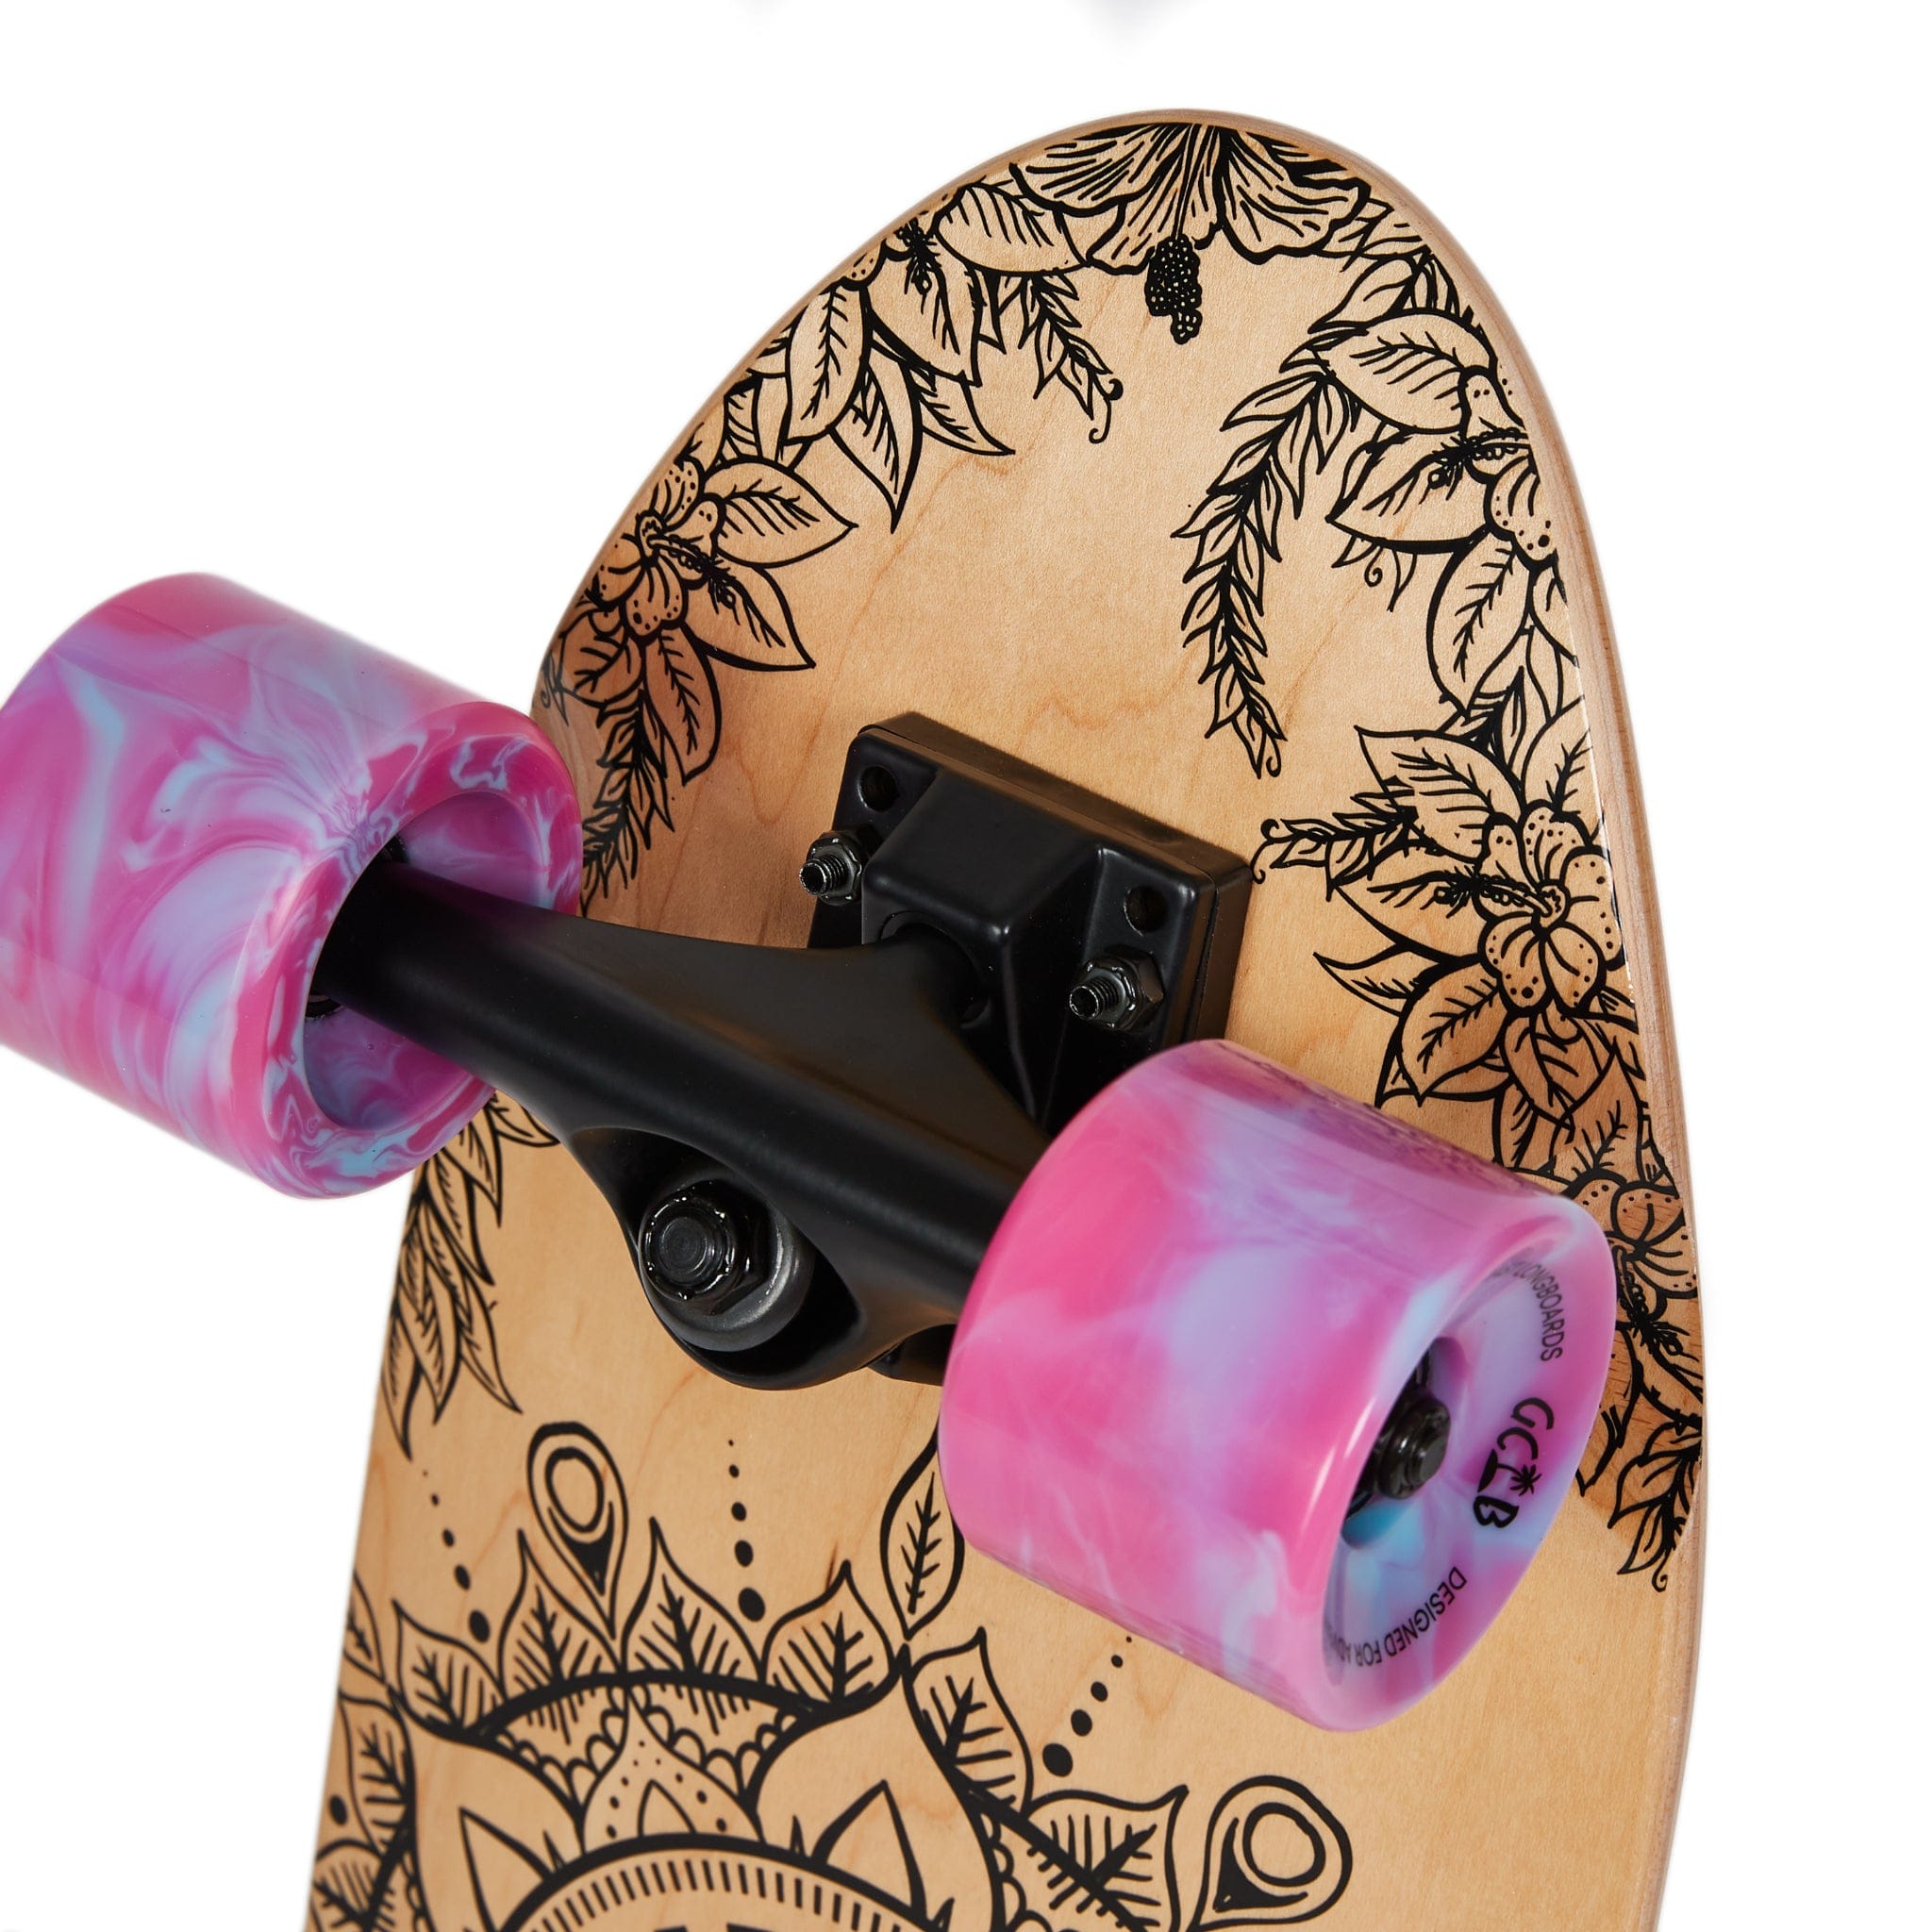
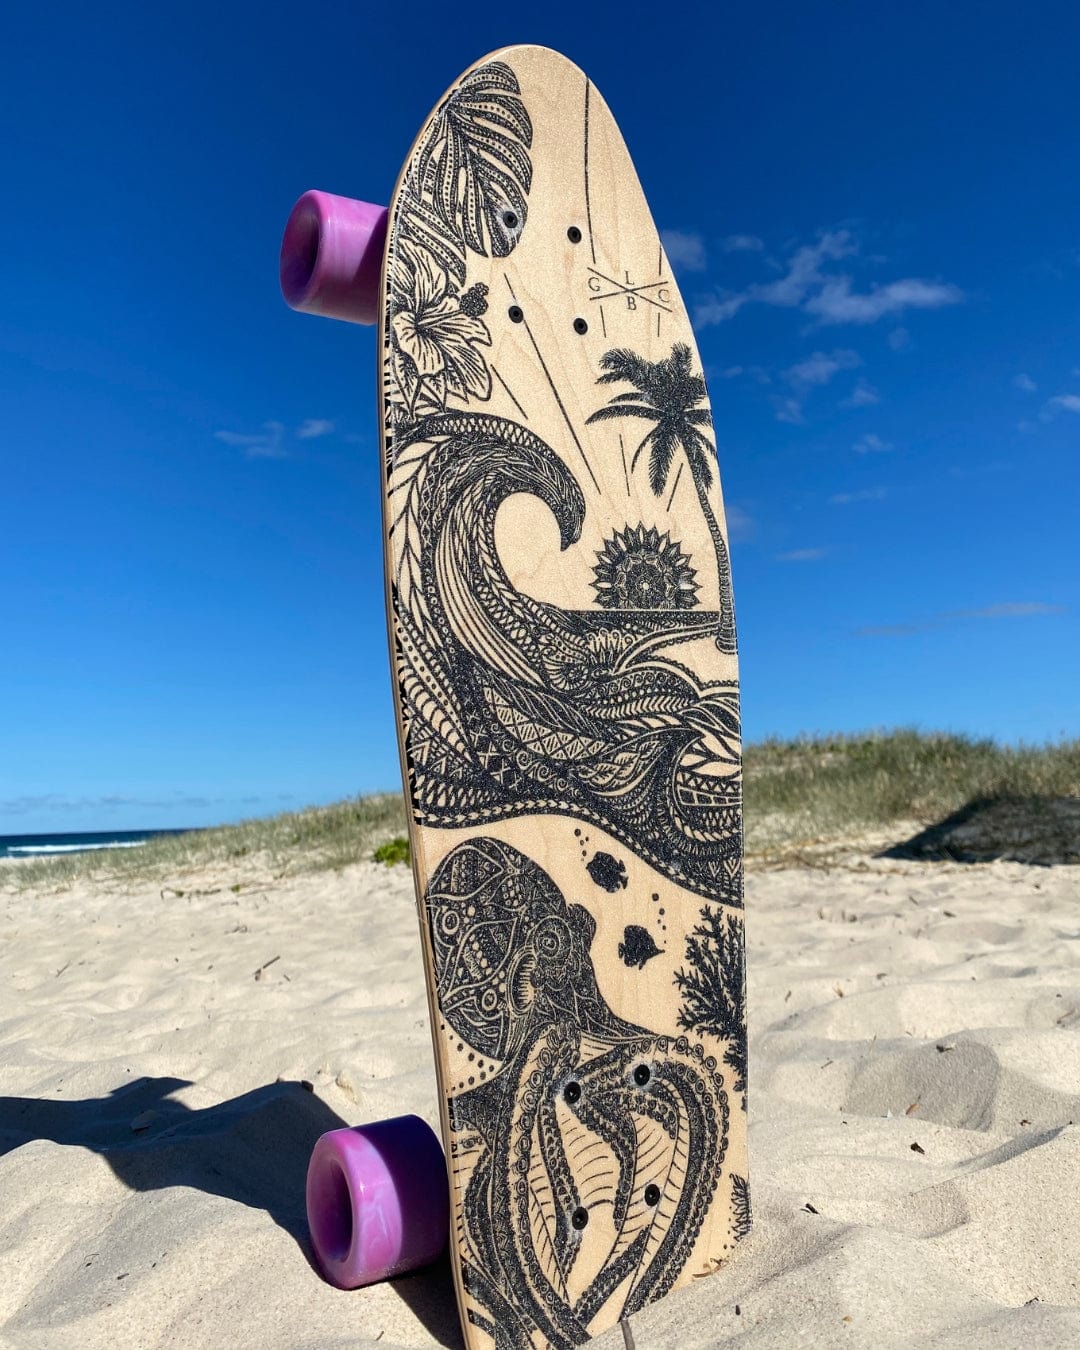
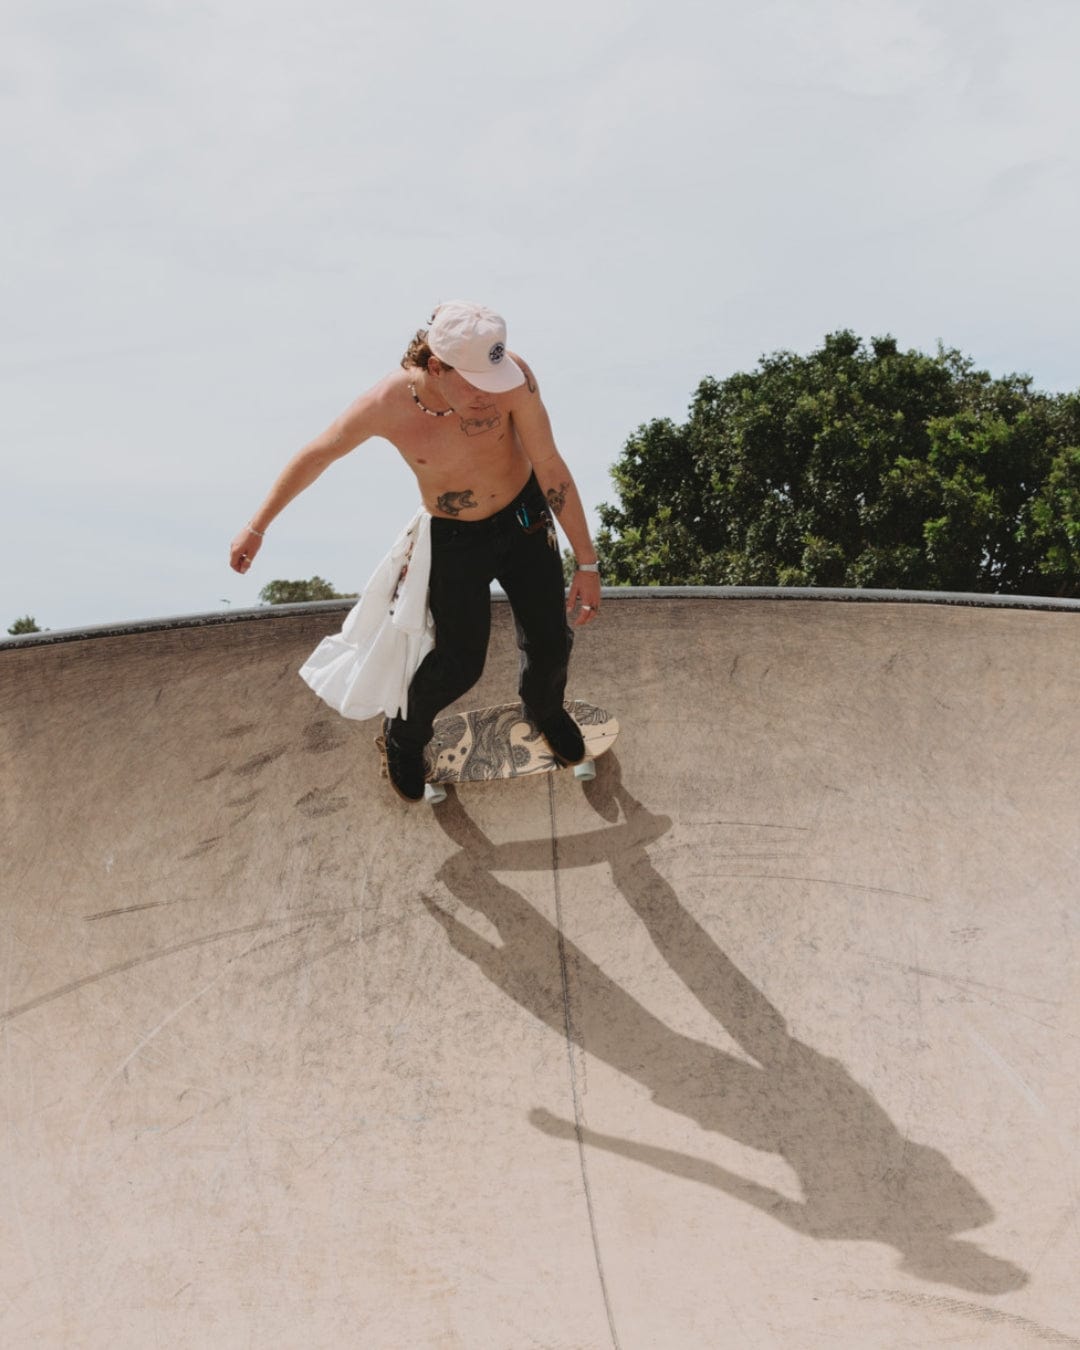
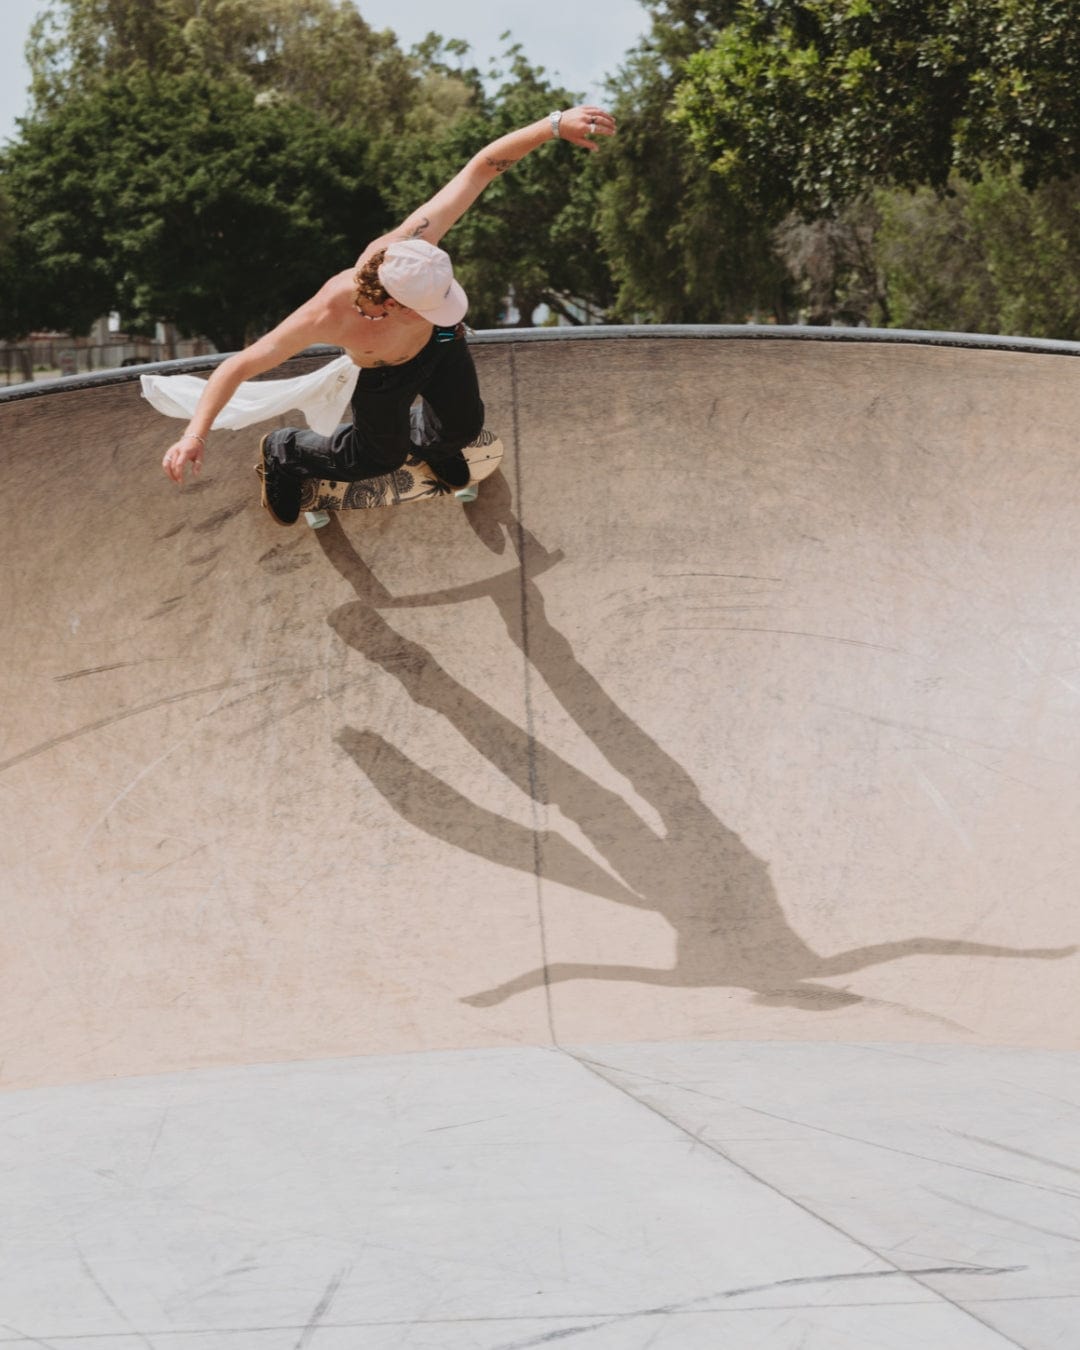
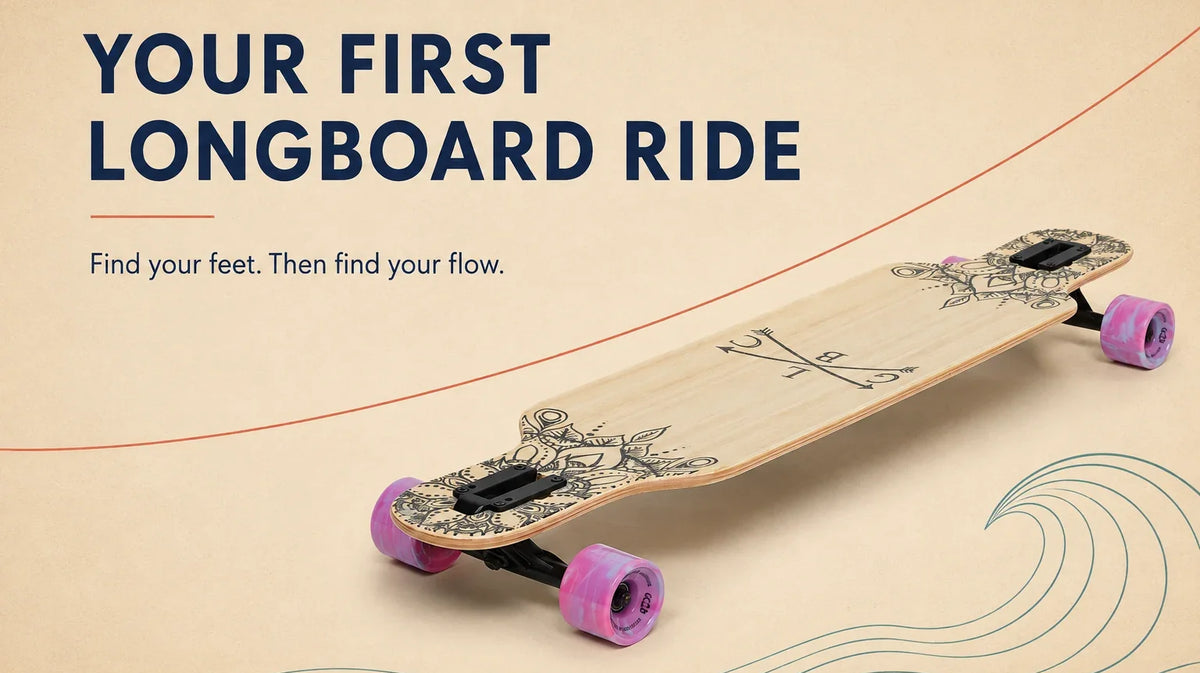
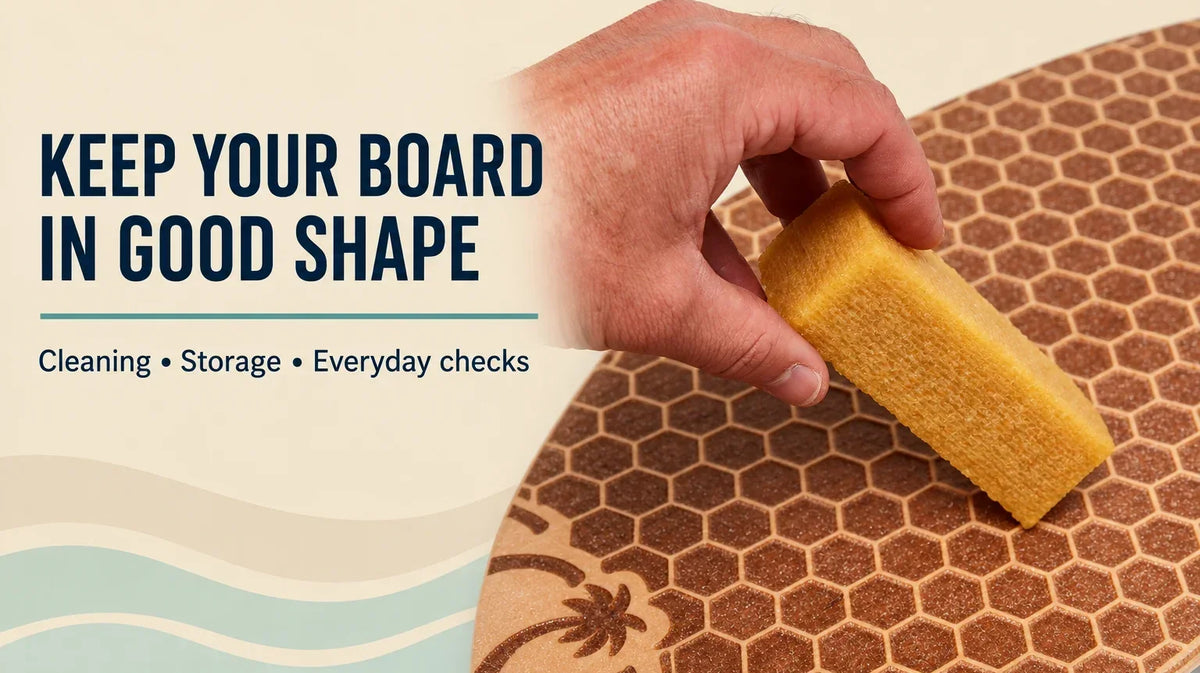
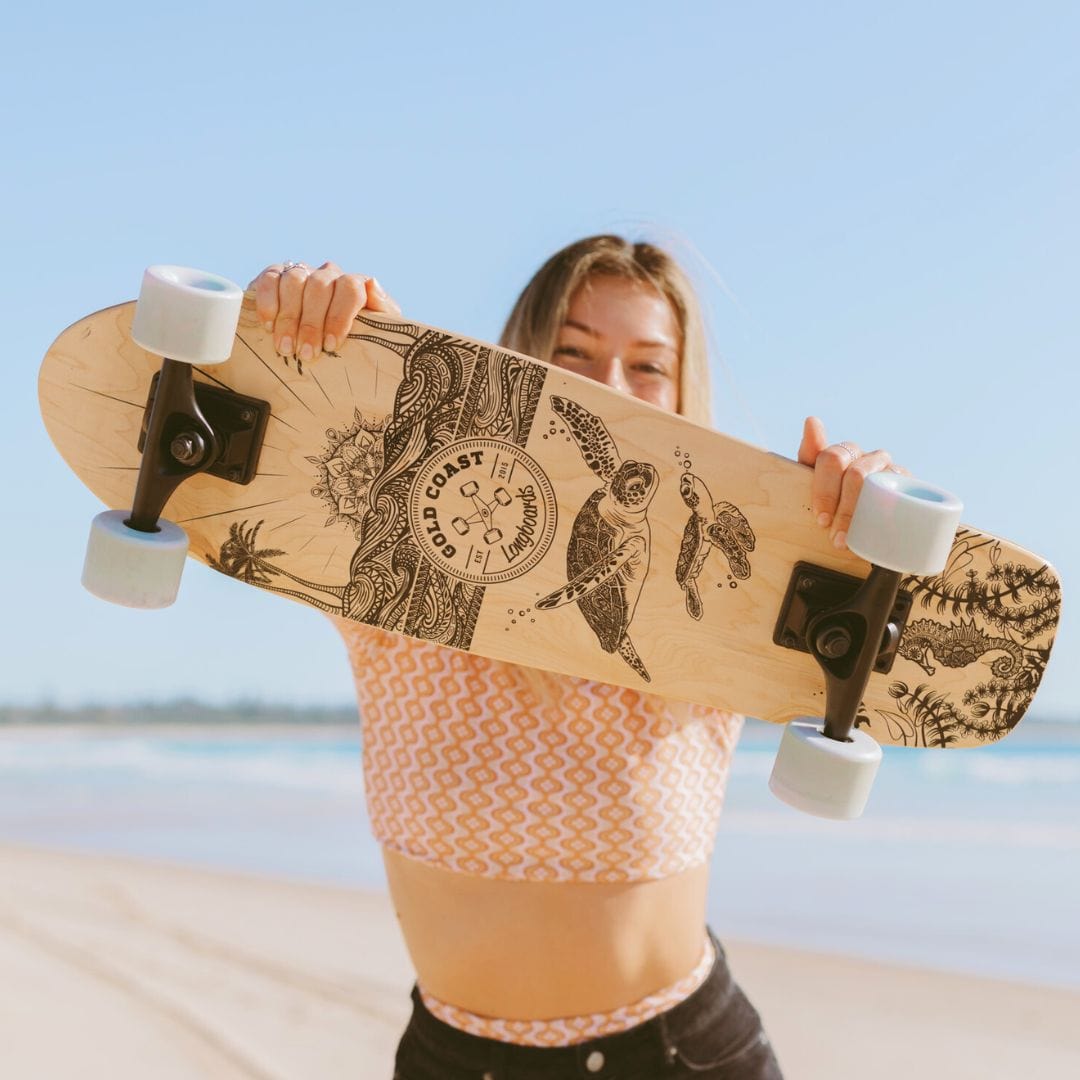
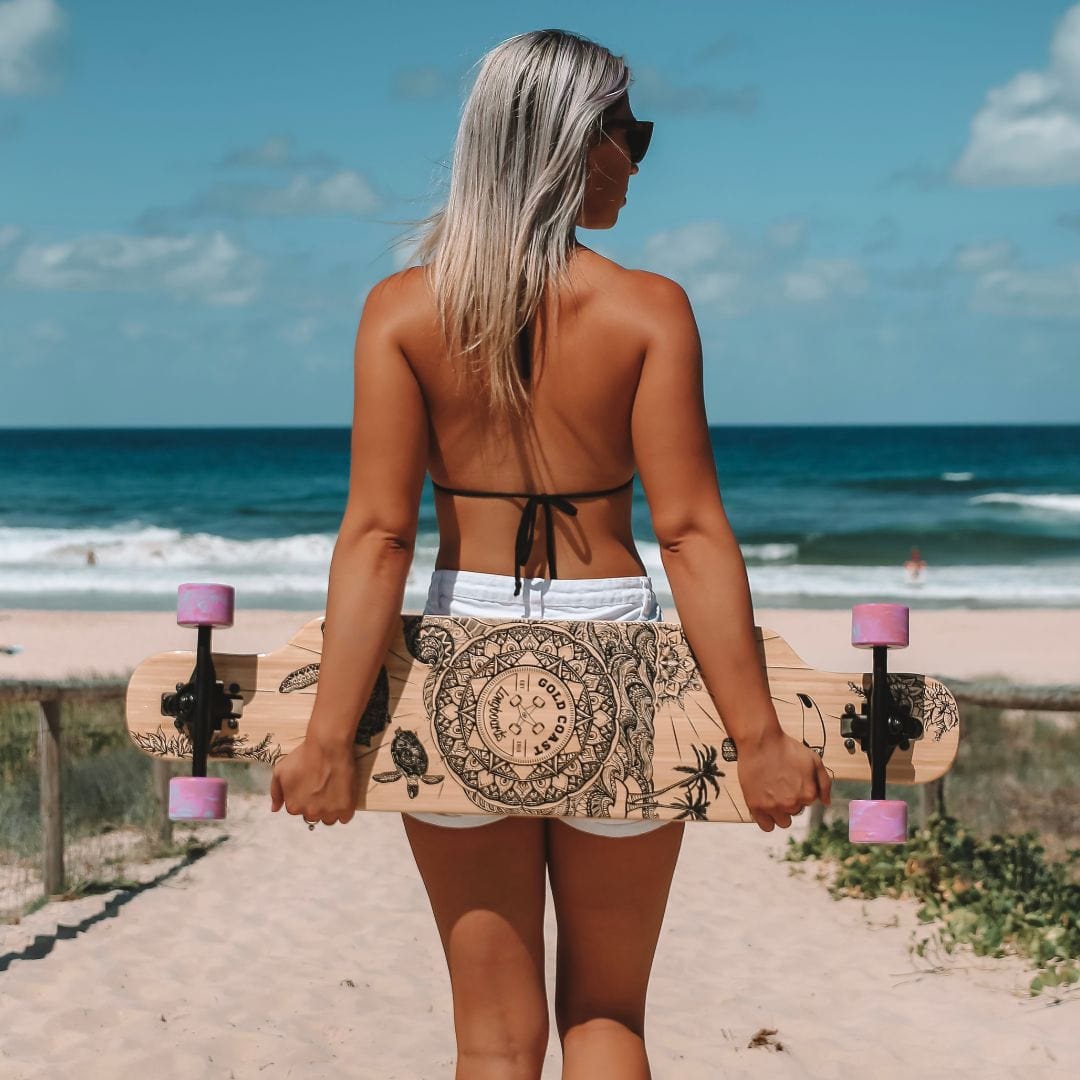
Header artwork created with AI using GCLB product photography. The studio image within this guide shows the product itself; it is not a demonstration of riding technique.